Home Decor
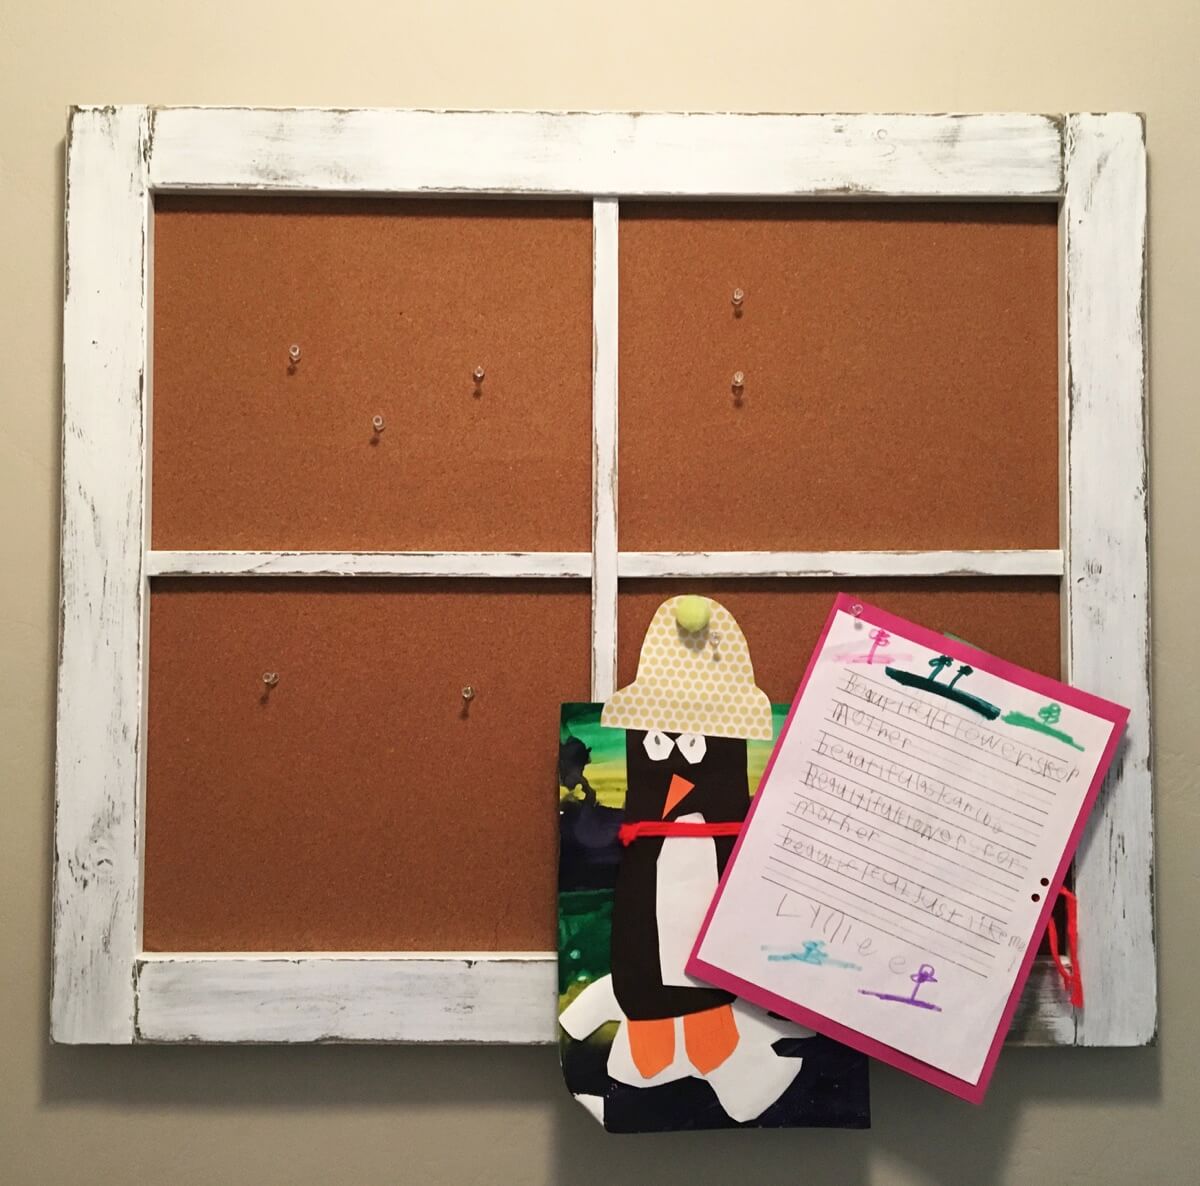
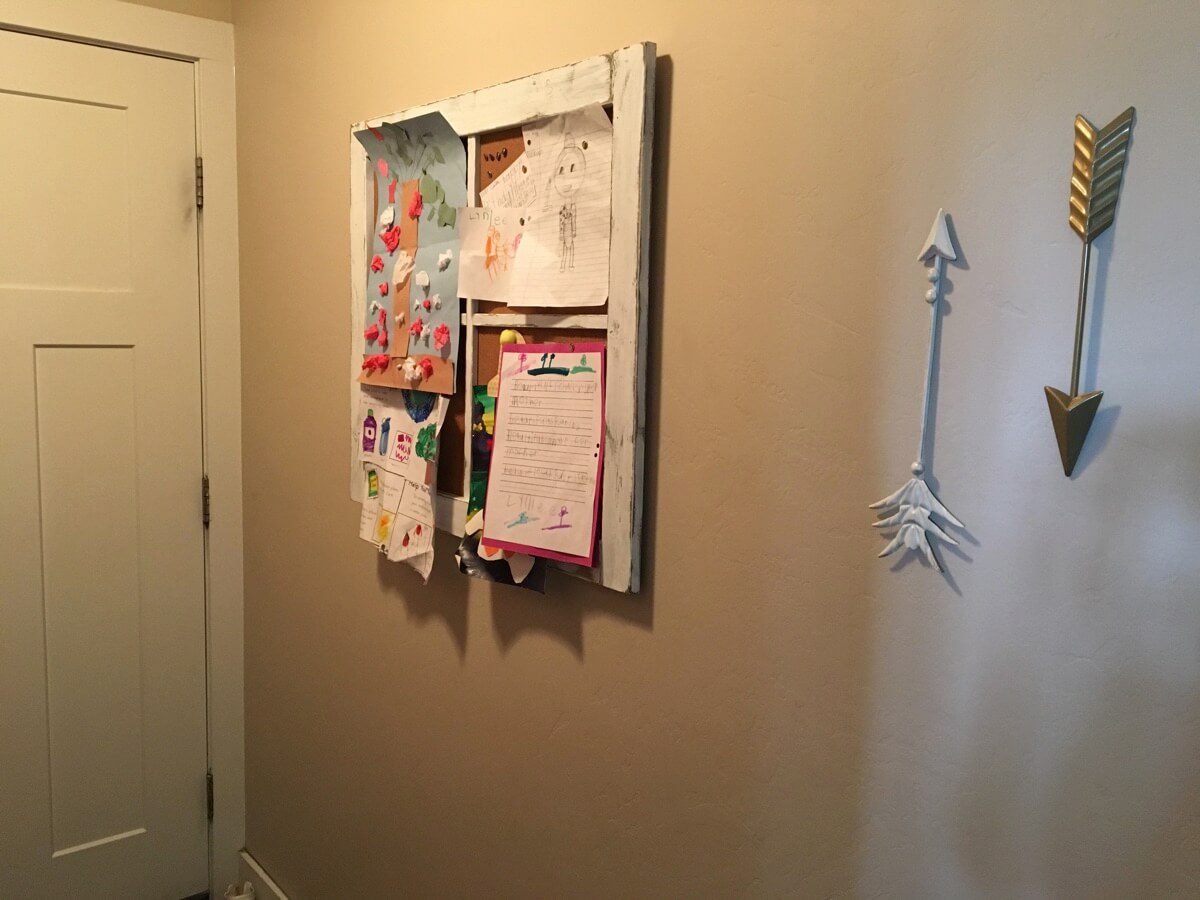
Window Frame Cork Board
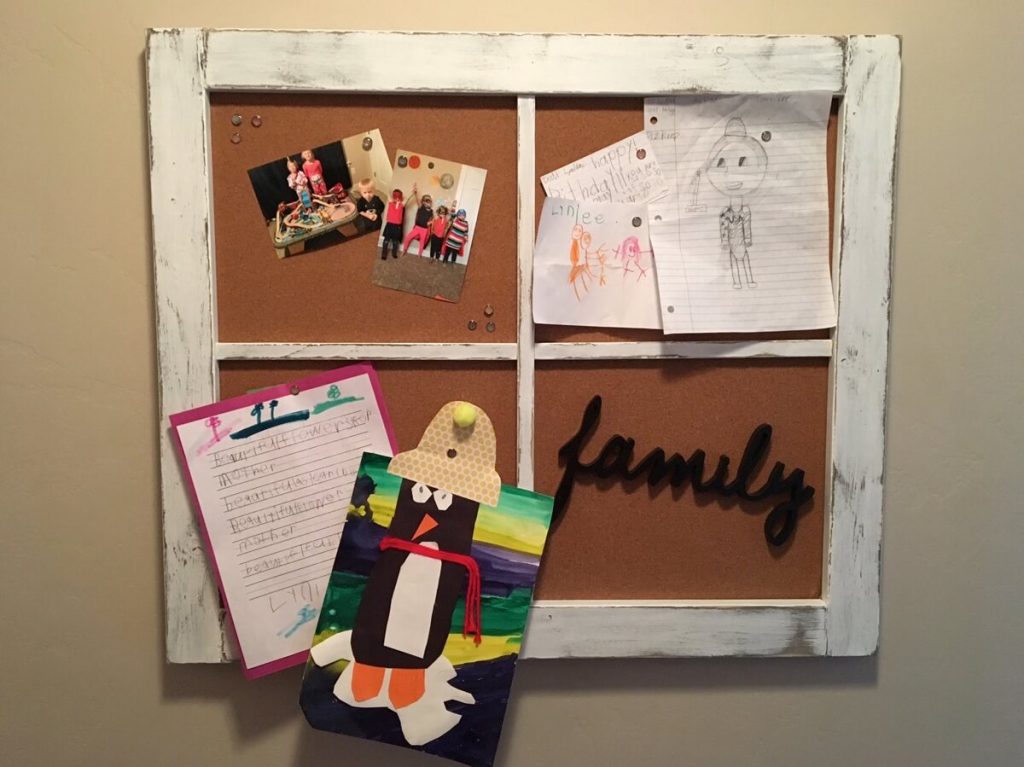
Dimensions: 32.5”x27.25”
Don’t forget to stay updated on future builds by following Overalls and Power Saws on Instagram and Pinterest!
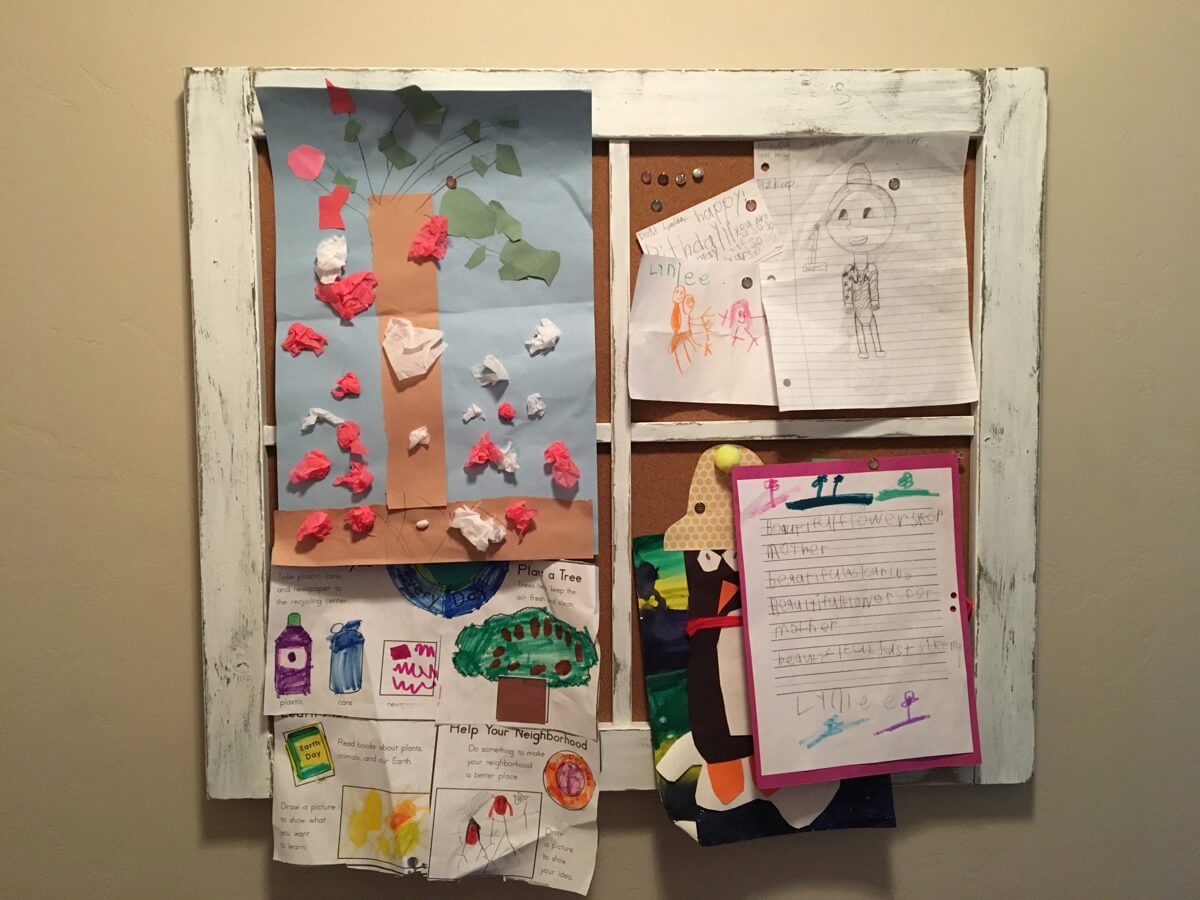
I have my kids to thank for this build. My sweet, thoughtful children that just love to draw me pictures. So many pictures. Pictures that constantly cover my refrigerator, held up by ugly magnets that are always sliding down, falling off, or honestly just suck at being magnets. (I’m sure it has nothing to do with the fact that I always cram multiple paintings/drawings/schoolwork under each one. Totally not my fault.)
Finally, one morning, I opened my fridge, heard the magnet clack to the floor, and watched the 10 pages it was holding up flutter around my kitchen and I had had it! There had to be a better way. A better, cuter way, that doesn’t clutter up my fridge and fall all over my kitchen floor.
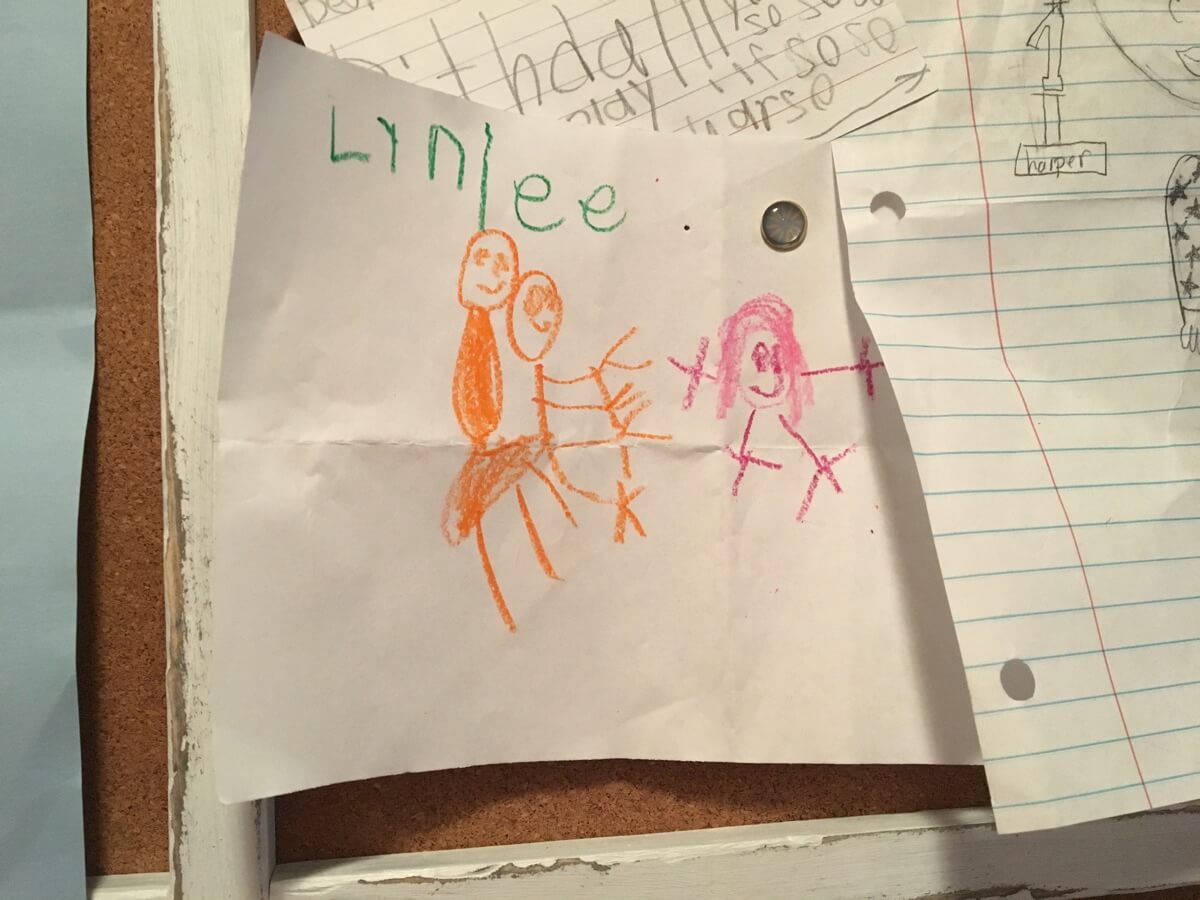
My 5 yo: Mom! Look! I drew a picture of you, me, and daddy!
Me: That’s so sweet.
5 yo: You’re the pink one that’s a potato person
Me: Yep. Sounds about right
I told you… sweet and thoughtful. Why wouldn’t I want that on display??
That’s when I came up with the window frame cork board! It hangs in my mudroom, which can be seen from my entryway. So my kids still get their artwork displayed, and the pushpins actually hold it in place!
Finally: A win-win!
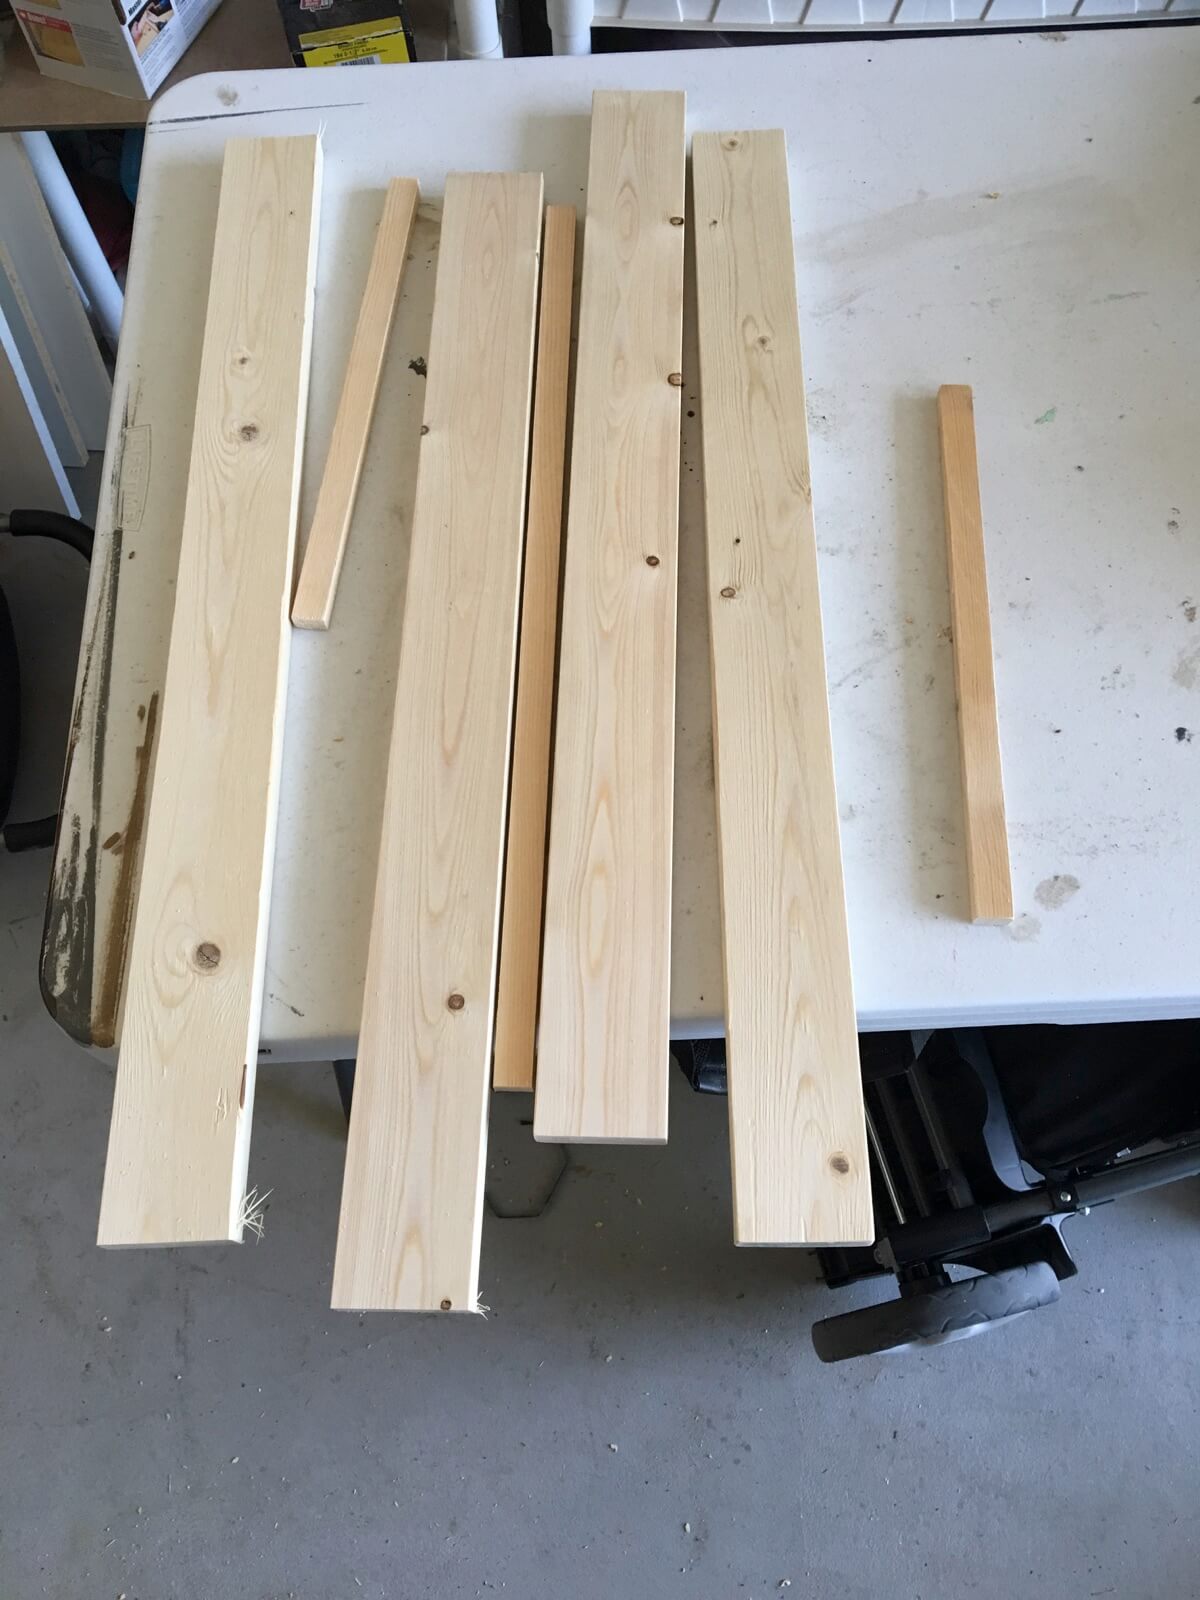
This project is super duper easy and it doesn’t require a ton of lumber so it’s a great one for scrap!
However, I will apologize ahead of time. While I have written out all of the steps for you (hopefully they are easy enough to follow), I am seriously lacking in the photo department. Sorry! Still getting used to taking progress pics.
Materials:
- 1x3x6 – 2
- 1x3x4 – 1
- 24×36 cork board – I found mine at Walmart for $8.97
- Staple gun and ½” staples
- 1 ¼” Kreg Screws
- Flathead screwdriver
- Boxcutter
Cut List:
- 1x3x27 ¼” – 2
- 1x3x27 ½” – 2
- Cut the length of the 1x3x4 board down by ½” twice
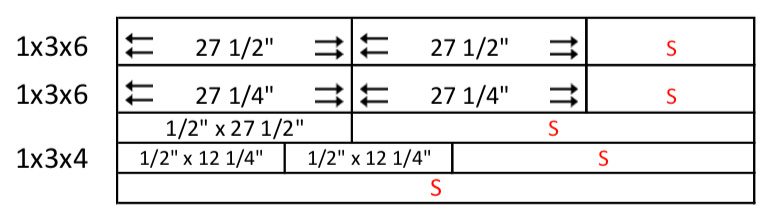
*Red S’s are SCRAP and asterisks indicate pocket holes
Step 1:
Cut and Kreg.
Step 2:
Attach one 27 ½” and one 27 ¼” in an ‘L’ shape
Step 3:
Attach the second 25 ½” board at the top of the 27 ¼” board
Step 4:
Finish off the rectangle shape by adding the last 27 ¼” board
Step 5:
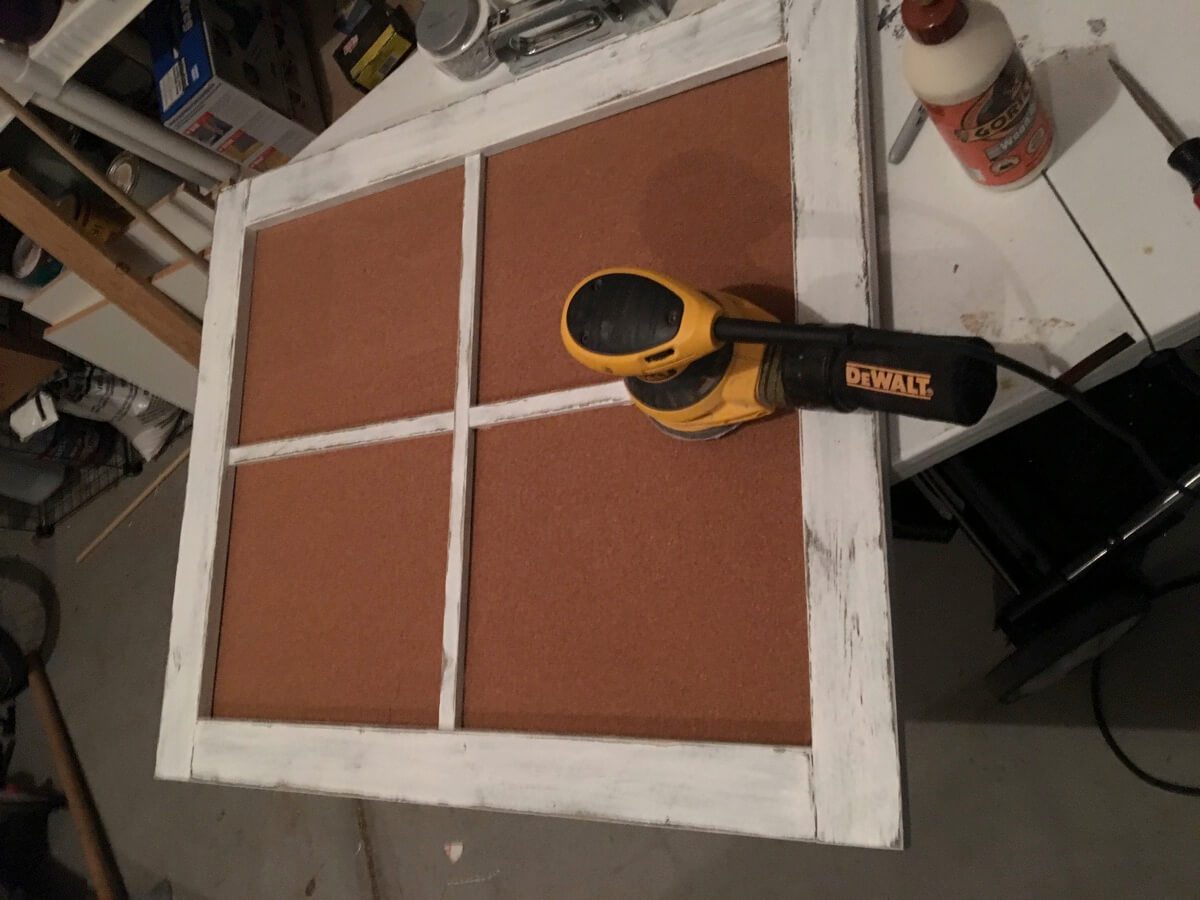
Lay the frame face down on a flat surface. Lay the ½”x27 ½” piece horizontally in the center of the frame. Place a dab of glue on either end, then staple it to the frame.
Step 6:
Lay the ½”x 12 ¼” pieces vertically in the center of the frame. Place a dab of glue on either end of those, then staple to the frame and the center piece.
Step 7:
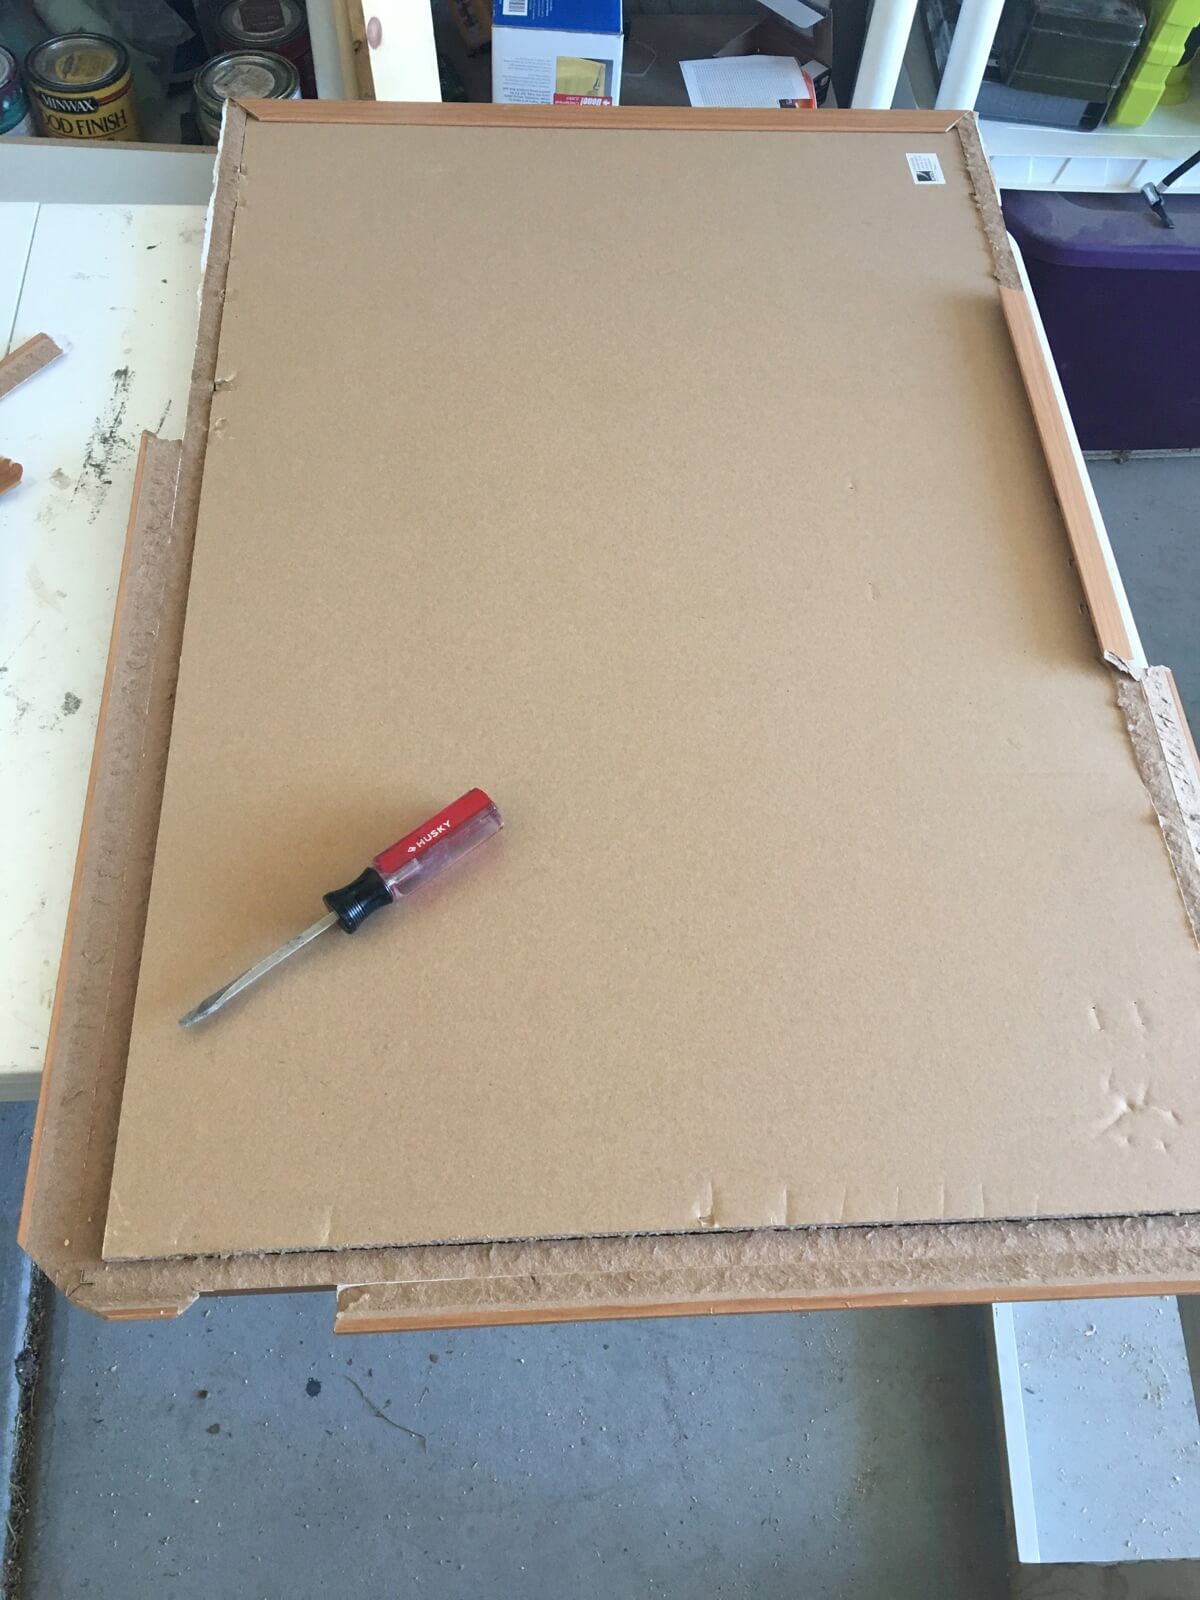
If you bought the cork board I suggested, you’ll notice there’s a frame around it. I used a flathead screwdriver to take it off. This part requires a little elbow grease, but if you can wedge the flathead just right under the frame, it will pop right off. Then you take the box cutter and cut the cork down to 22 ¾” x 28”.
Step 8:
Before attaching the cork, put a finish on the frame. I stained it dark walnut, and then put a coat of white paint over it and sanded the edges to give it a distressed look. But feel free to finish it however you like!
Step 9:
Place the frame face down on a flat surface. Line up the cork on the frame. It will be a tight fit so be sure all the edges of the cork are covering the open space of the frame. Staple the edges of the cork to the frame.
Hang the frame, find some cute pushpins, and enjoy the fact that your kids’ art/schoolwork isn’t cluttering your kitchen. I mean… enjoy your kids’ art/schoolwork 😉
Thanks for following along! As always, PIN this project, subscribe to the blog (if you haven’t already!), and share your photos!