Home Decor
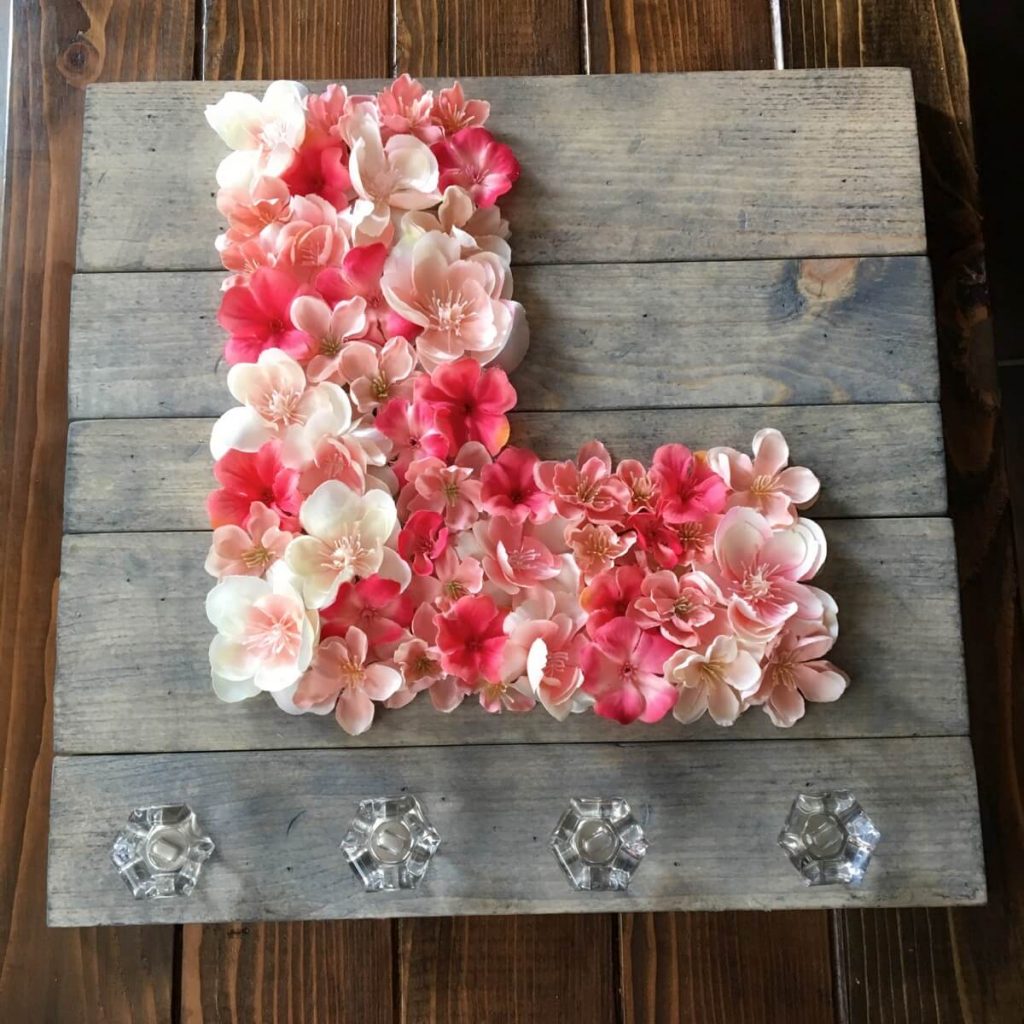
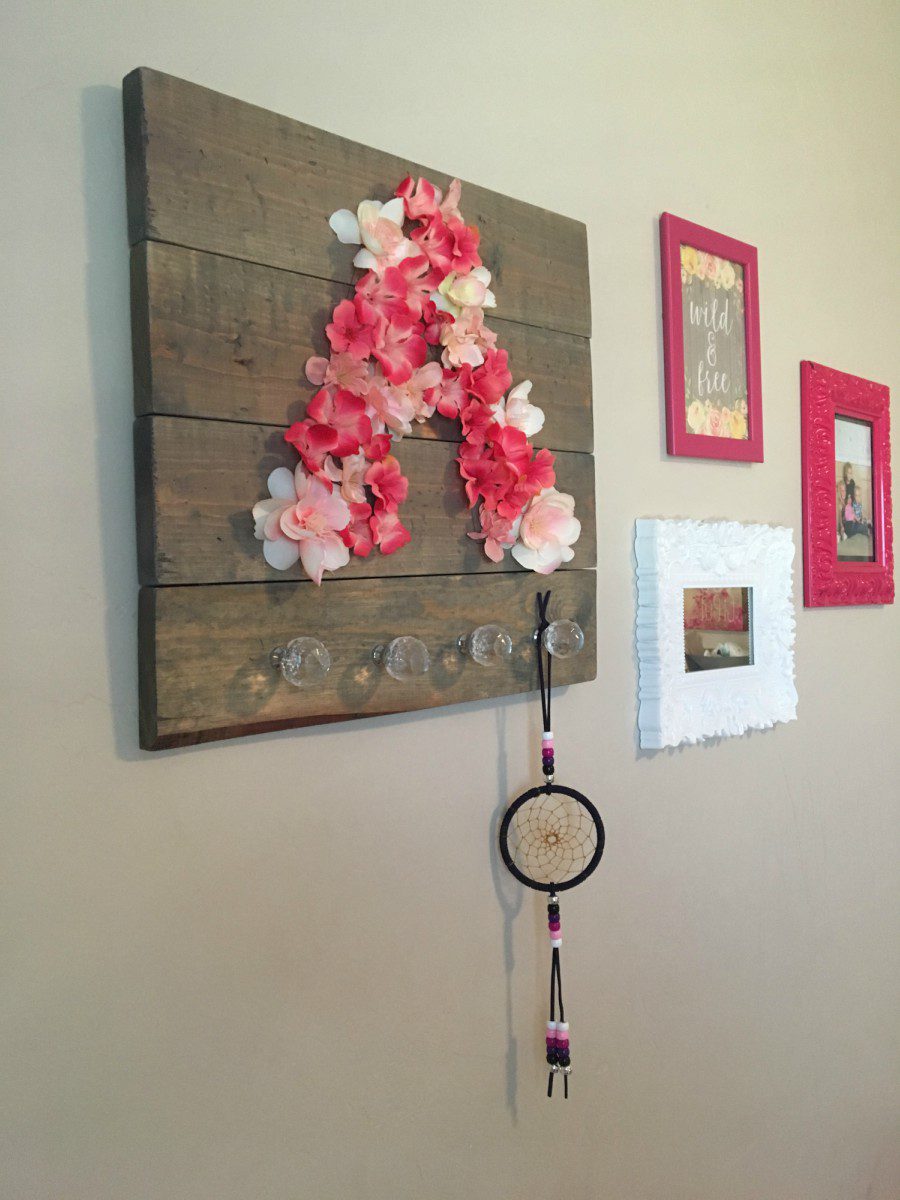
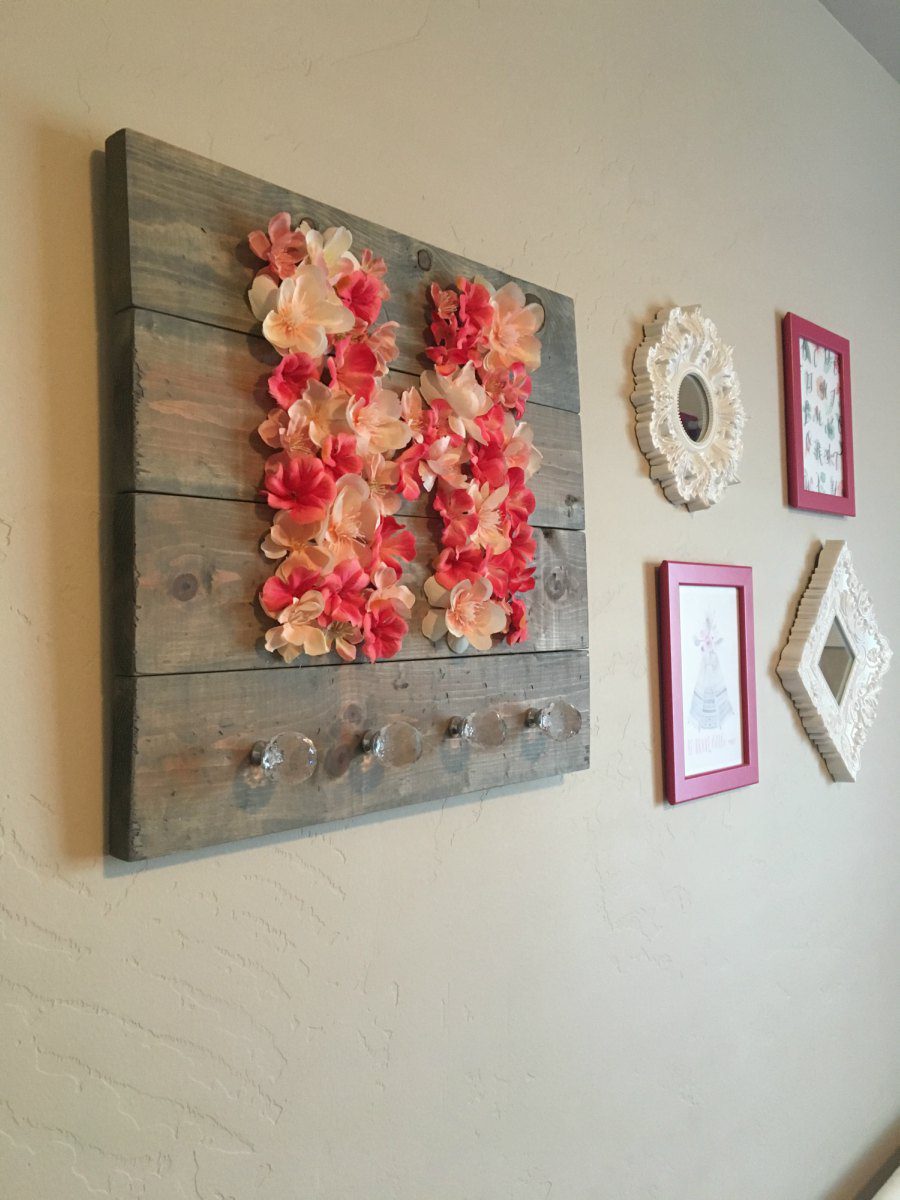
Floral Initial Jewelry Hanger
Dimensions: 14×14 ¾
This DIY jewelry hanger was part of my daughter’s bedroom makeover I did last year when we moved her into the basement. One day I’ll post all about that.
For now, I’ll just go over how to make this super quick naptime craft. (Because naptime crafts are the best crafts!)
Don’t forget to stay updated with current builds by following Overalls and Power Saws on Instagram and Pinterest!
Floral Initial Jewelry Hanger
Materials:
- 1x4x6
- ¾” Kreg screws
- Flower bundles (of choice – you can find these at Hobby Lobby, Joann’s, Michaels, even Walmart. My favorite place is Michaels. You can usually get them on sale, and they have the biggest selection, in my opinion. I bought one bunch of three different flowers – three bunches total)
- Drawer pulls (of choice – I also give a good example of what NOT to buy)
- Hot glue gun
- Optional:
- Hammer
- Chain
- Any assortment of distressing materials
Cut List:
- 1x4x14 ¾” – 4

*Red S’s are SCRAP and arrows are pocket holes
Step 1:
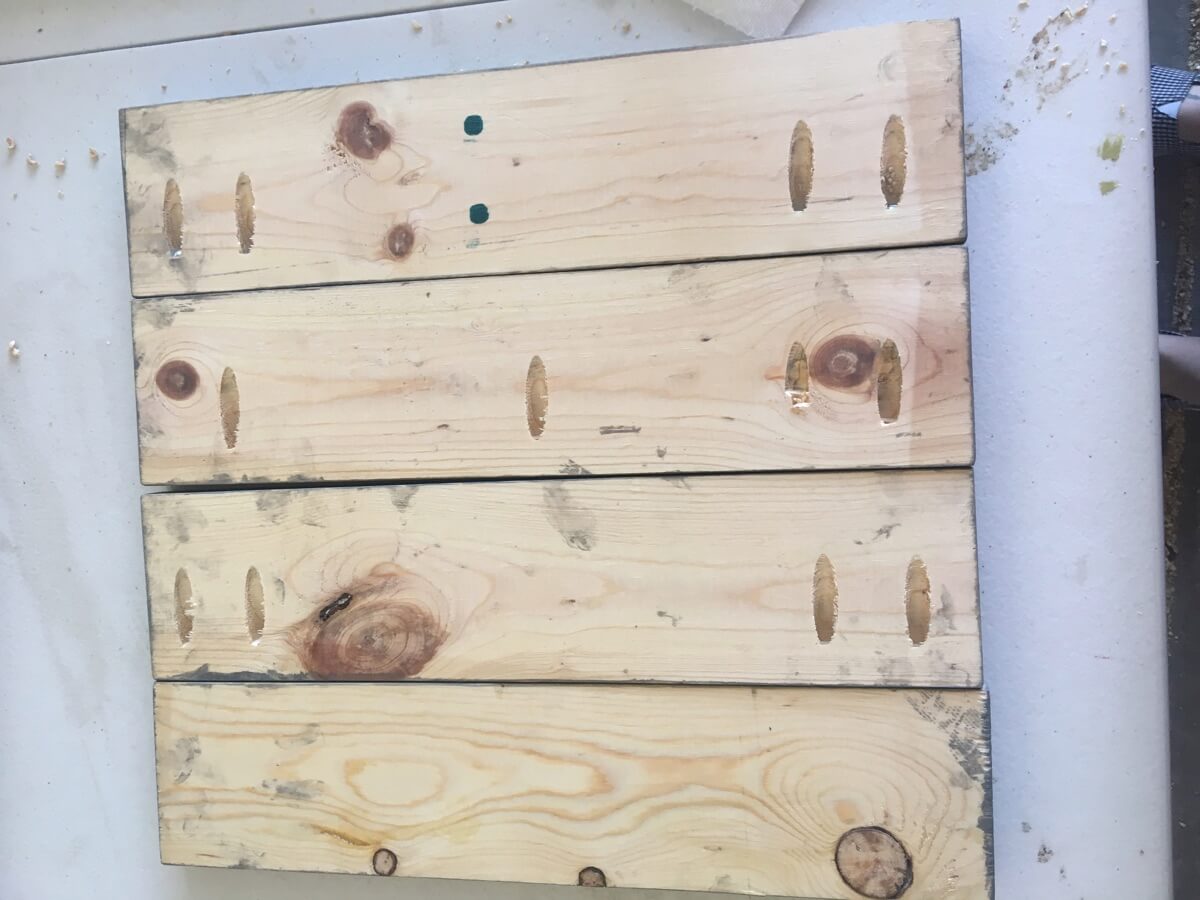
Cut your boards to length and add pocket holes. To see the Kreg pocket hole system I use, check out the Tools I Use page.
Step 2:
Line up your cut boards and screw them together. I left a bit of a gap between the boards because I liked the way it looked.
Step 3:
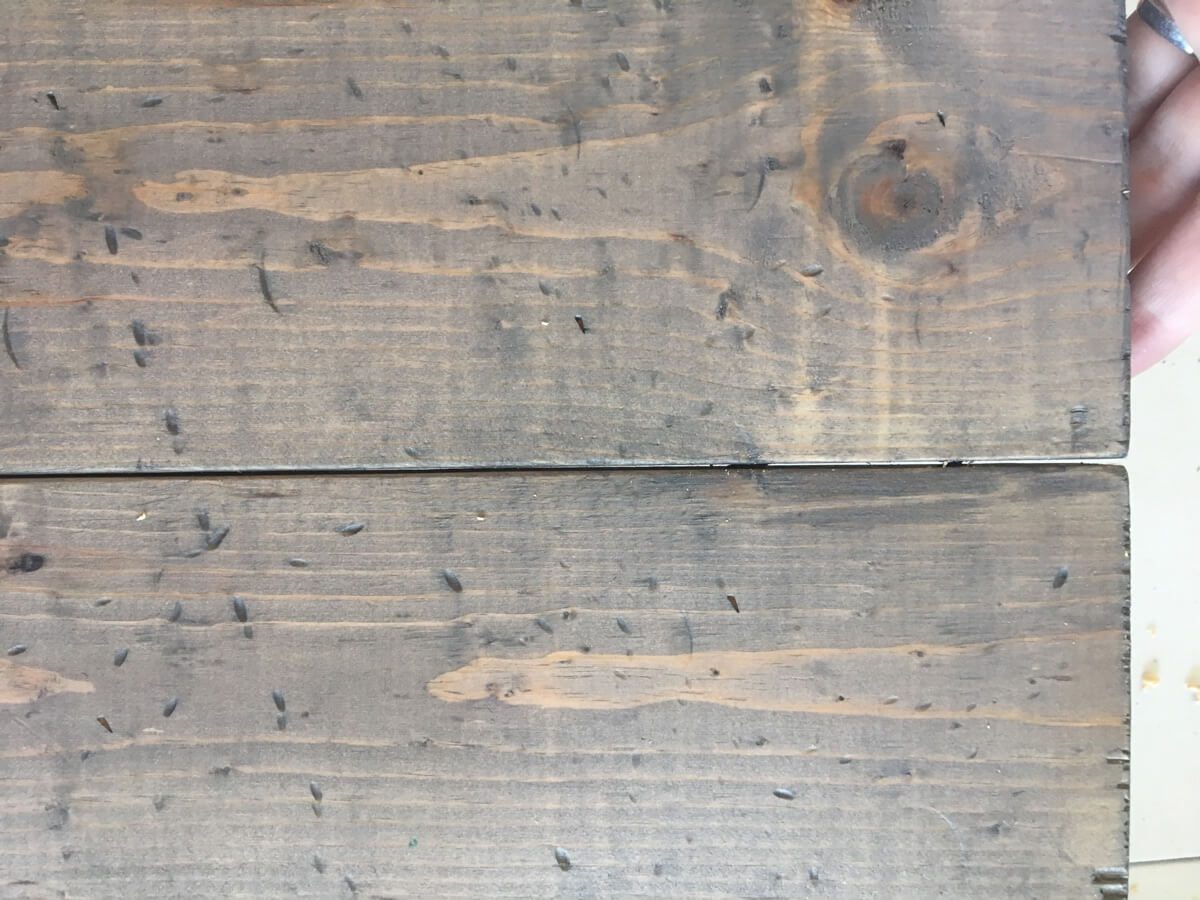
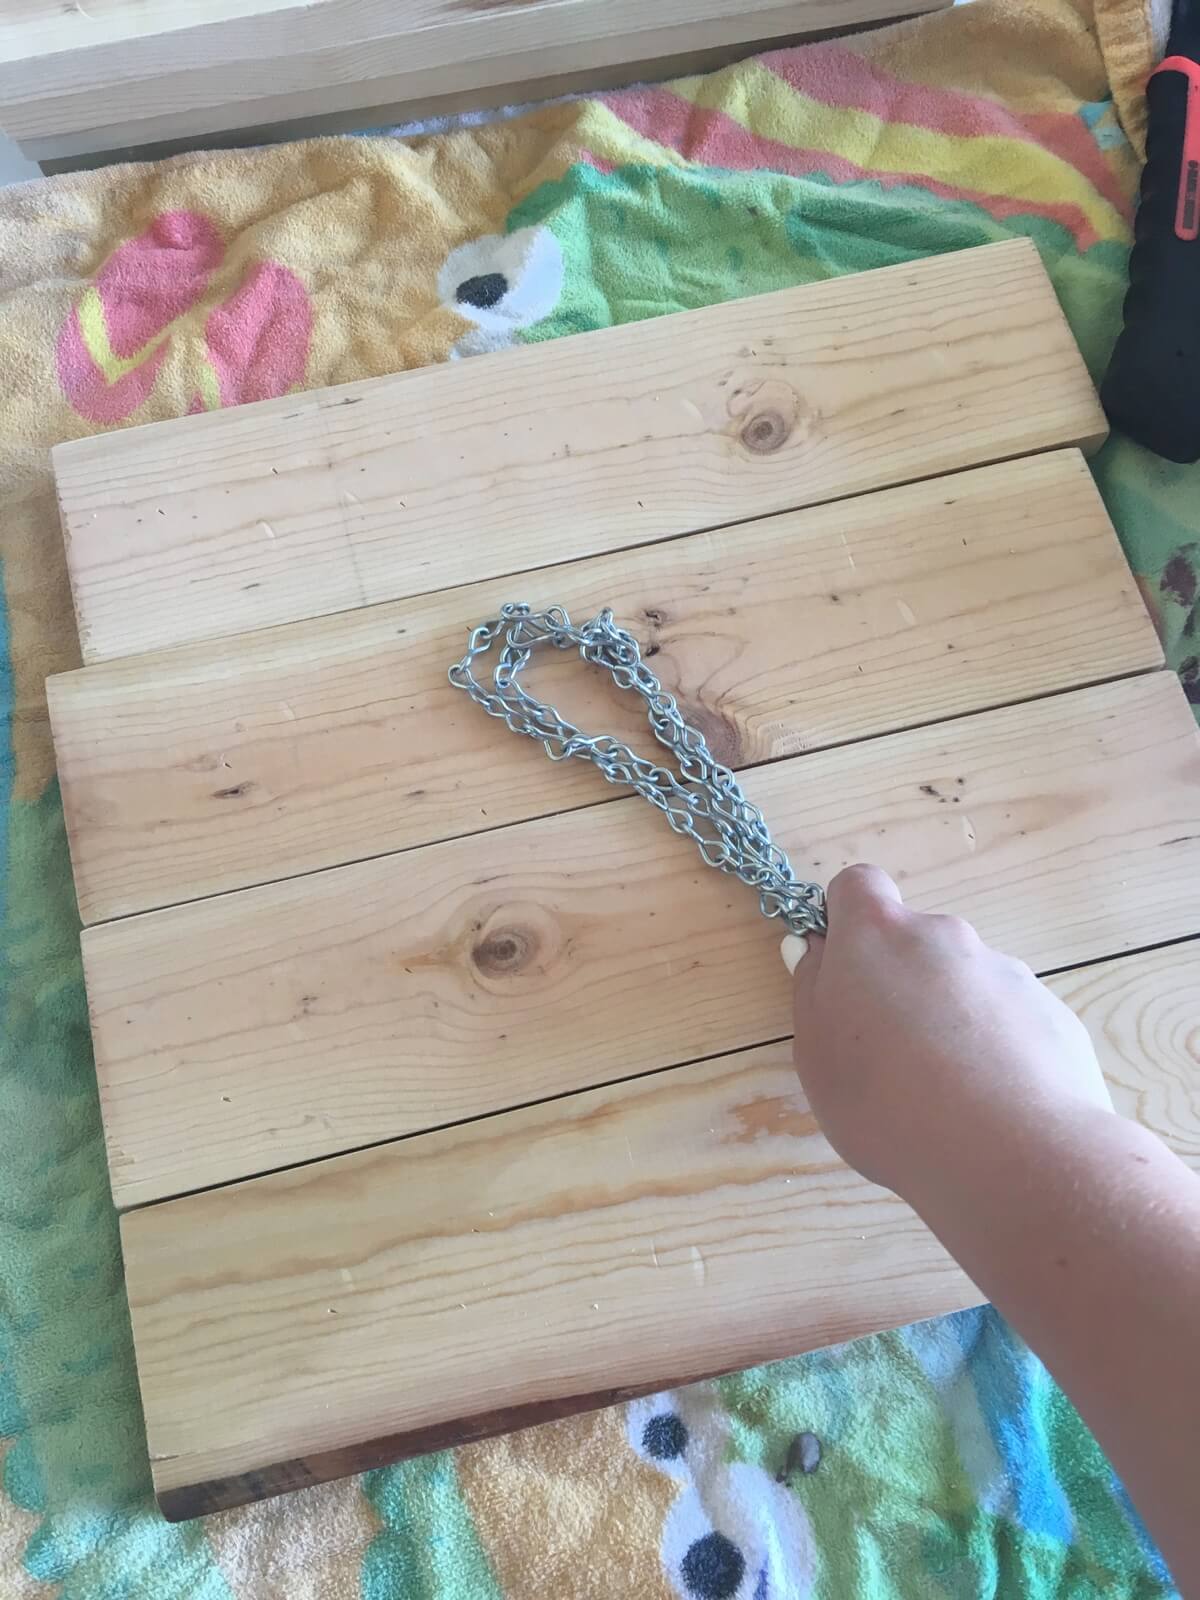
This is my favorite part. I love a good distressed look and they’re fun to make! So take a hammer, a chain, a weed-pulling pokey stick-thing, or whatever else you can get your hands on and pound the heck out of it!
Step 4:
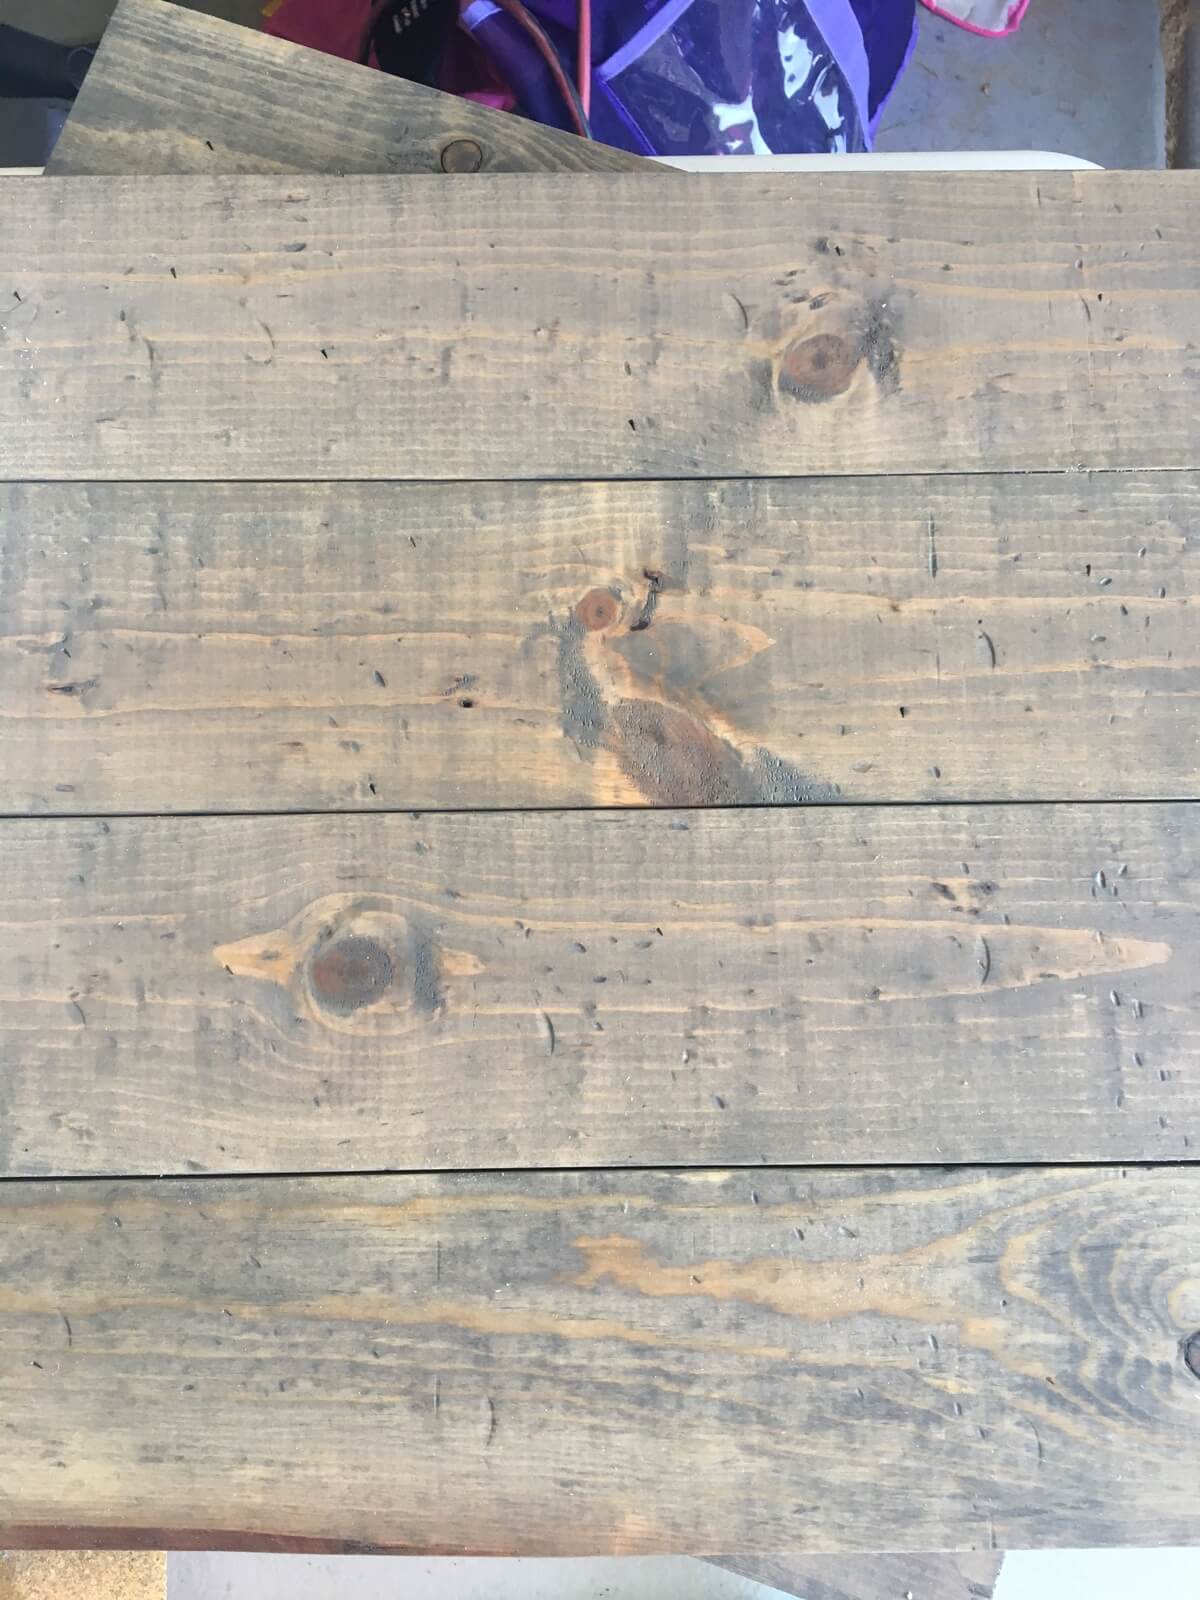
Add a finish. I used Minwax stain in Grey.
Step 5:
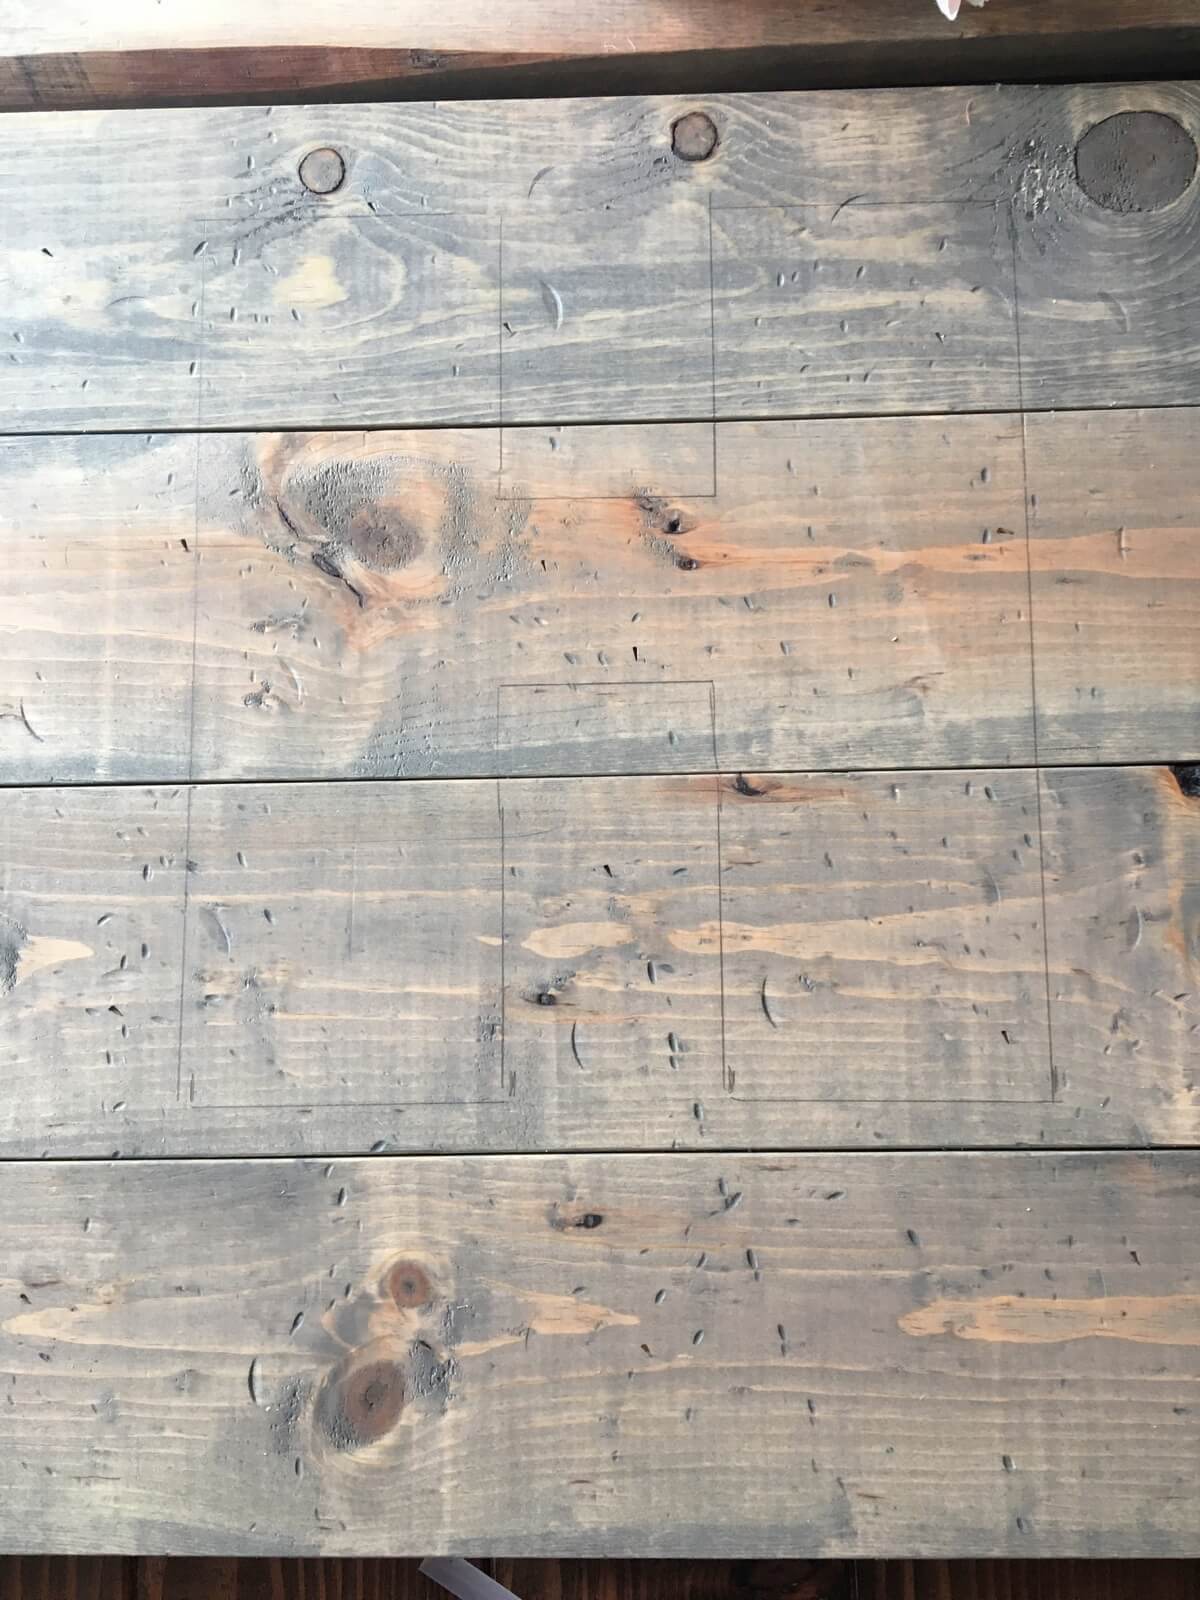
Trace whatever initial you would like onto the board. In my case, it’s an ‘H’. I free-handed it, but it’s just as easy to print a large letter of your computer to use a stencil.
Step 6:
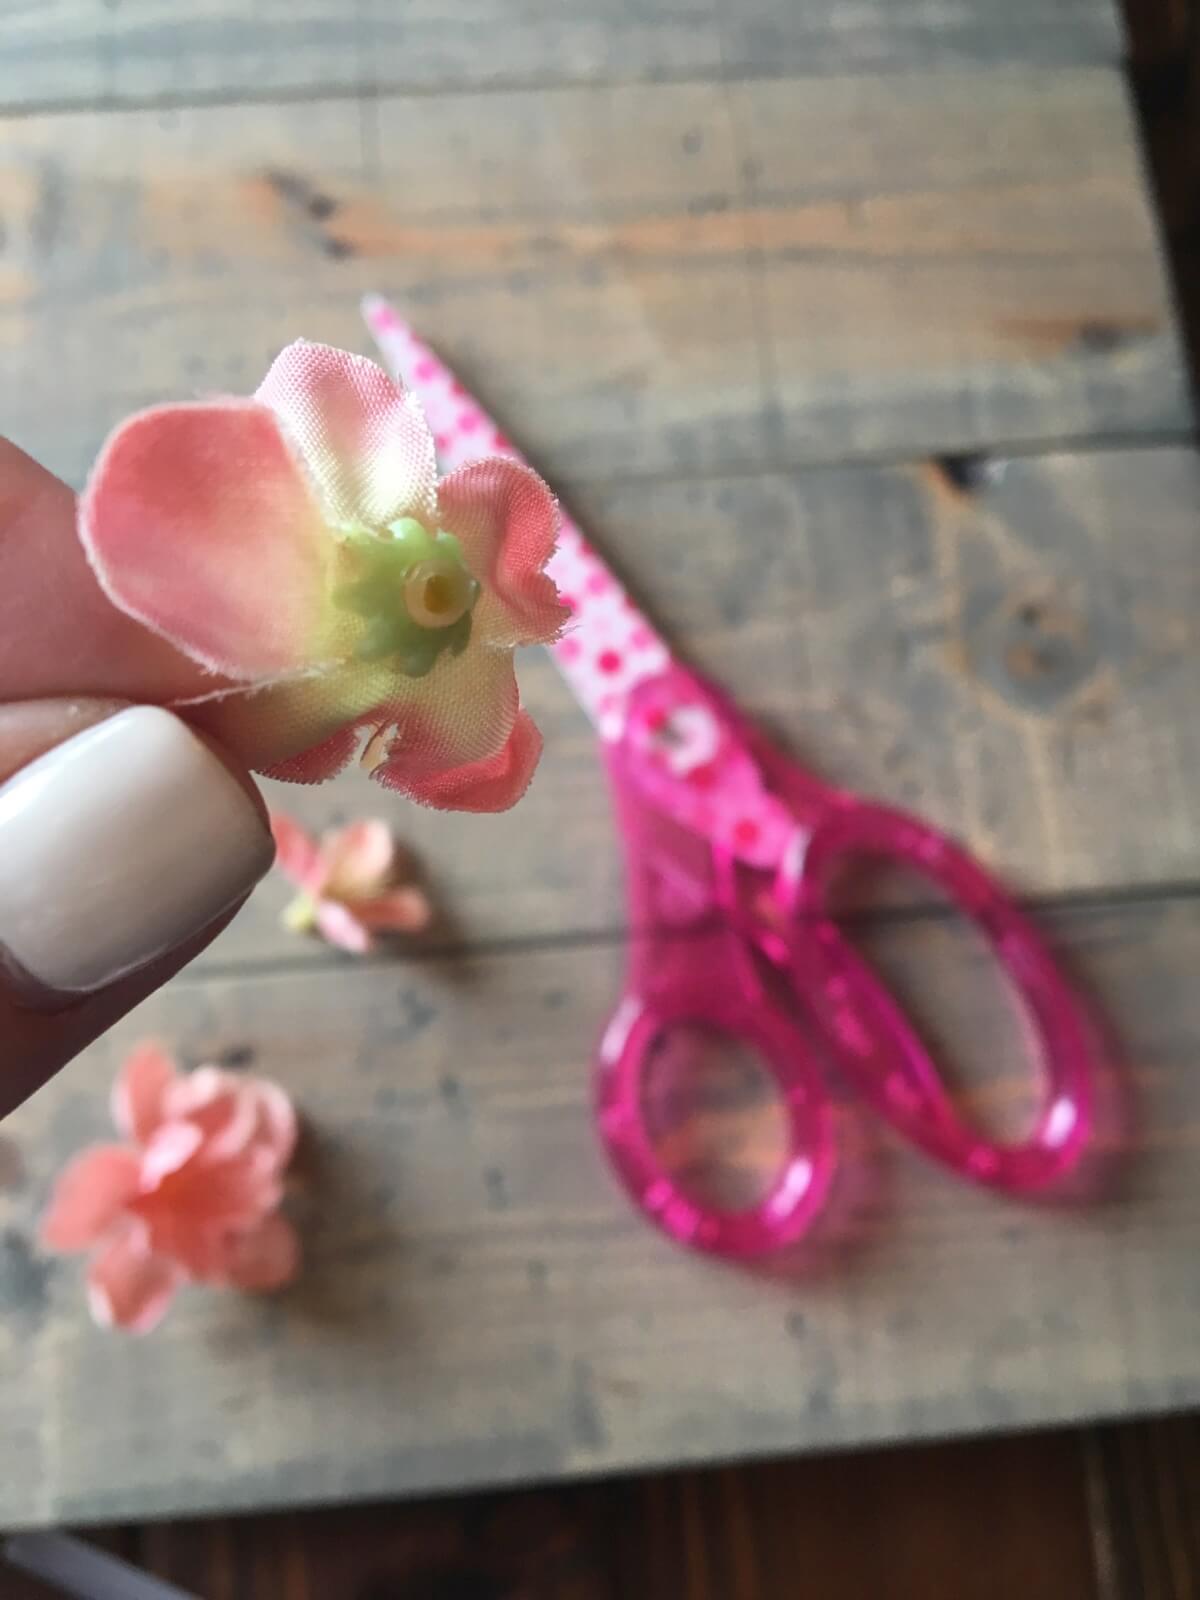
Pull flowers off of stems,
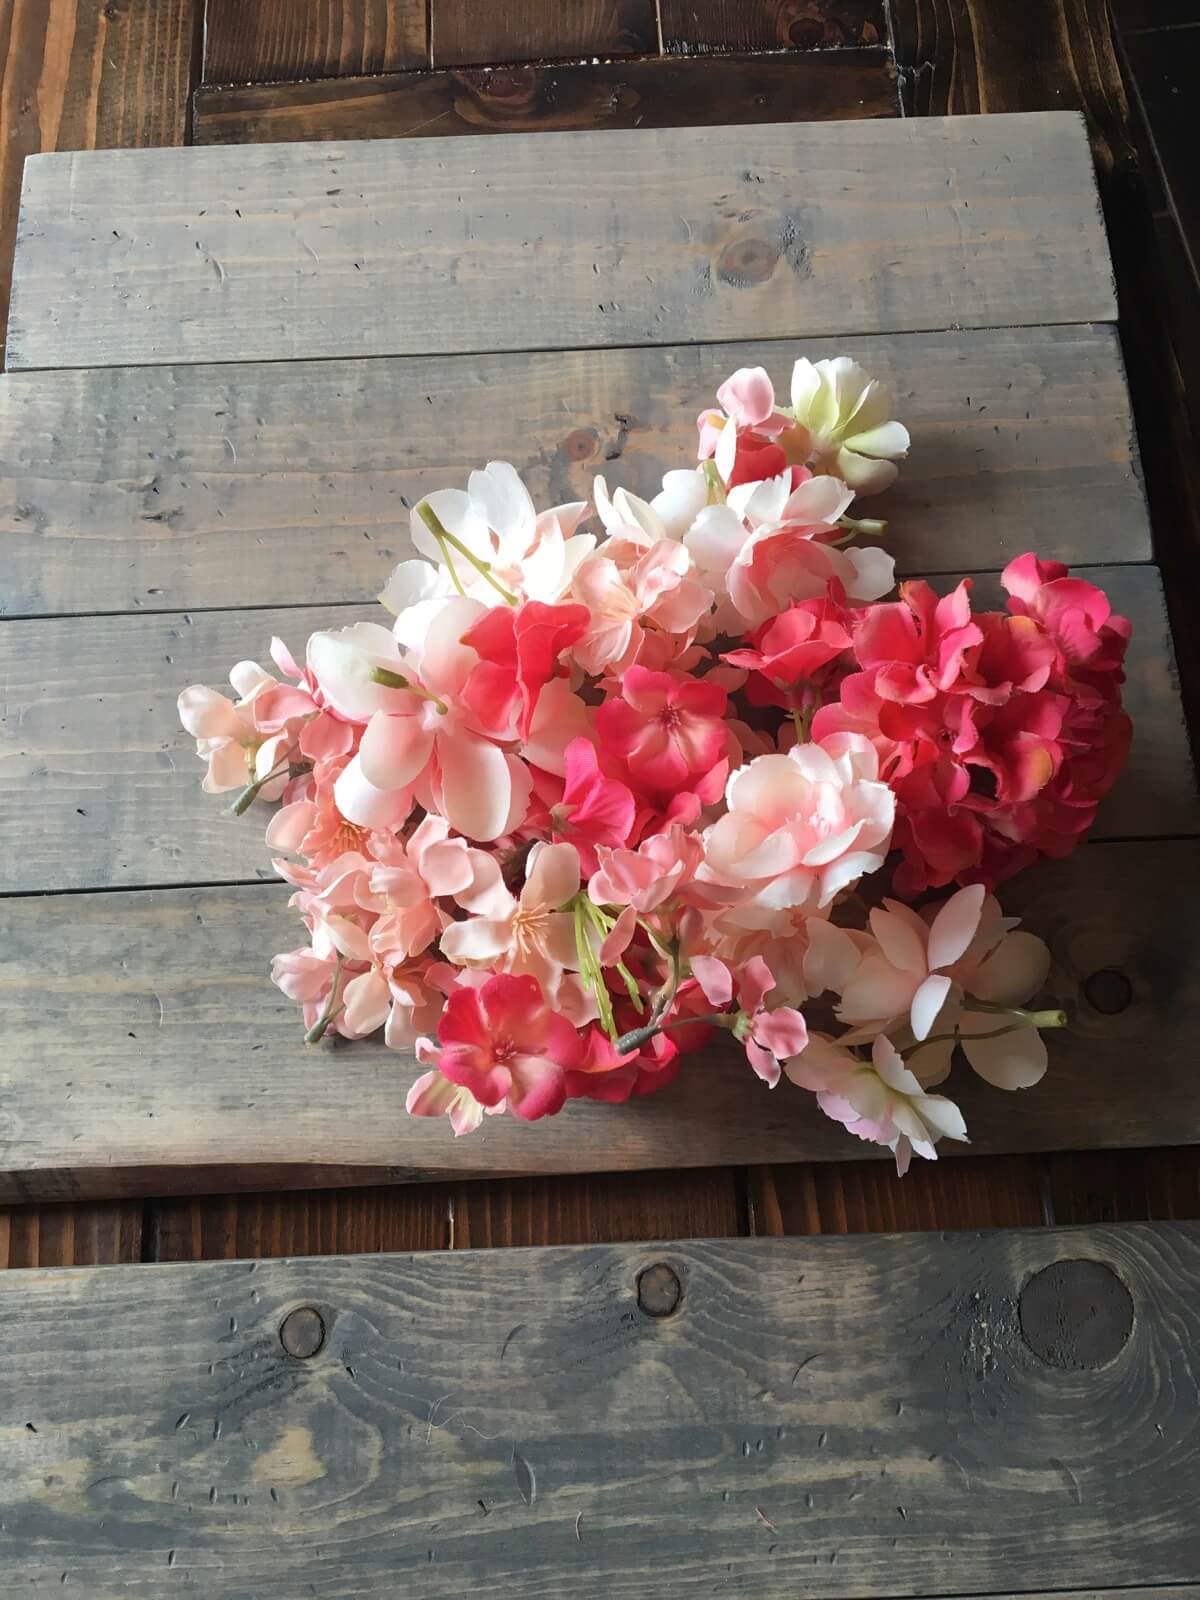
Cut said stems,
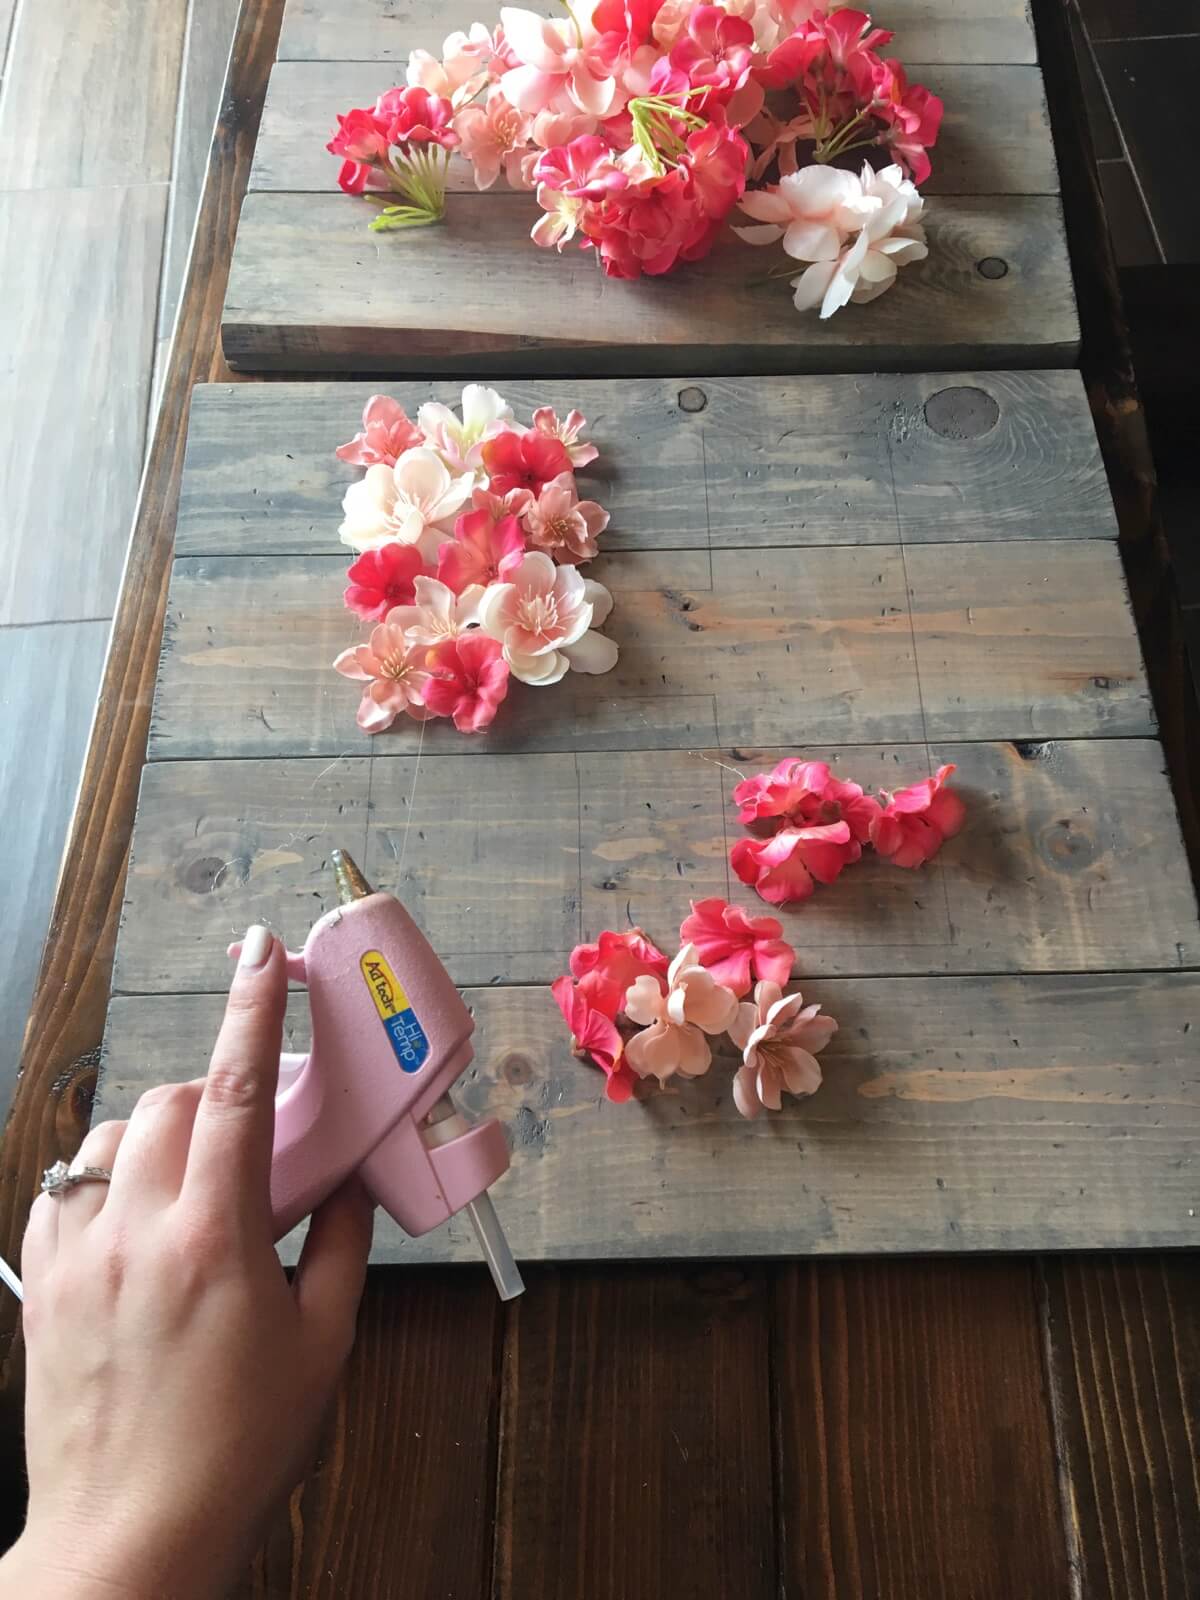
And start gluing flowers in the initial you outlined,
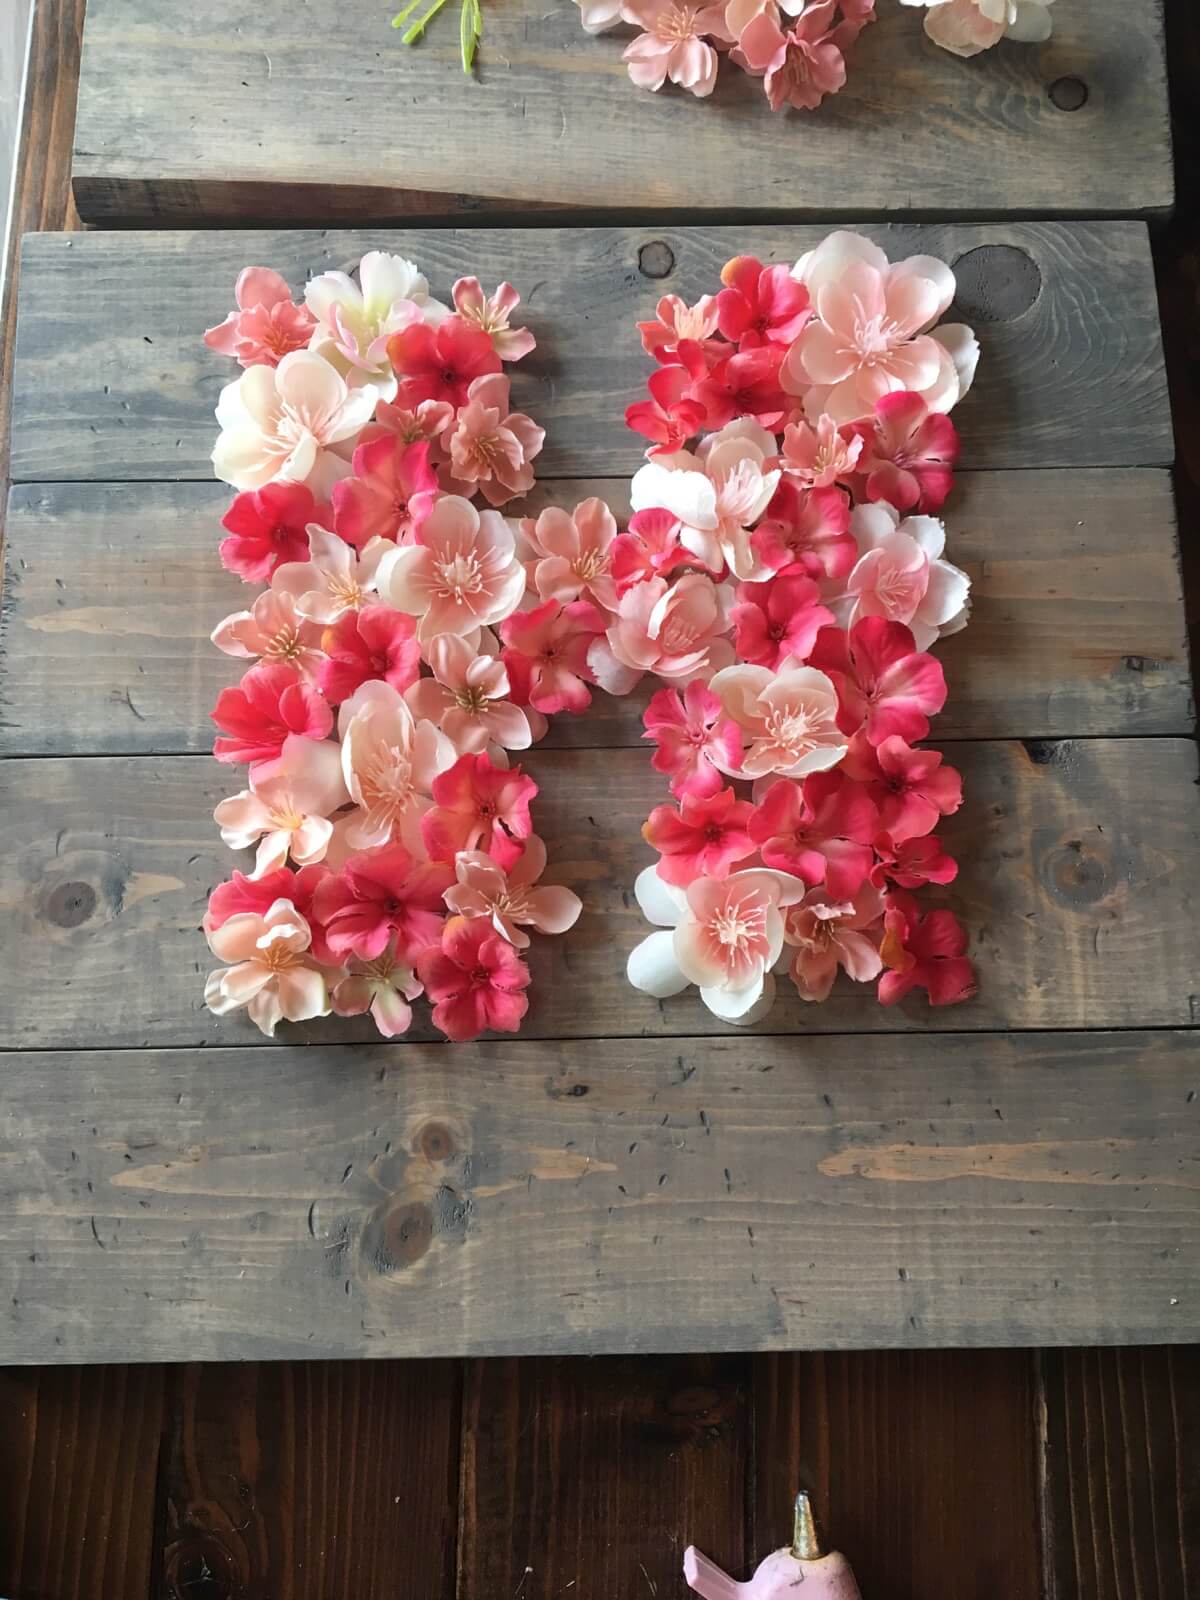
Until it’s completely filled in.
Step 7:
Drill holes for drawer pulls and attach them.
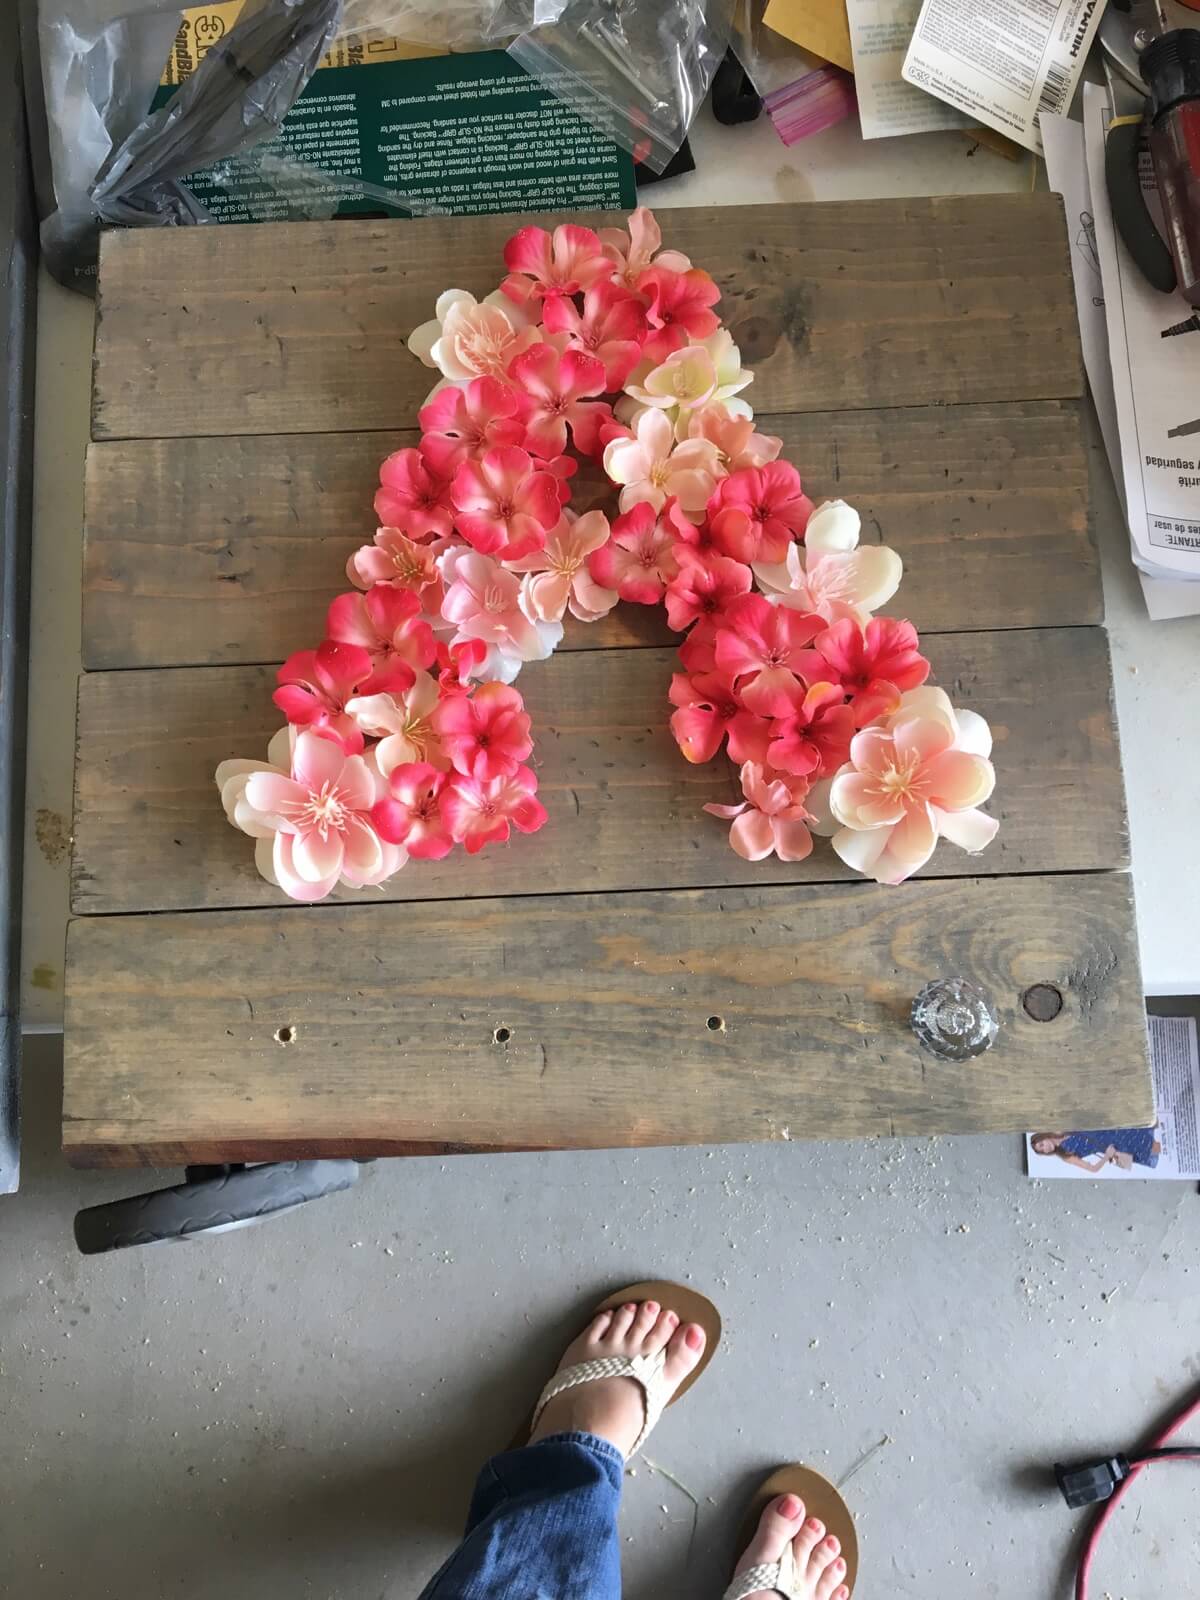
Let’s talk drawer pulls. Here’s my example I promised.
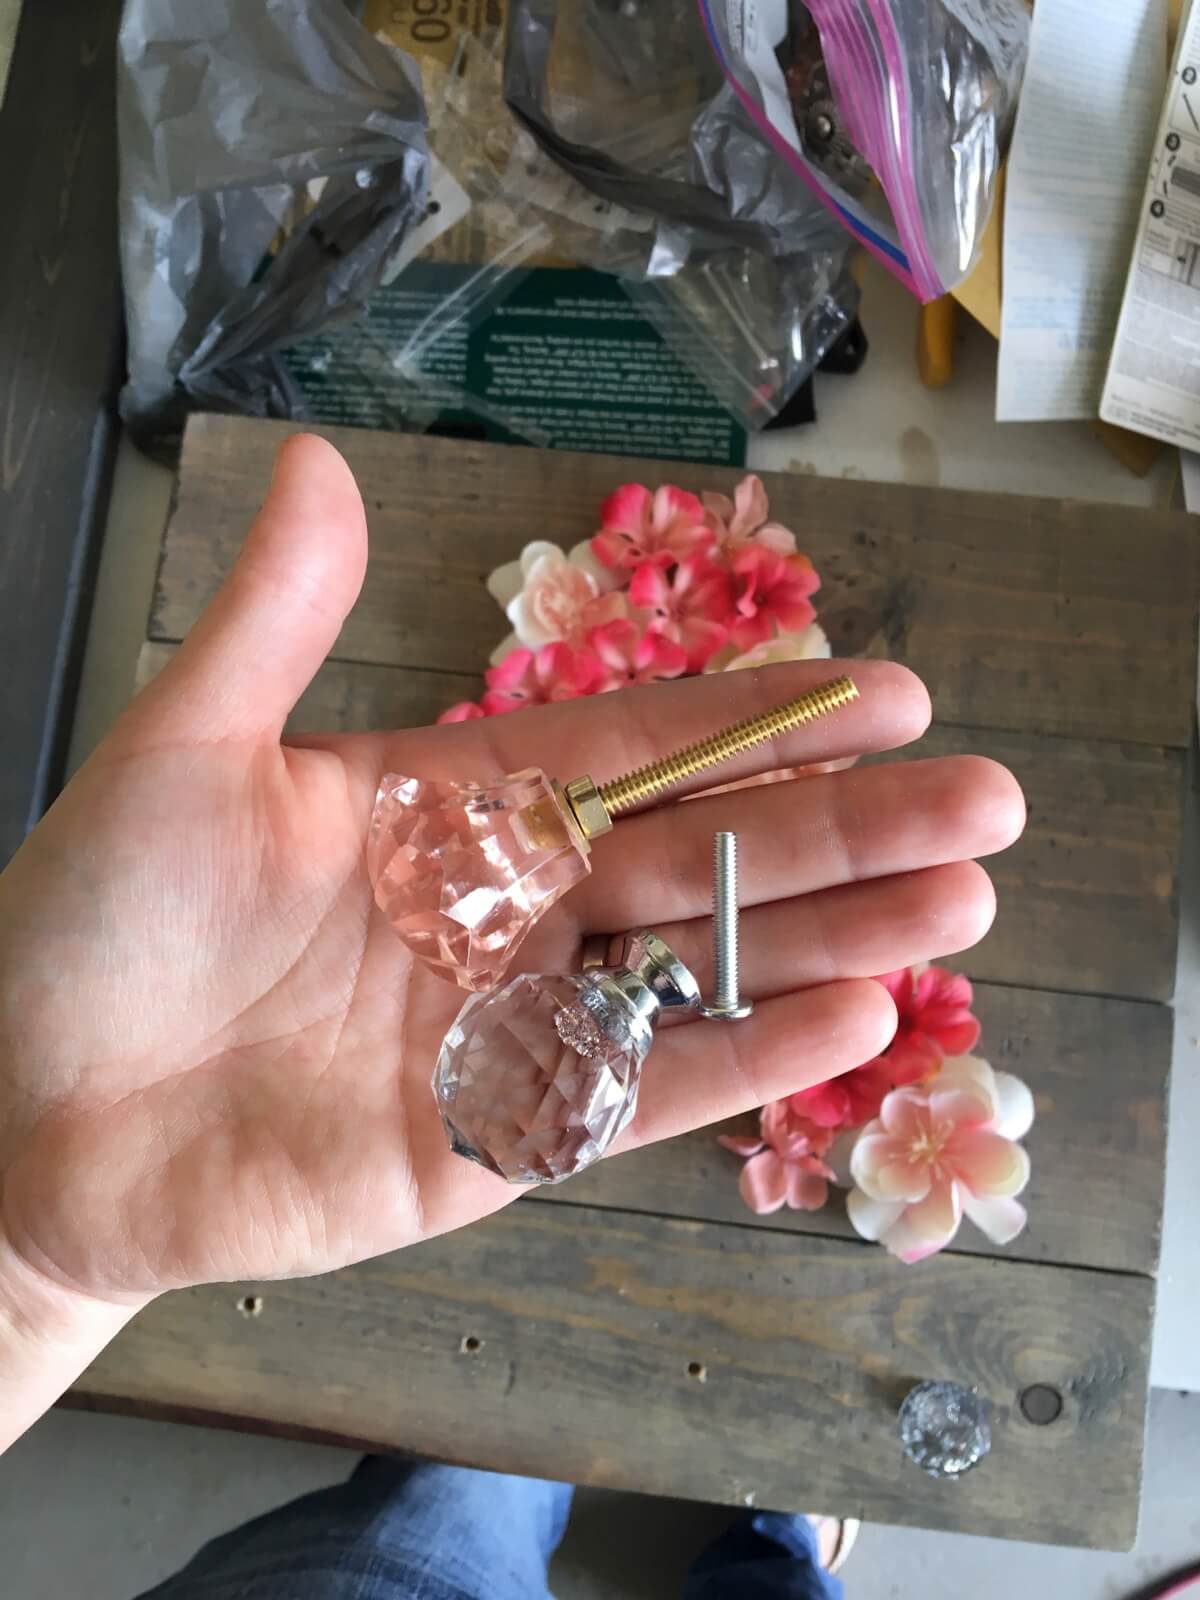
The top one from Hobby Lobby (whilst so cute, and so pink) has a really long screw sticking out of it. And as much fun as it is to go through and cut all of these down (read: zero fun), it is MUCH simpler and will save you a giant headache if you just buy the ones from Home Depot/Lowe’s to begin with. The screw comes from behind and screws into the drawer pull, leaving the back of your board totally flush. Which is exactly how you want it when it’s hanging on the wall.
Let me just throw one more tip your way. My favorite way to hang anything larger or heavier than an 8×10 picture frame is with the Ook brand mirror, picture, and canvas hangers.
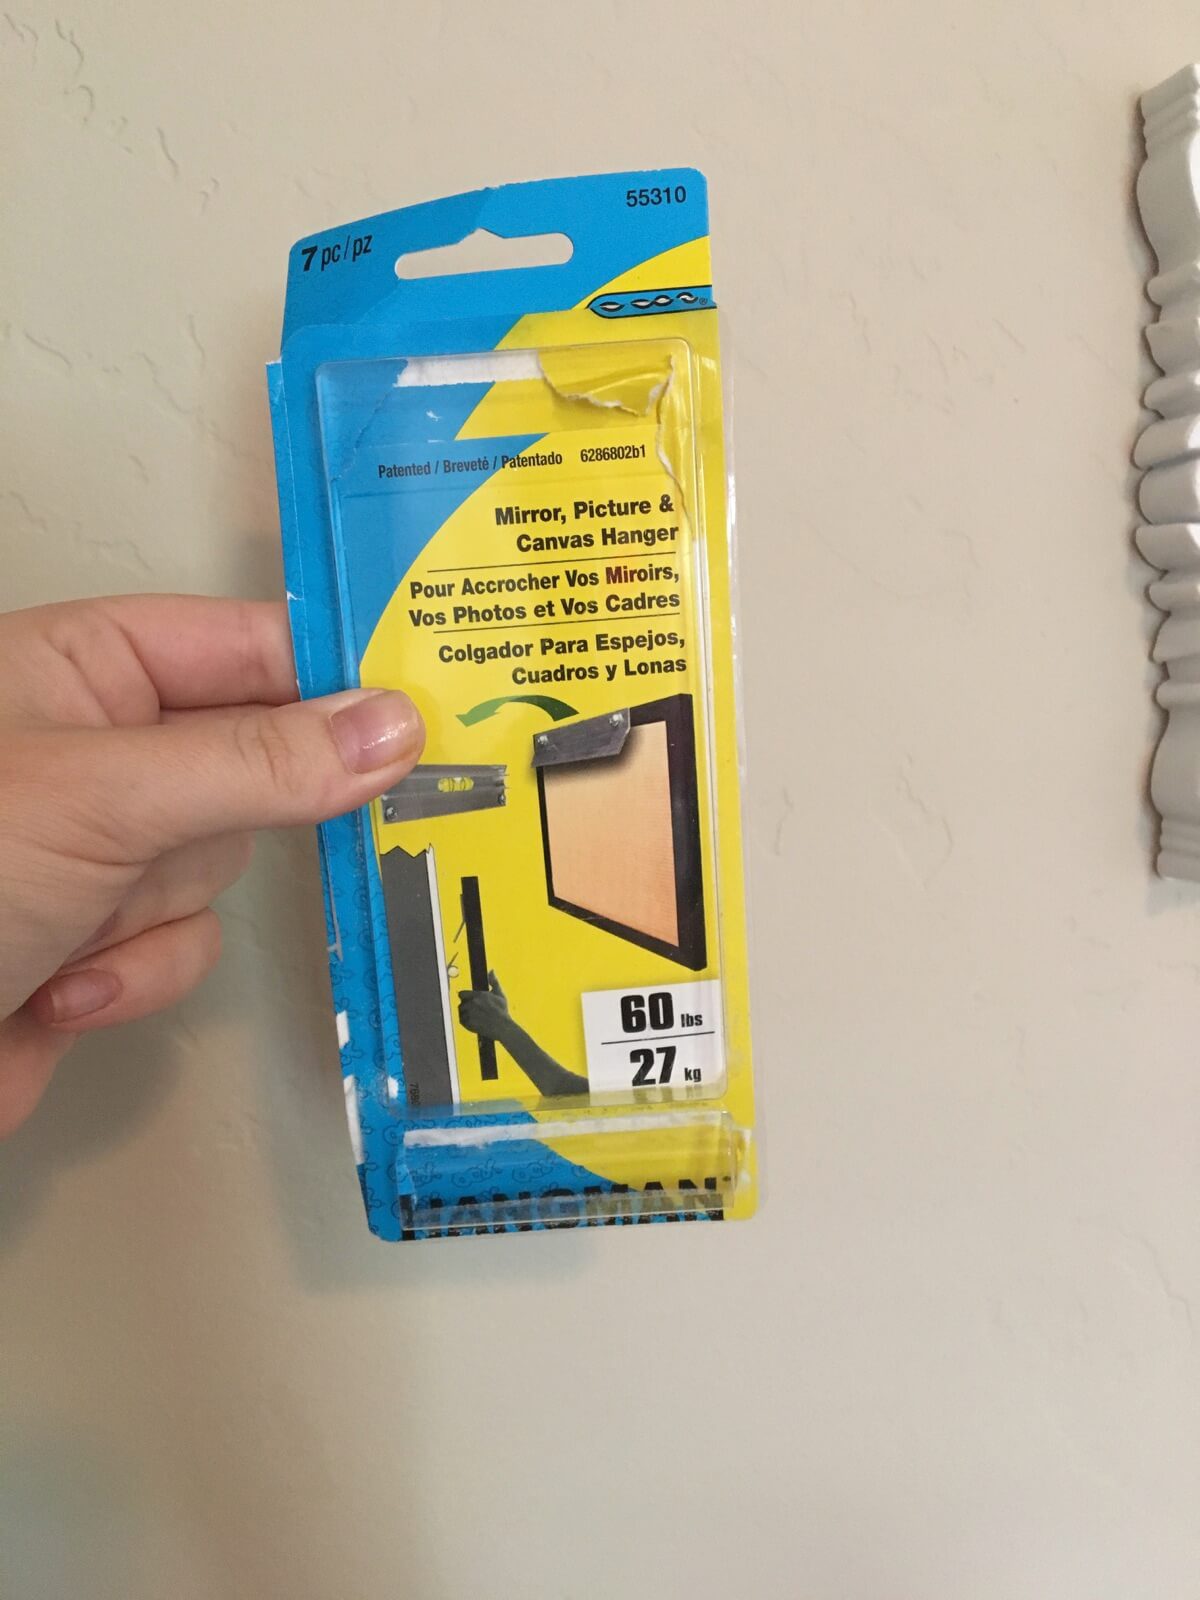
I’ll go ahead right now and reassure you that I don’t get paid by Ook to tell you this. (I wish!) This is my personal opinion. They’re just so dang easy. And when they come with a level, you know you’ll get it straight every time. Every handywoman (and man)’s dream! You can find them at Walmart or Amazon.
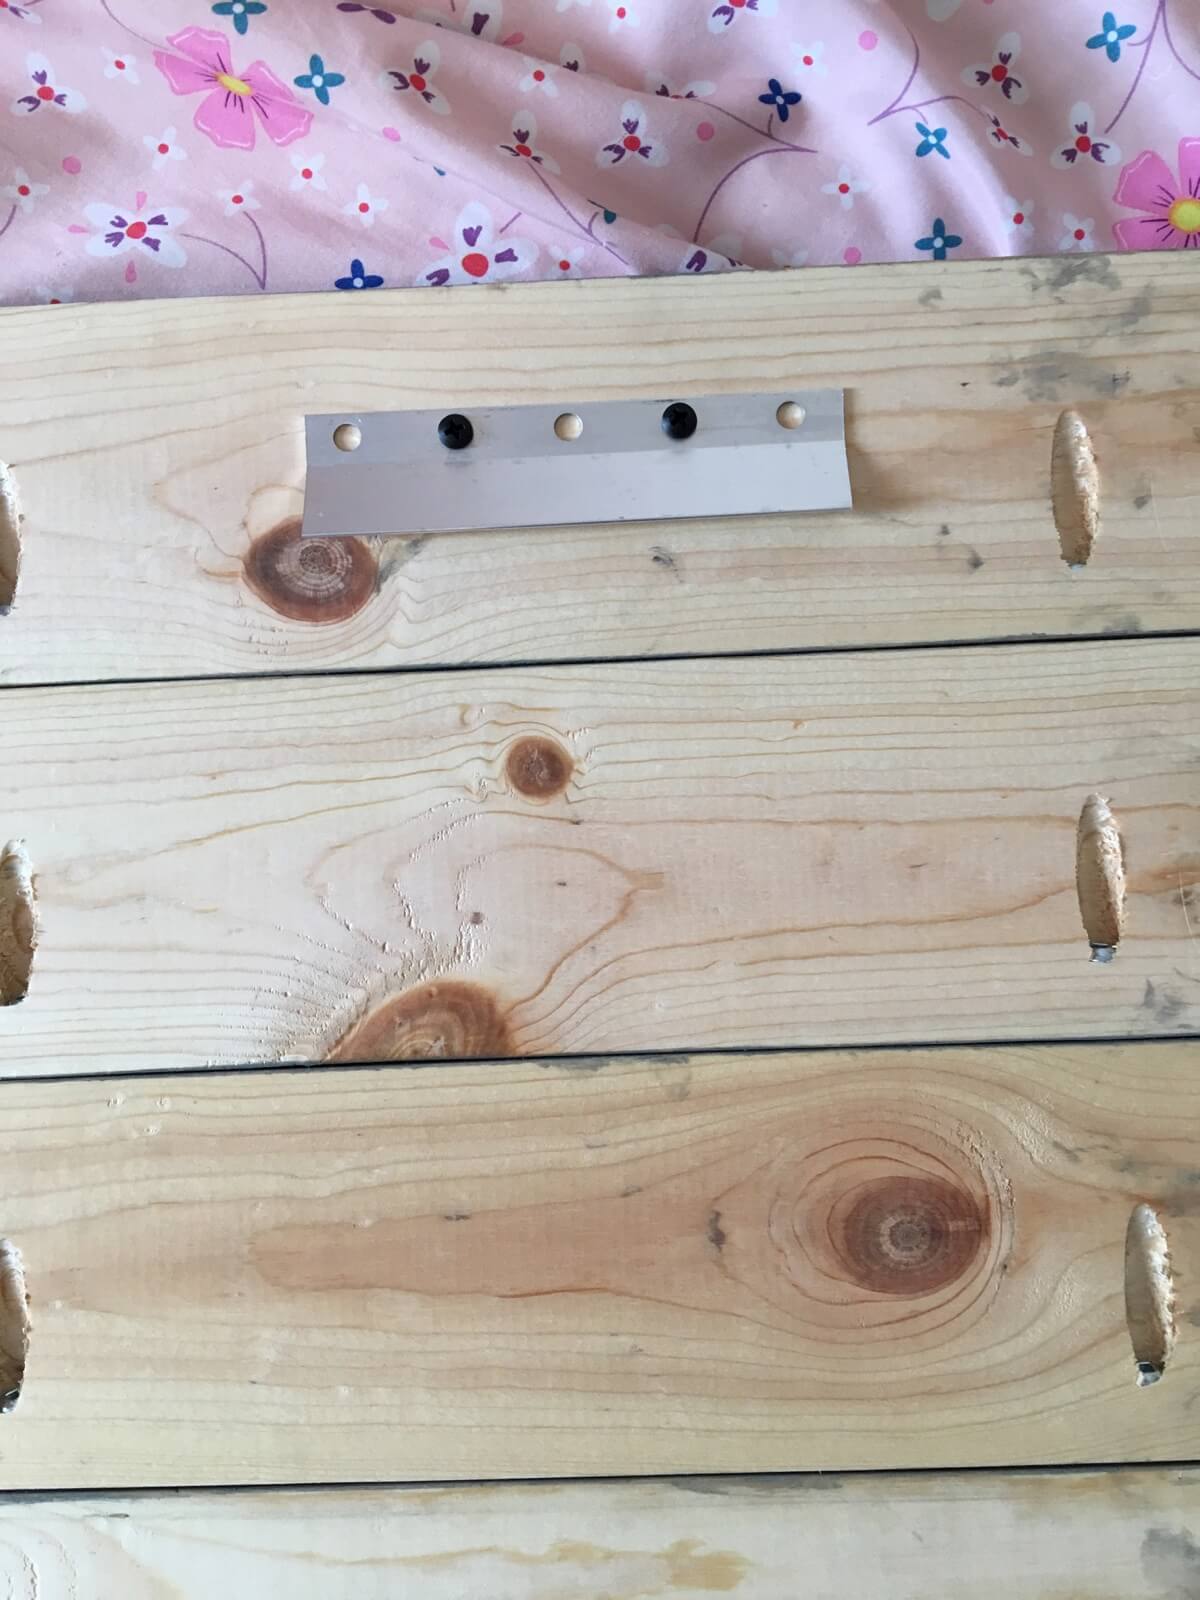
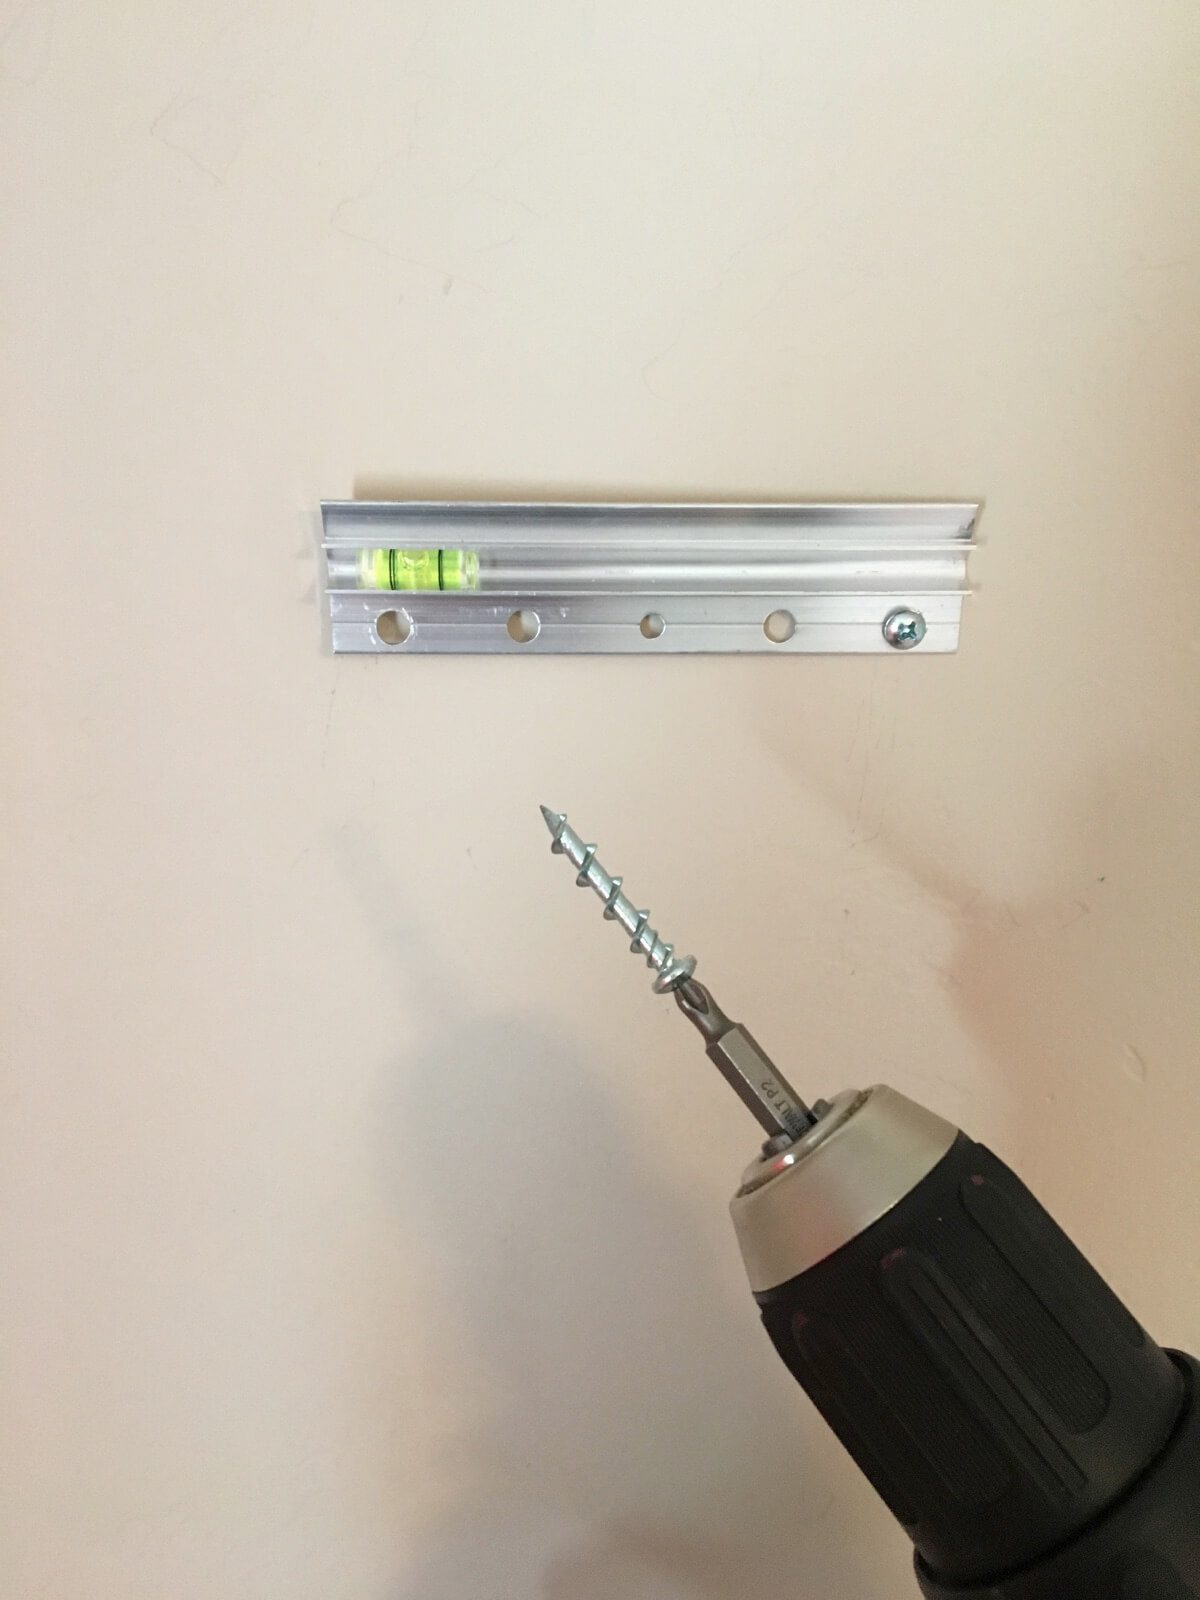
So that’s it! See how quick and easy that was?? I love it. And so do my daughters.
Thanks for hanging out with me today! Post your pics, PIN this project, and tell your friends!
