Wood Working
Miter Saw Bench

The Miter Saw Bench is my FAVORITE build so far!!
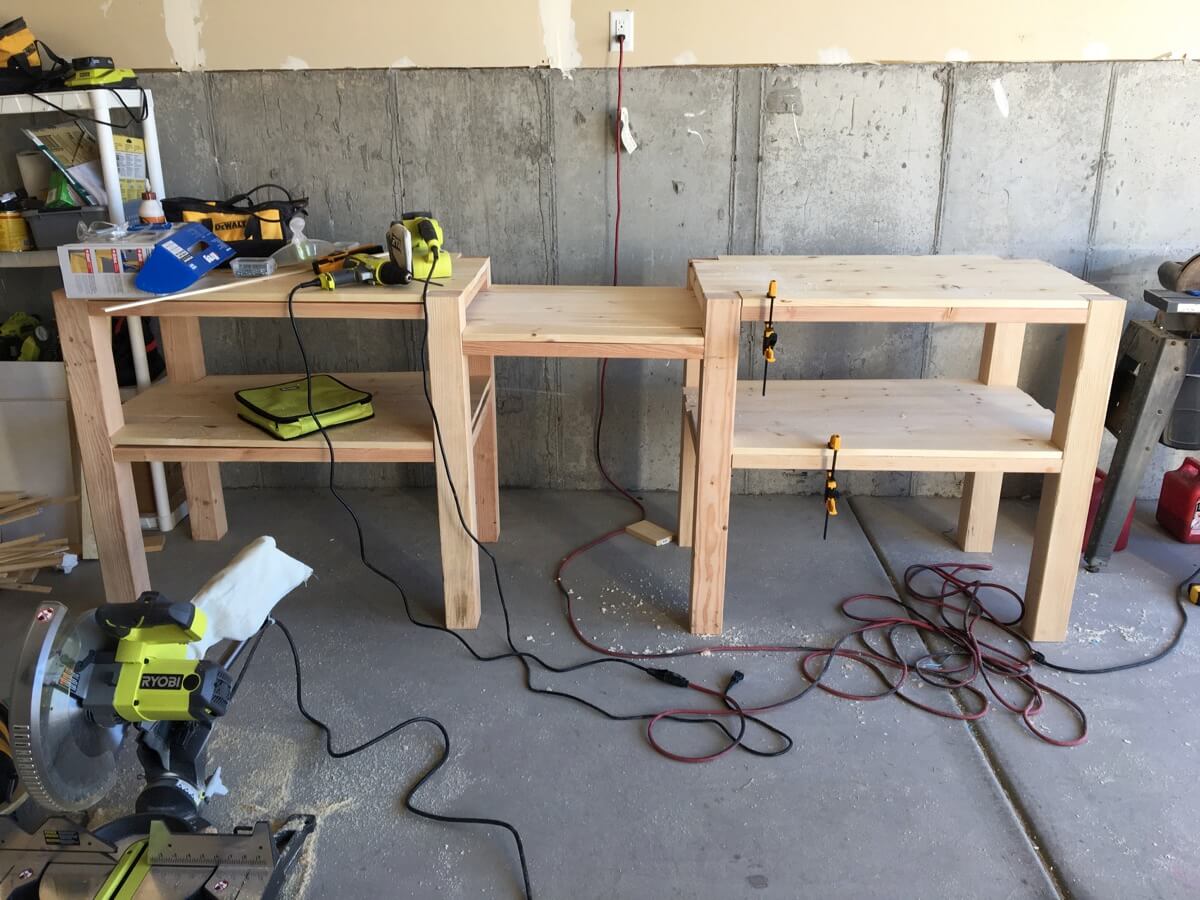
Dimensions: 37”x64”x28”
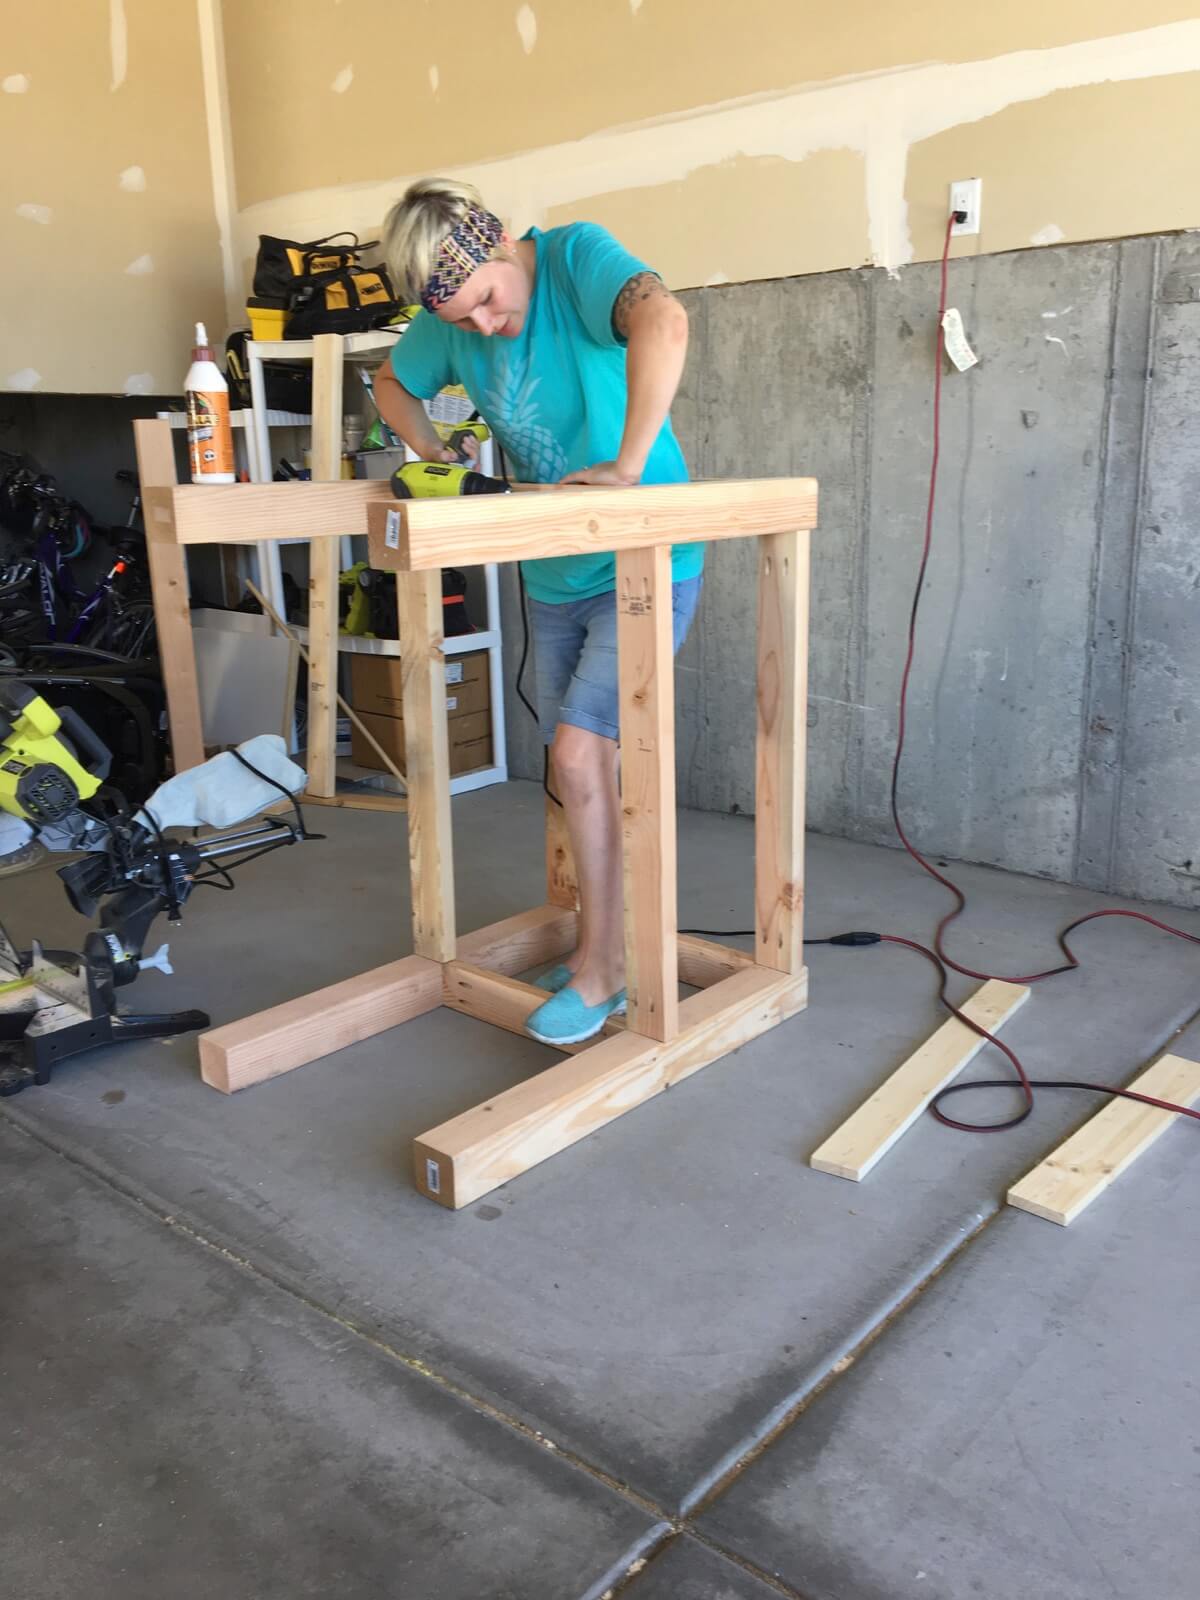
I started really getting into woodworking about two years ago when we moved back home to Utah from Portland, OR. My husband lost his job there, and we wanted to be close to our families again, yada yada (I won’t bore you with the details).
But it turned out to be a really great thing! My dad has been woodworking as a hobby for as long as I can remember and he has this really great shop set up in his garage, which I have been so lucky to use. So about four months ago when I was decided to start a shop in my own garage, I asked him where I should even start.
And of course he said… a miter saw bench!
For my birthday I went out and bought this, Ryobi 15 amp 12 in Sliding Miter Saw with Laser (this is where you ‘oooh’ and ‘aaahh’)
and immediately got to work coming up with a design and plans for the bench!
Of course, when you buy a big new shiny tool, the first thing you have to do is build it its own bench.
This is the first piece I have completely designed and built myself start to finish so I hope the plans make sense 😉 and I can’t wait to see what you can make with it!
I like to have plans in hand when I head out to the shop so make sure to click the ‘Printer Friendly’ printer-shaped button at the top! (whoops, I rhymed ☺) and check out the “Tools I Use” page to see what other tools I have in my shop.
Don’t forget to stay updated on current and future builds by following Overalls & Power Saws on Instagram and Pinterest!
Miter Saw Bench
Materials:
- (smaller, cuter bullets here) 4x4x10 – 3
- 2x4x10 – 5
- 1x4x10 – 12
- 1 ¼” Kreg Screws (used for 1×4’s)
- 2 ½” Kreg Screws (used for 2×4’s)
- 2” Spax Screws (any generic wood screw will do – but I prefer Spax brand)
- Clamps
- Clamps
- Clamps
- Oh and more Clamps

Cut List:
- 4x4x37 – 8
- 2x4x33 – 8
- 2x4x21 – 10
- 2x4x24 – 2
- 1x4x33 – 8
- 1x4x40 – 24
- 1x4x31 – 6
- 1x4x24 – 2

*Arrows mark pocket holes and anything labeled with a red ‘S’ is SCRAP – but don’t toss it! I’ve made many, many, many projects completely out of SCRAP wood – and the best part is it’s FREE!
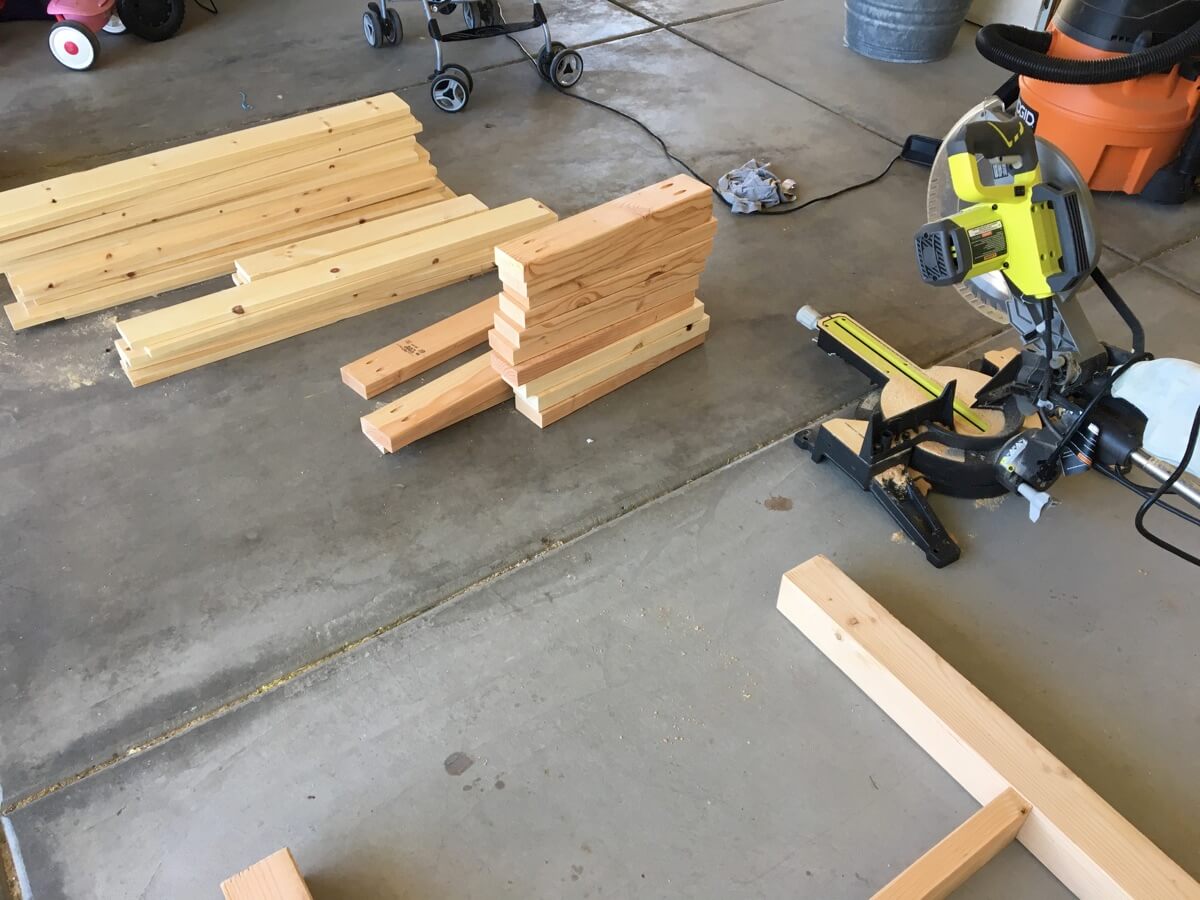
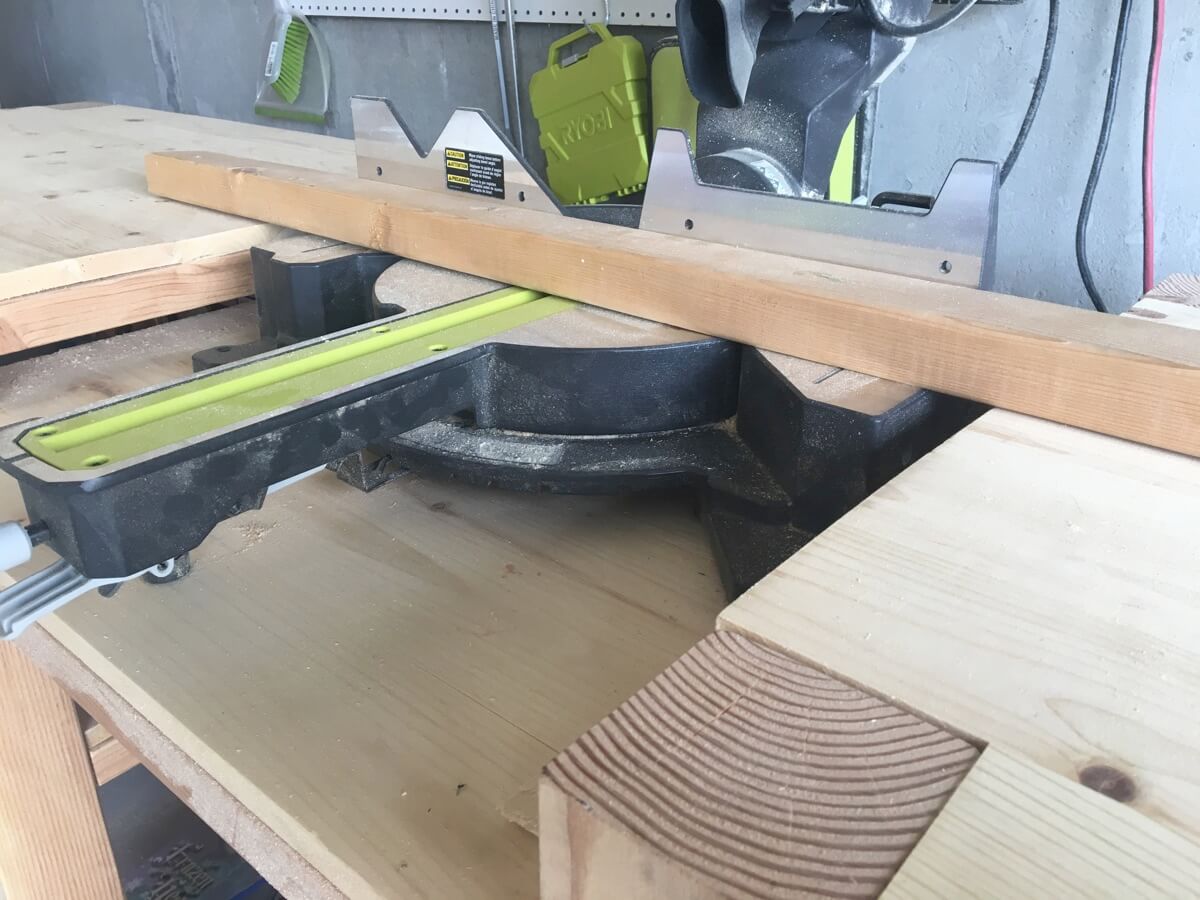
Step 1:
Cut all your wood! Usually after I cut everything down I’ll take a pretty rough piece of sandpaper
and just knock off all the burs or really noticeable splinters.
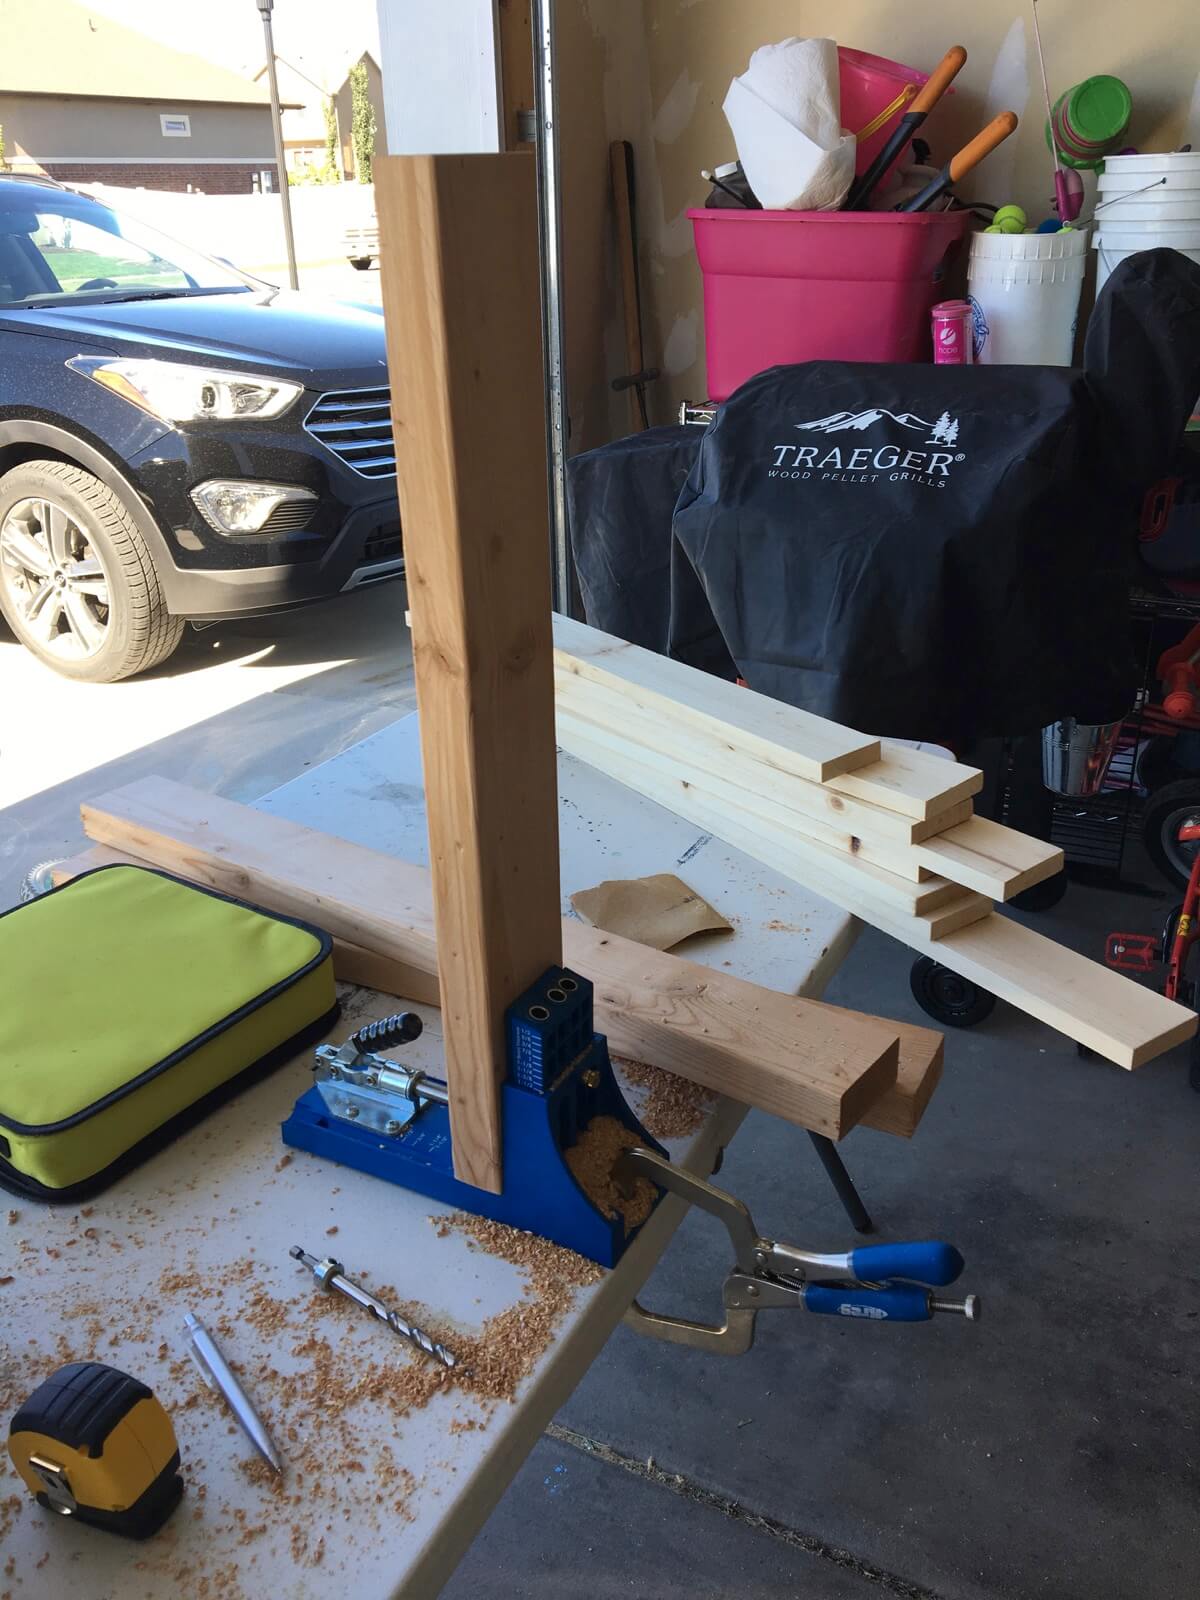
Step 2:
Bust out your handy dandy Kreg Jig like the one you can get here, and drill all the places I’ve previously indicated with arrows.
As for the Kreg – I’m a big fan of Prime, and not having to leave my house, which is why I linked Amazon. You can also find it at Home Depot or Lowes!
Step 3:
Lay two of your 4×4’s parallel to each other with two of your 33” 2×4’s between them.
Attach the first 2×4, ¾ of an inch from the top of the 4×4’s then attach the second 2×4, 14” down from the first one. Like so:
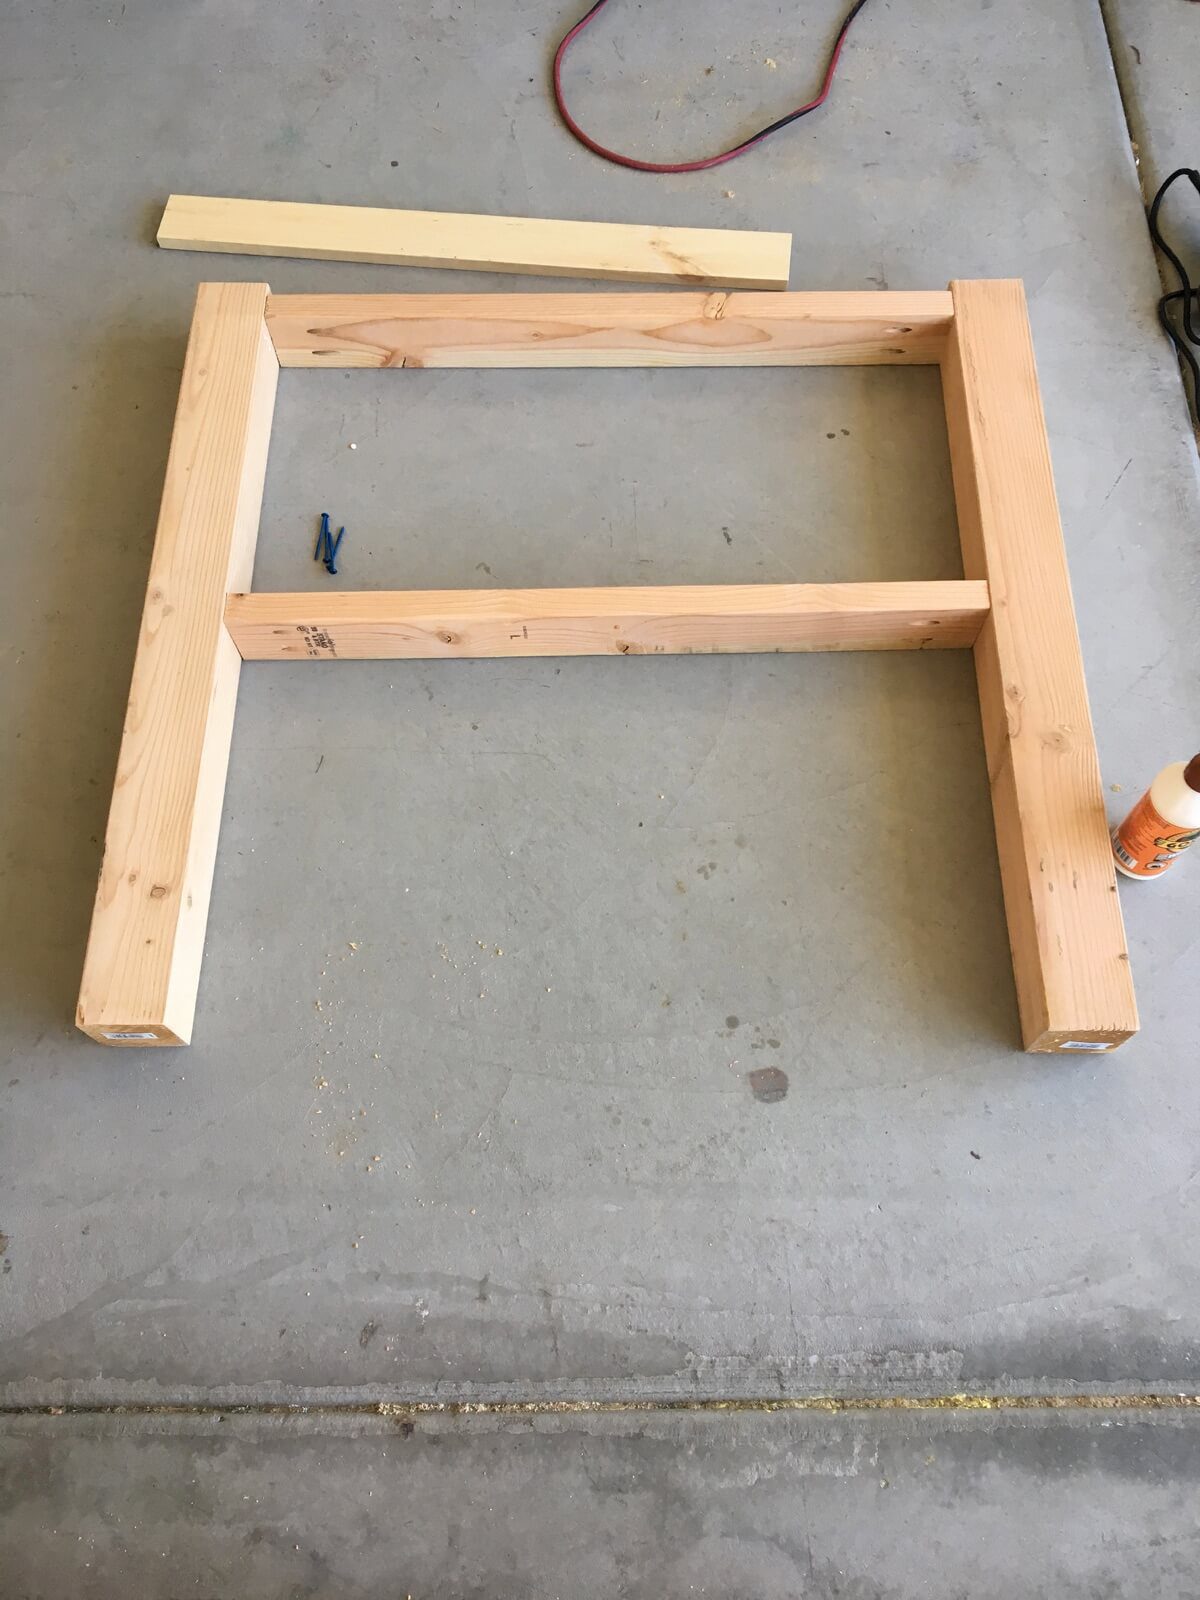
Repeat this 3 times.
Step 4:
Pull two of those up onto their sides with 2 of the 21” 2×4’s between them.
You will want to match them up height-wise with the 33” 2×4’s.
Do the same for the other side. At this point you should have a left rectangular side of your bench and a right rectangular side of your bench. (sorry, no photo ☹ )
Step 5:
Start attaching those 1×4’s! This is where the clamps come in! Especially if all of your boards aren’t perfectly straight.
Which, they won’t be. Because let’s be honest, who gets that lucky?
This part gets a little time consuming, but stick with it… the end result is worth it!
Right now we’re just concentrating on the four outer shelves.
The middle shelf that the miter saw actually sits on will come later.
For one shelf you will need six 40” 1×4’s and two 33” 1×4’s.
The top two shelves will go: 33”-40”-40”-40”-40”-40”-40”-33” like this:
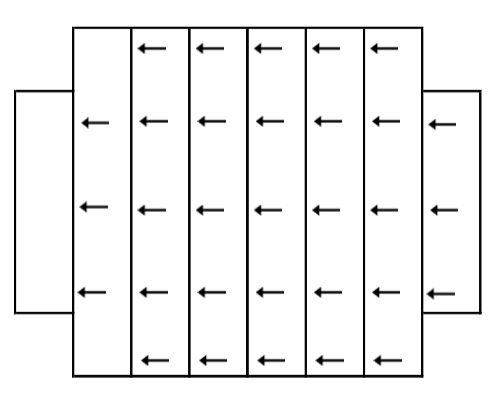
(This is when I pretend to know computer things – and I make you a little sketch in Word. You’re welcome)
Just a friendly reminder that arrows are Kreg holes. You should have already drilled these in Step 2.
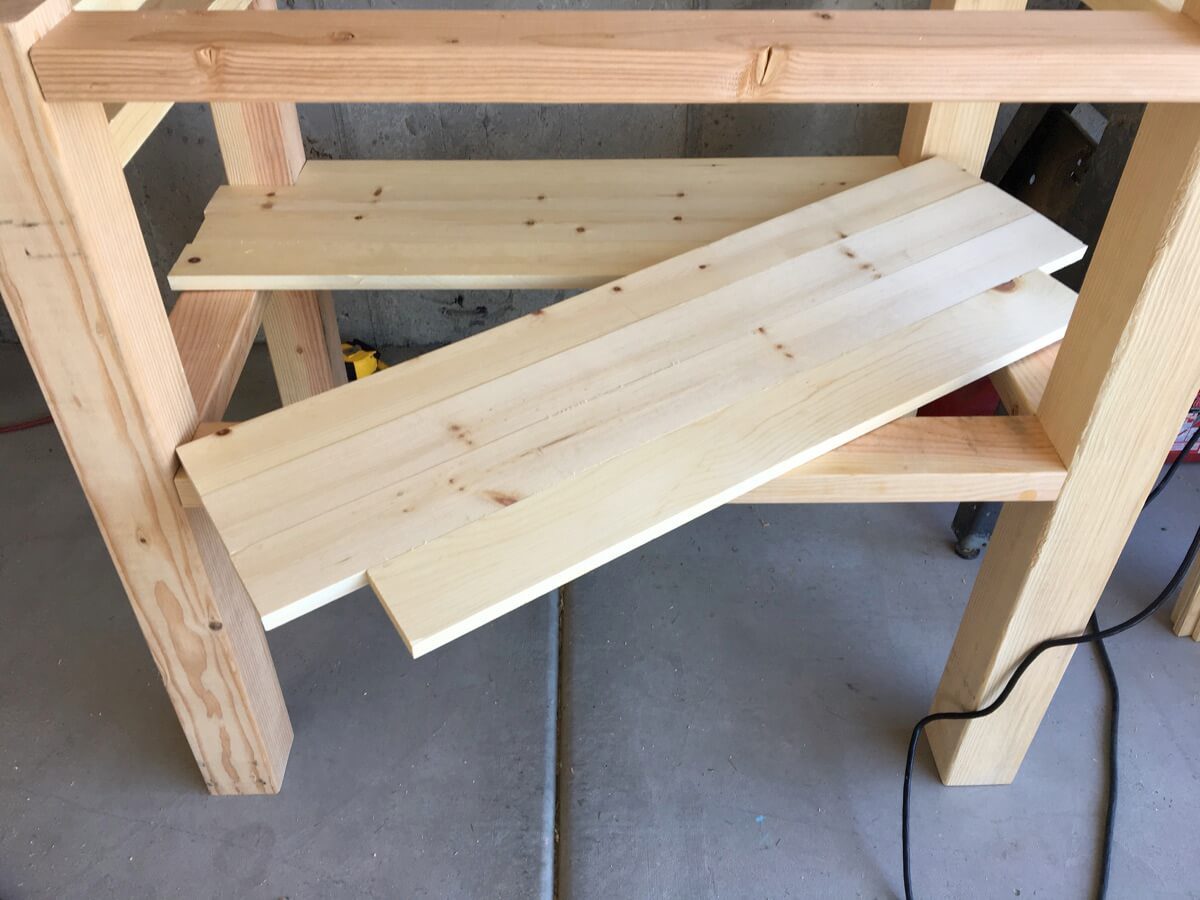
Once assembled you can lay them on top for a dry fit like this:
The two lower shelves are a little trickier. You will need to assemble these in two parts and then screw them together while in place on the bench.
They will go: 33”-40”-40”-40” STOP (this is one half).
Then attach the next half: 30”-40”-40”-40”.
This is when you take these two halves, separately, and slide them into place on the lower 2×4’s and clamp them together.
Then comes the fun part – slide under the bench on your back and attach the two halves together!
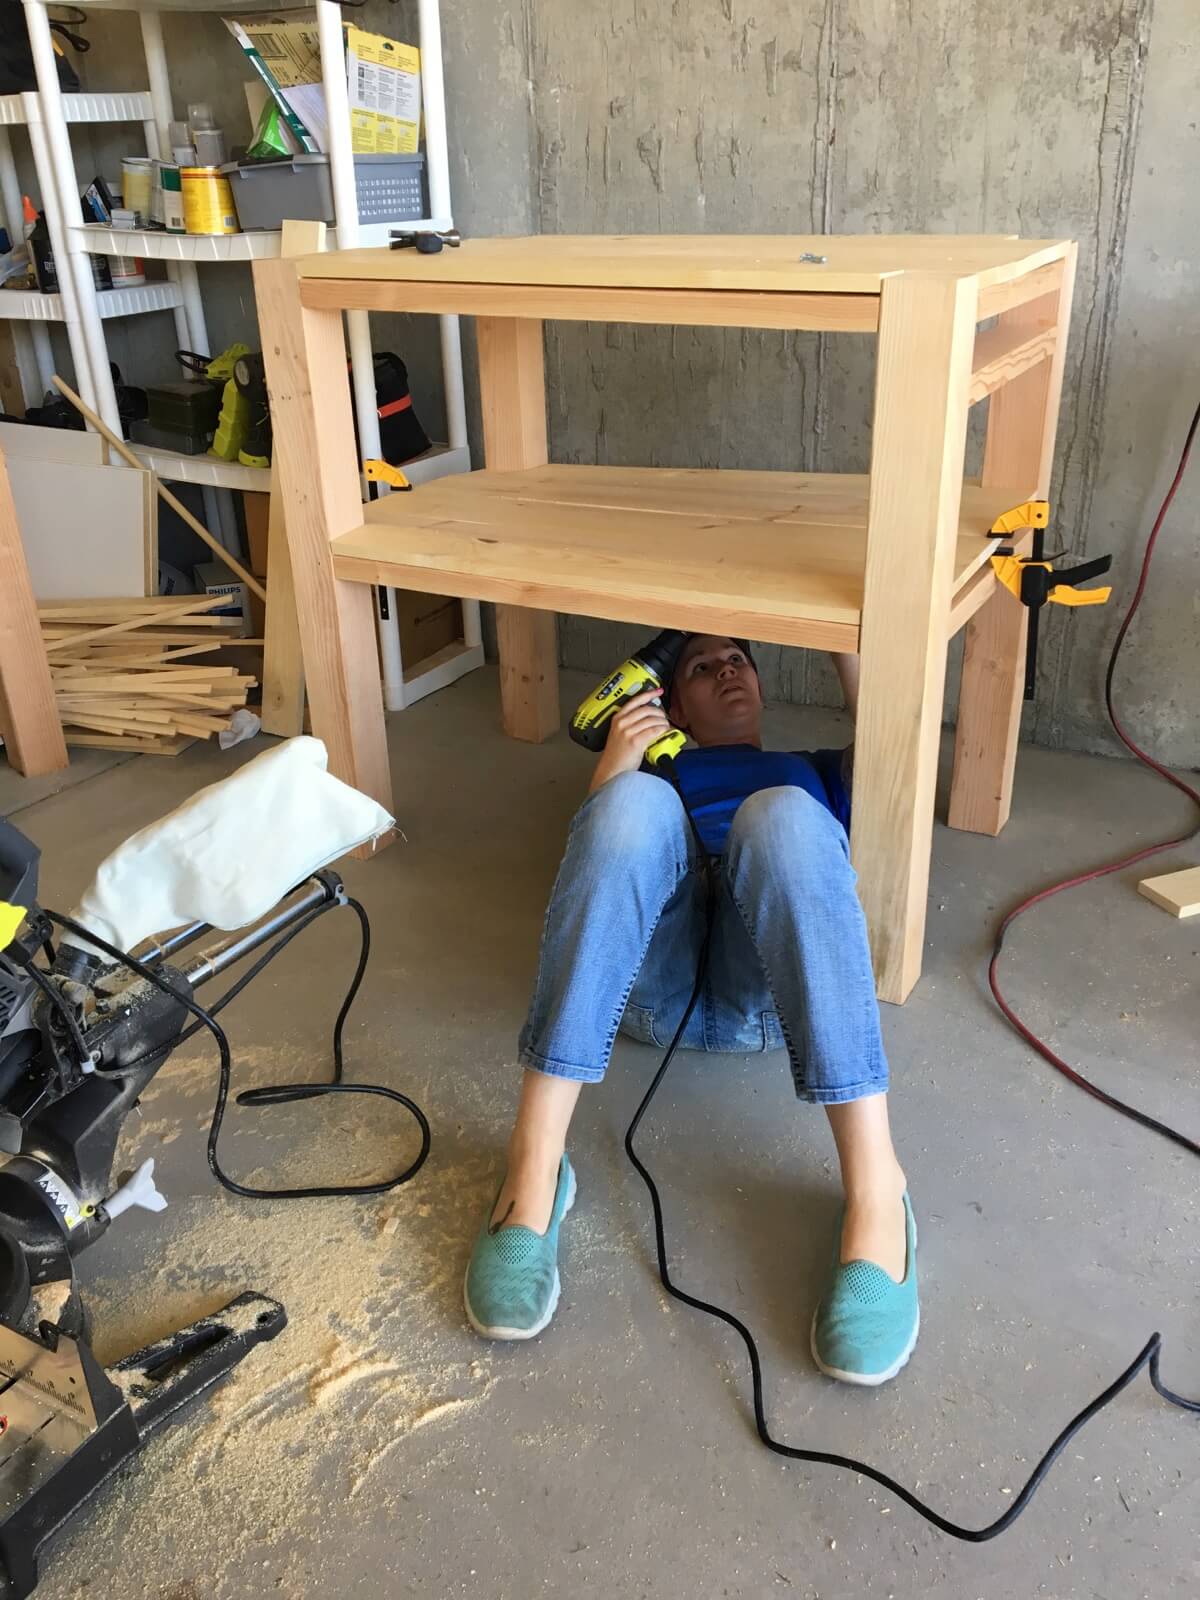
Flattering, no? Again, you’re welcome. (Can anyone else say that without singing it? Or is that just a ‘Mom’ thing? Or just a ‘me’ thing? Ok. Thanks, Moana.)
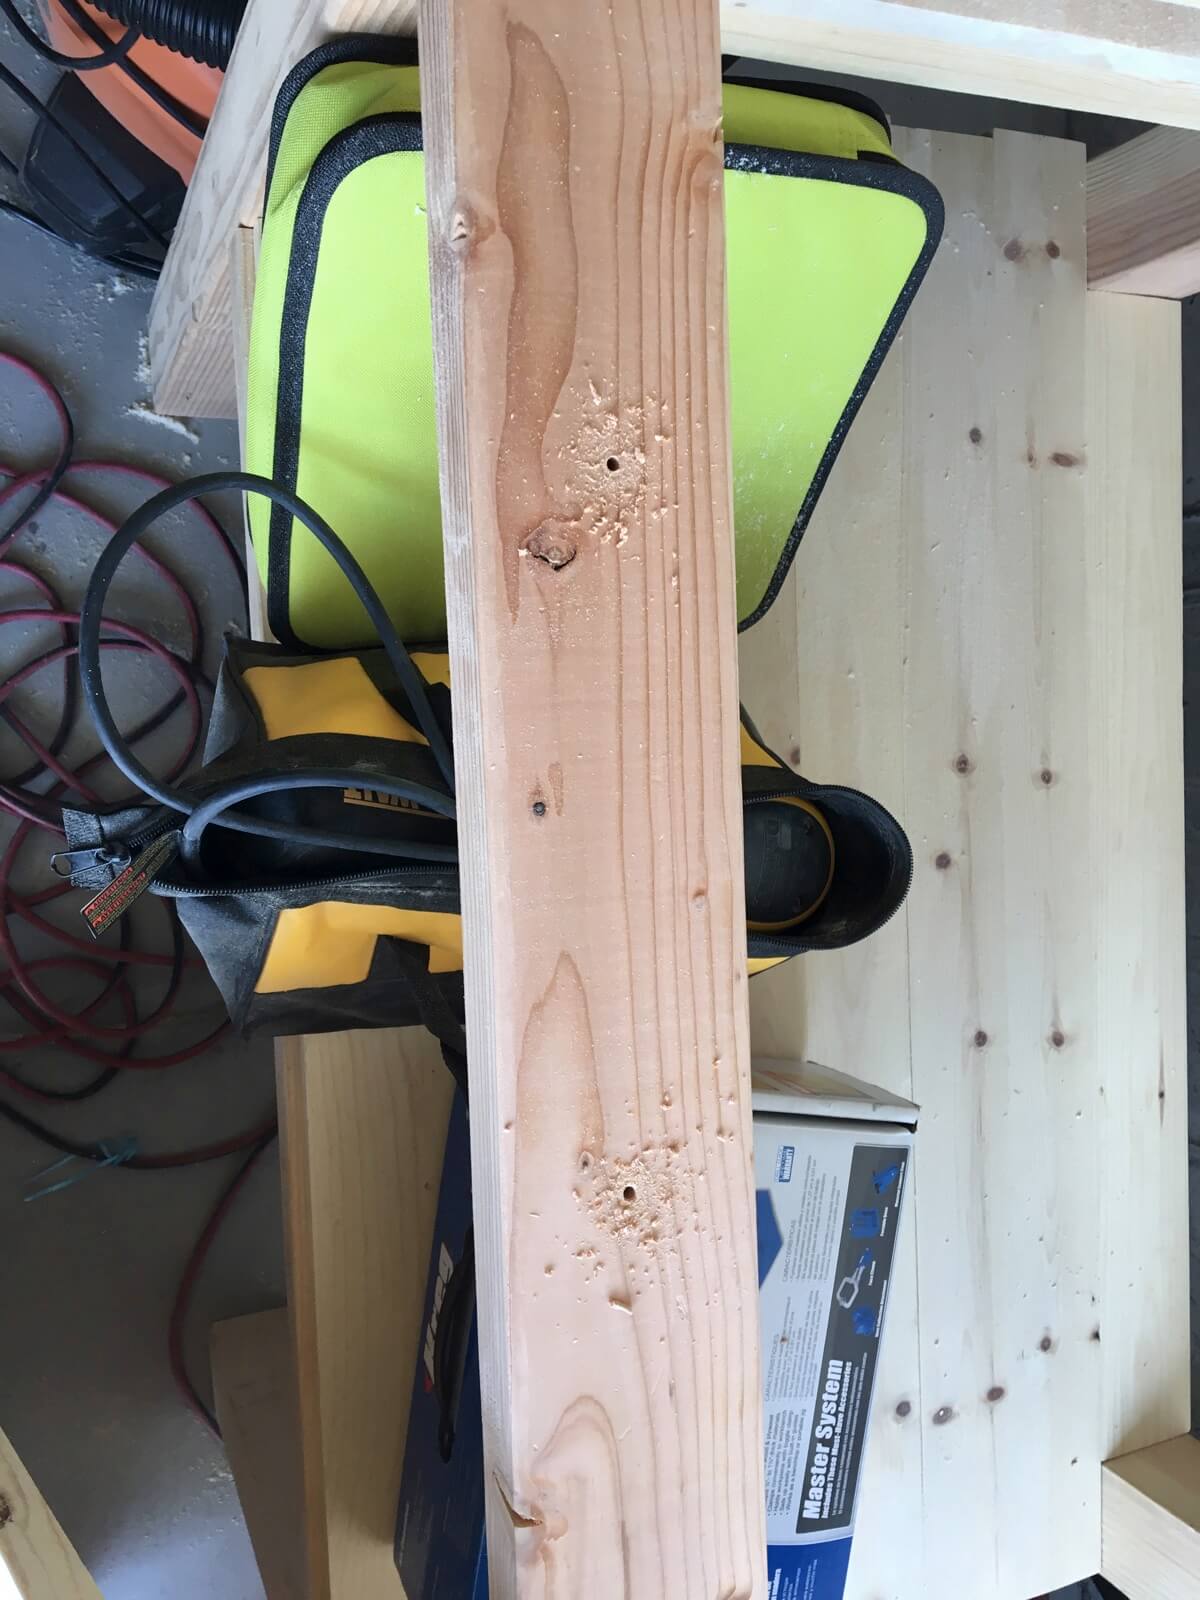
Step 6:
Predrill holes in the 2×4’s to attach 1×4’s to your 2×4’s.
Feel free to drill as many as you like. The more the merrier. (Why does that word look so weird?)
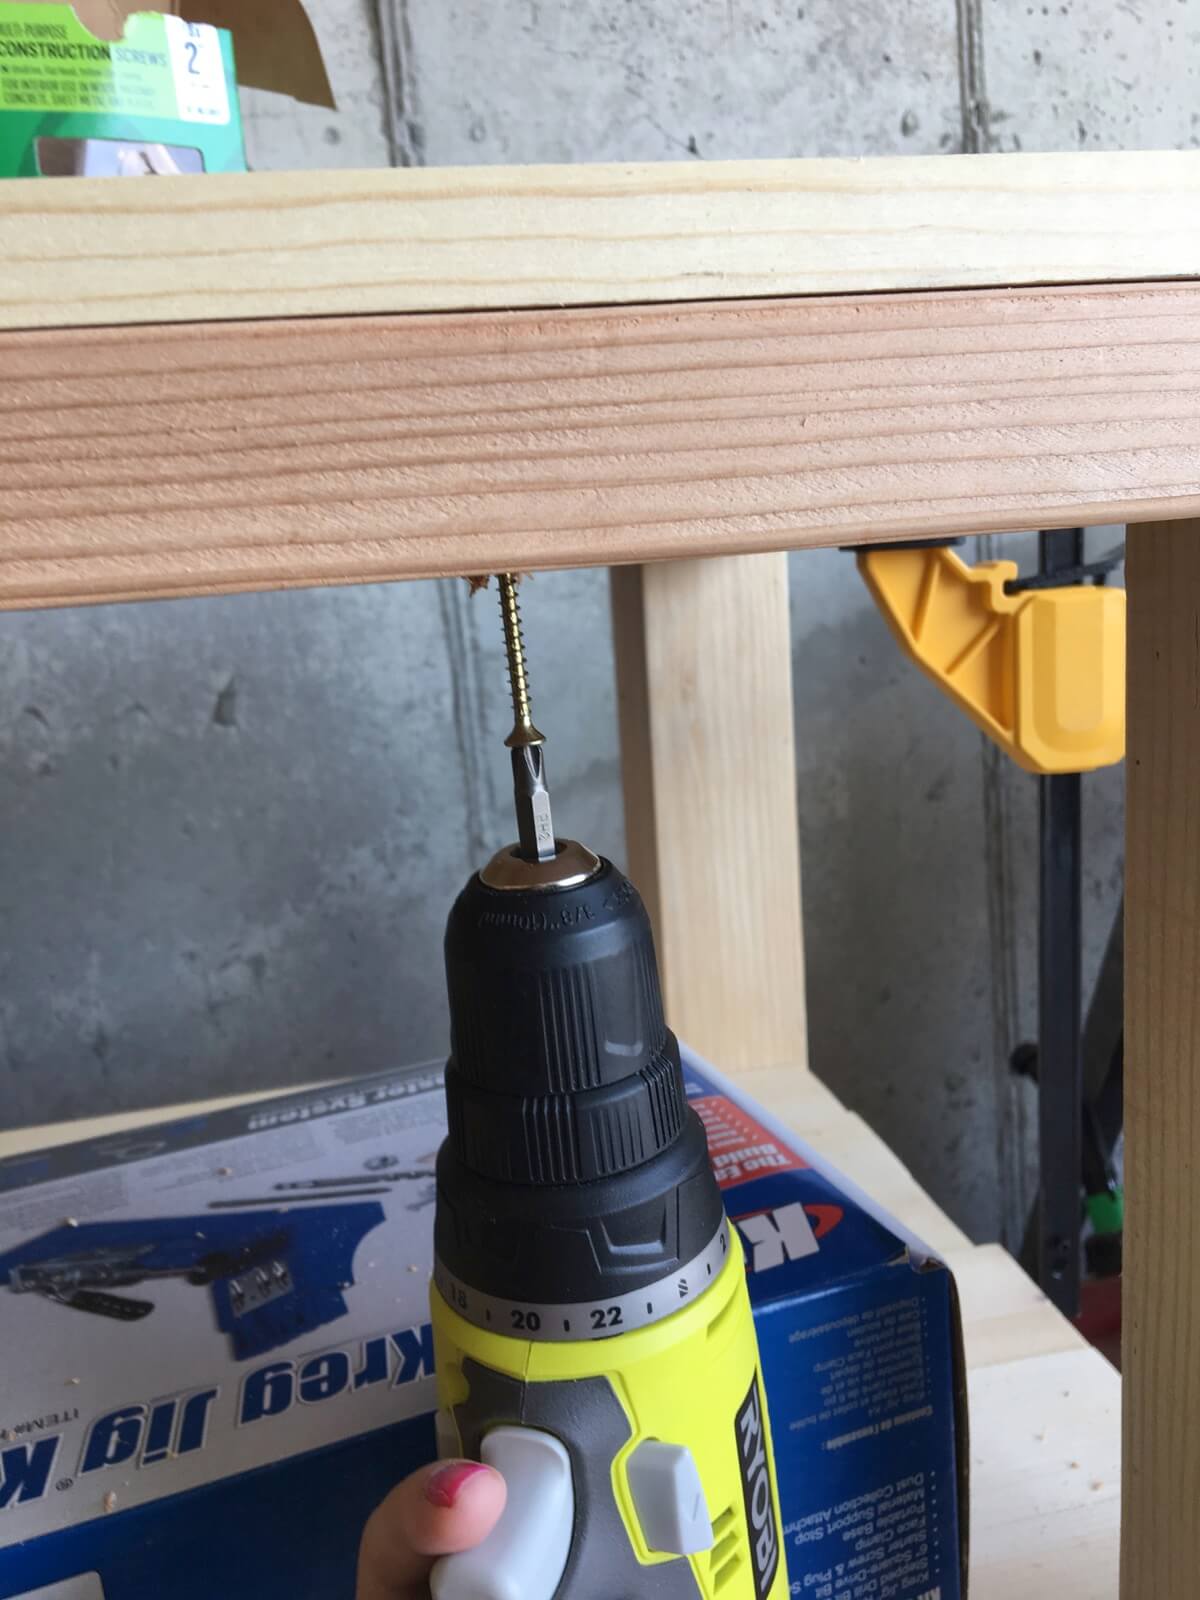
Step 7:
I recommend a gob of wood glue (my favorite is Gorilla) between the shelf and the 2×4 and then CLAMP!
Clamps also fall under the “more the merrier” category. Drill the screws up from underneath so they are hidden.
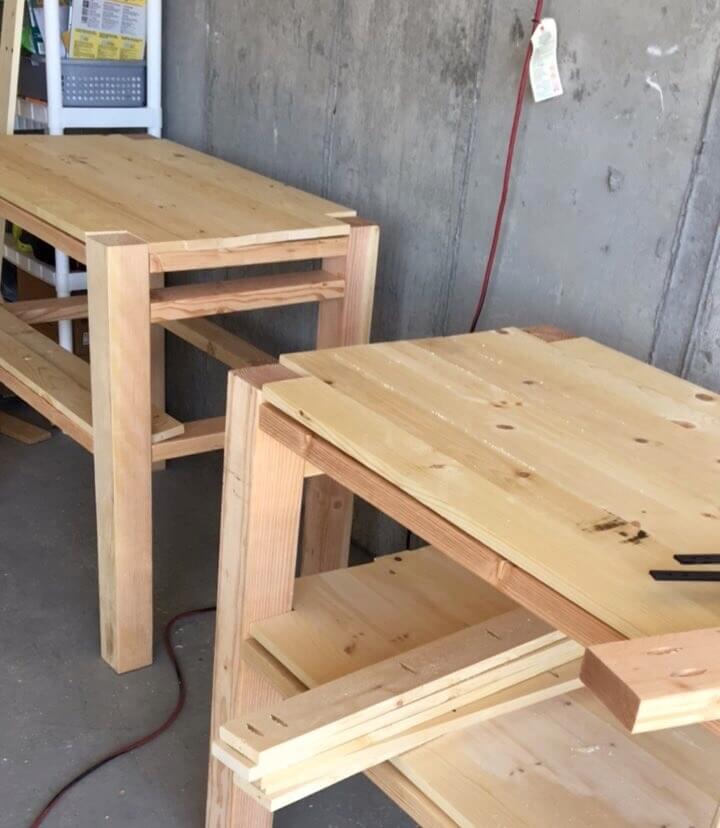
Do this for all four shelves. You should have fully assembled left and right sections of your bench.
Step 8:
Slide your left and right assembled sides in to where they are 24” apart.
Grab your 24” 2×4’s and place them between the two sides.
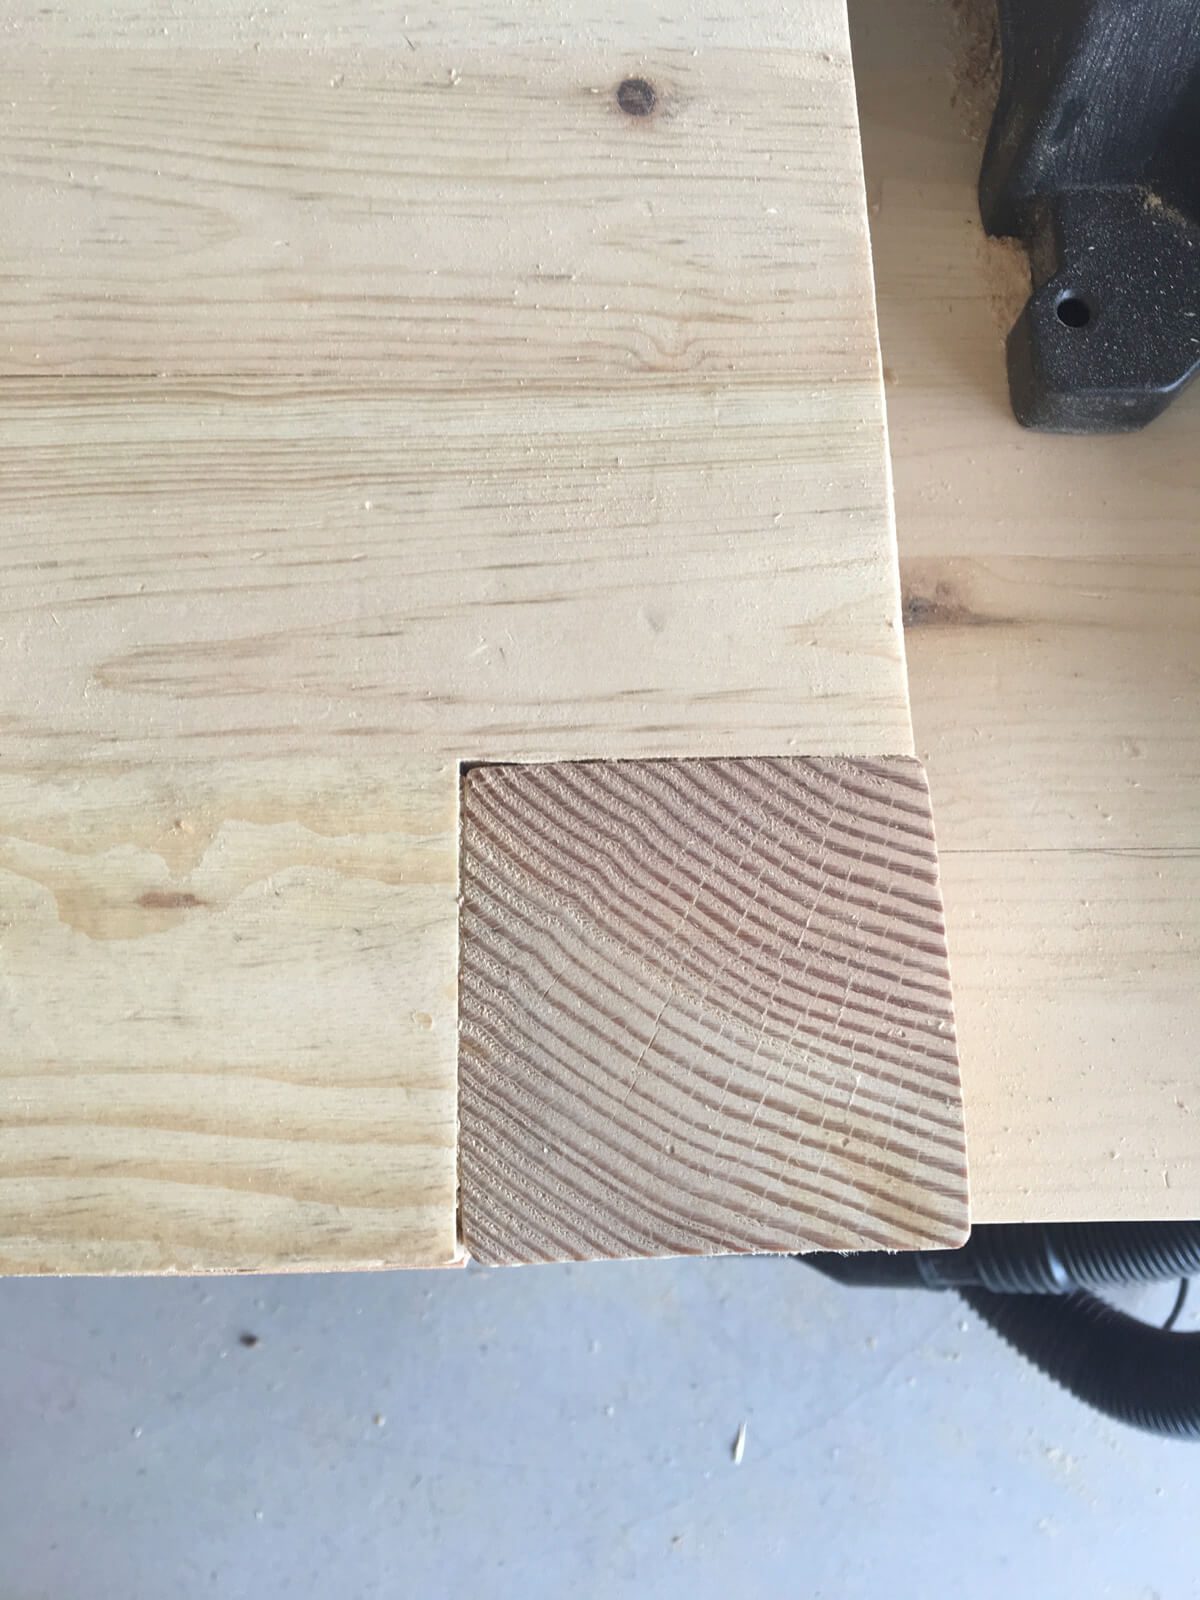
Now this is the part that will vary depending on your brand of miter.
You’re going to take the depth of your middle shelf (3/4”) and add it to the depth of your miter saw.
My brand and model (which I listed above) was 3 ½” deep.
So for my bench, I attached my 24” 2×4’s 4 ¼” down from the top of the sides.
The idea is that when the miter saw is sitting on the middle shelf, it will be flush with the sides and a piece of wood will lay flat across it.
Like this:
Attach both 24” 2×4’s at the appropriate height, followed by the 21” 2×4’s that will be attached at that same height. These should make a rectangle, just like the previous shelves.
Step 9:
Attach your remaining 1×4 boards in two sections; the same manner you attached the middle shelves.
They should be: 24”-31”-31”-31” STOP 31”-31”-31”-24”.
You will have to slide these two in separately and attach them from underneath as well.
Step 10:
Drill holes into the 2×4’s like you did with the other shelves and attach from underneath with the Spax screws. Don’t forget to glue and clamp!
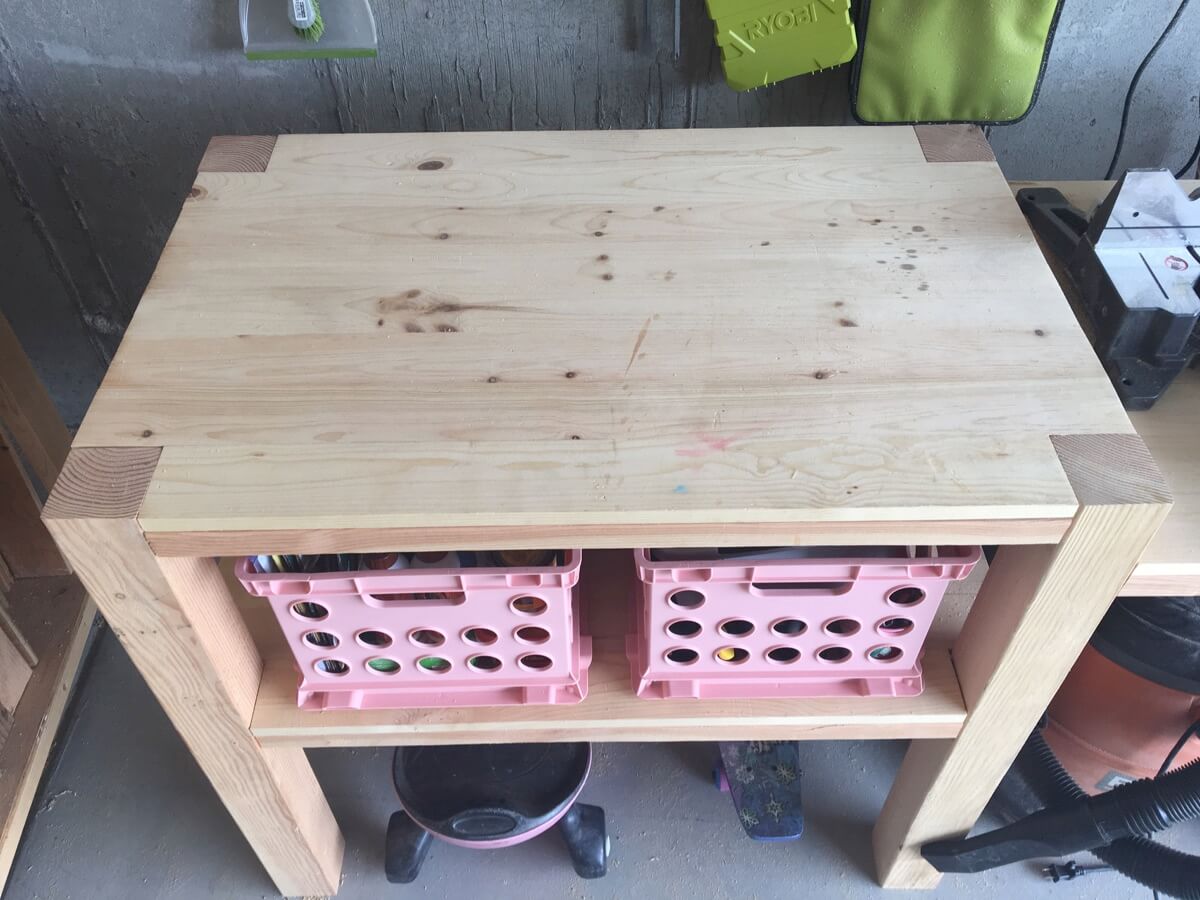
To finish: Just take your belt sander and grind the heck out of it until all surfaces are even, then use a palm sander to make them smooth and beautiful. Your Miter Saw Bench is now finished!
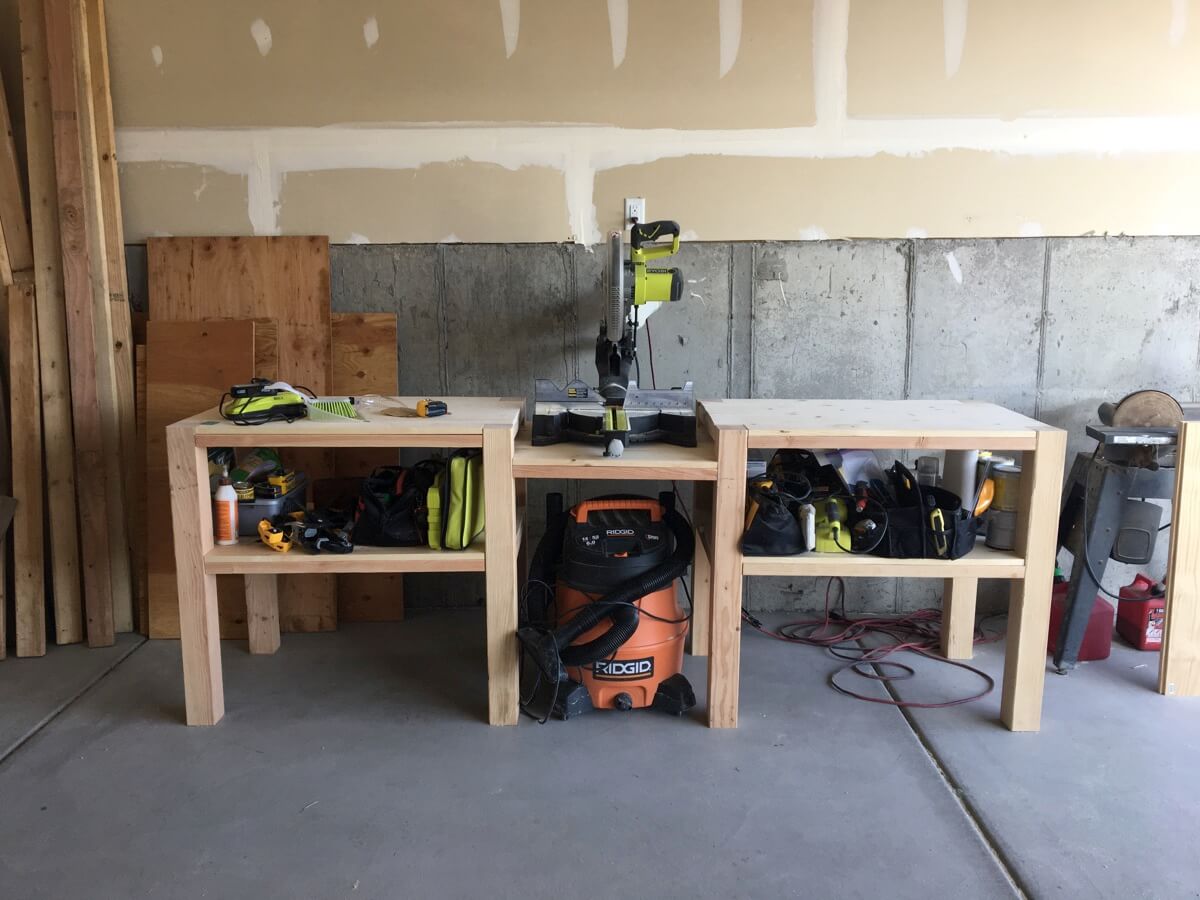
Enjoy your miter saw bench! And remember to share your photos, PIN this project, and tell your friends!