Home Decor, Tutorials
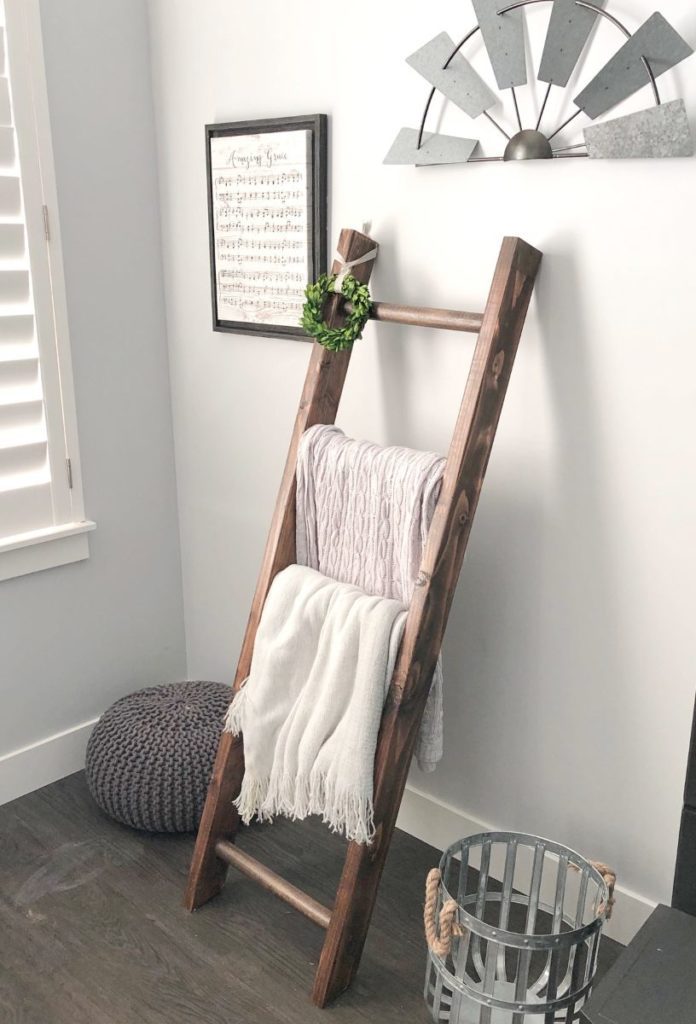
DIY Blanket Ladder
I know what you’re thinking… everyone and their dog
already has plans or a tutorial for a blanket ladder.
They are EVERYWHERE!
And rightfully so.
They are stinkin’ cute and super duper easy to build.
I posted this round rung blanket ladder on my instagram
a few weeks ago and had some questions on how I did it so..
here we go!
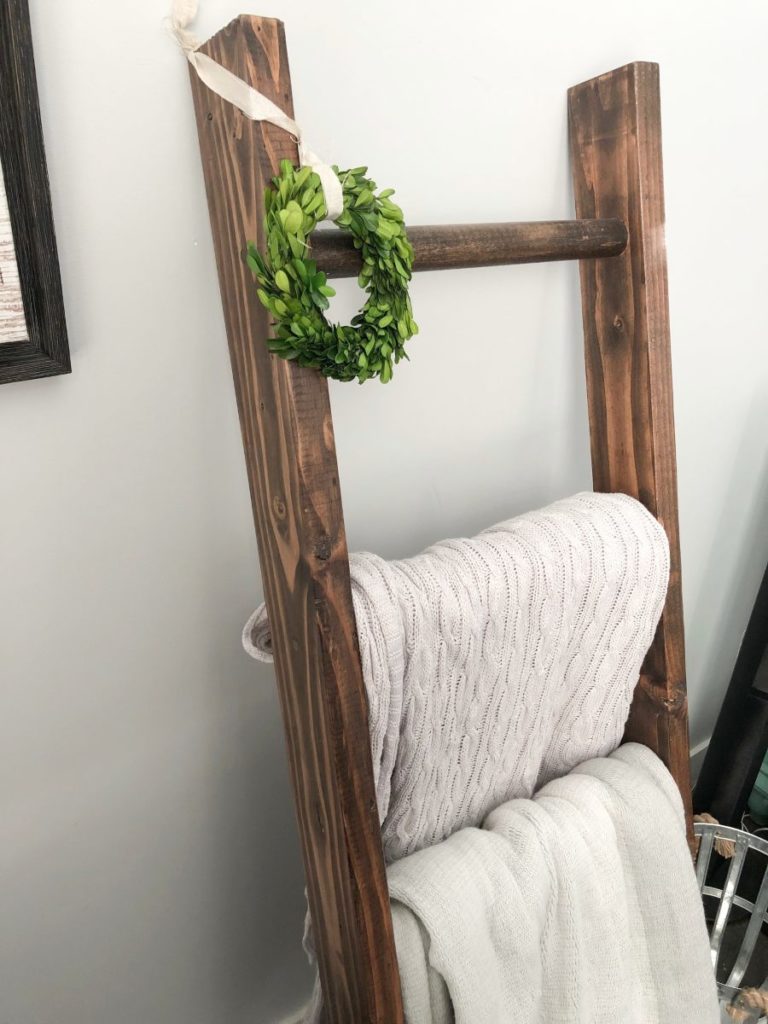
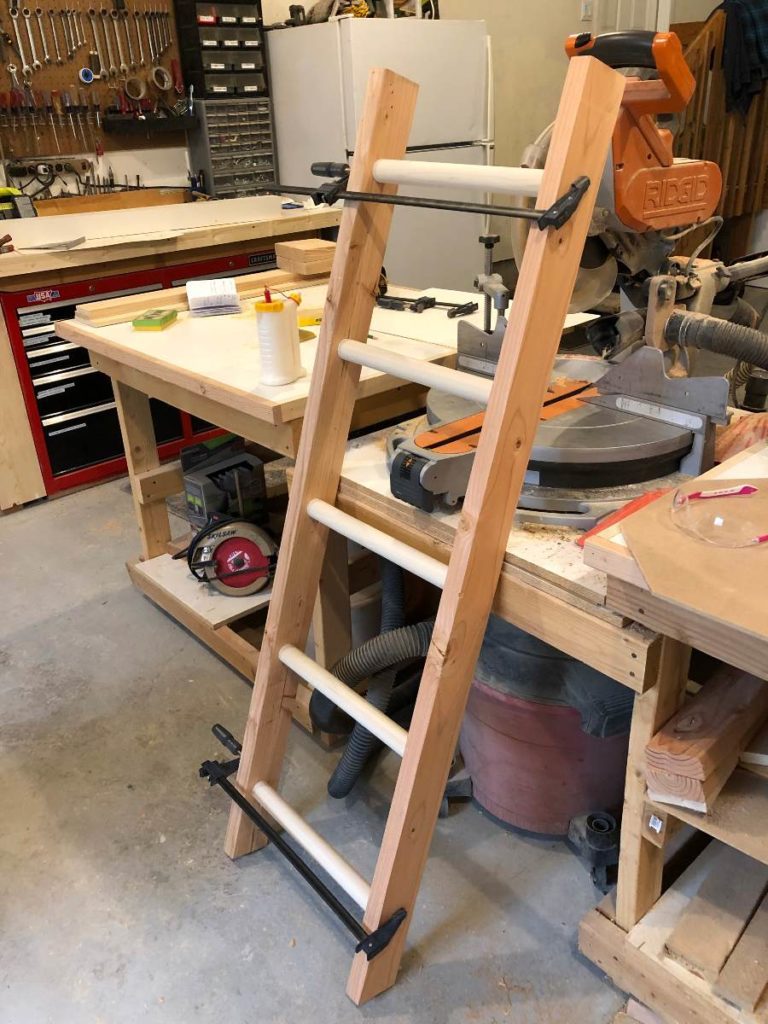
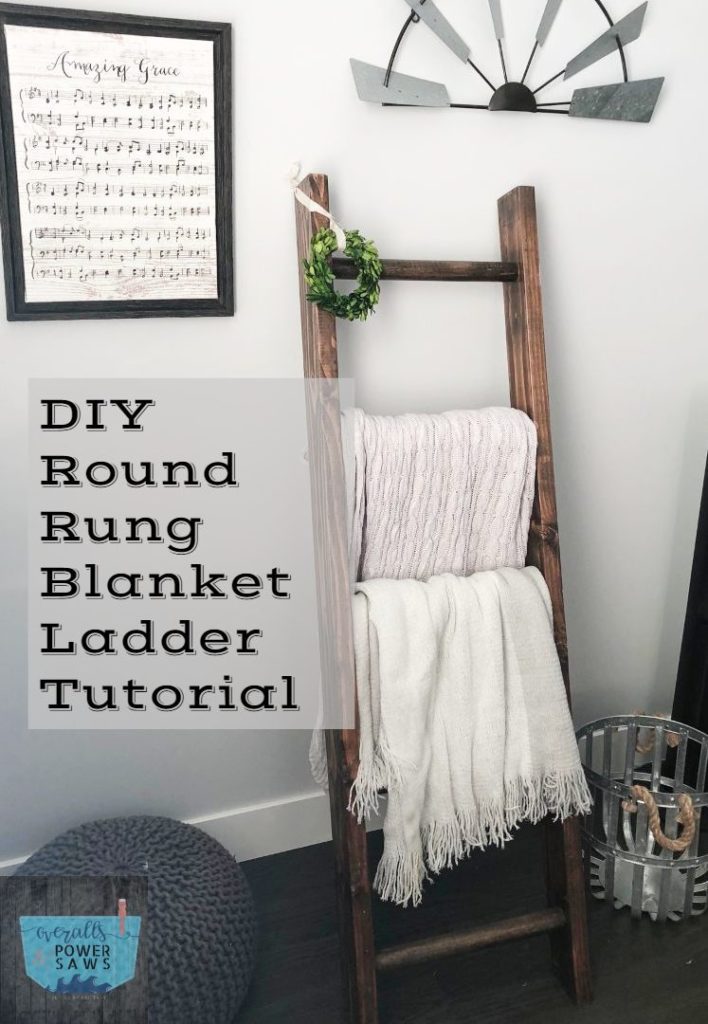
DIY Round Rung Blanket Ladder
Dimensions: 5 ft tall x 18″ wide
Materials:
- 2x4x10 – 1
- 1 1/2″ dowel x 4 ft – 2
- 1 1/2″ forstner bit
- countersink bits
- 1 1/2″ screws
- 3/8″ dowel
Cut List:
- Cut 2×4 in half
- 1 1/2″ dowel x 15 1/2″ – 5
- 3/8″ dowel will be used as plugs for the countersink holes so wait to cut those until you know the depth you will need.
Step 1
Cut one end of each of your 2×4’s at 15 degrees.
I don’t have a photo of this step, so here’s what they
look like when assembled.
You get the idea.
Step 2
Using a 1 1/2″ forstner bit, preferably with a drill press, drill 5 holes
centered into the side of one 2×4.
I placed them at 6″ from the top,
then 12″ between the next 4, leaving 6″ at the bottom.
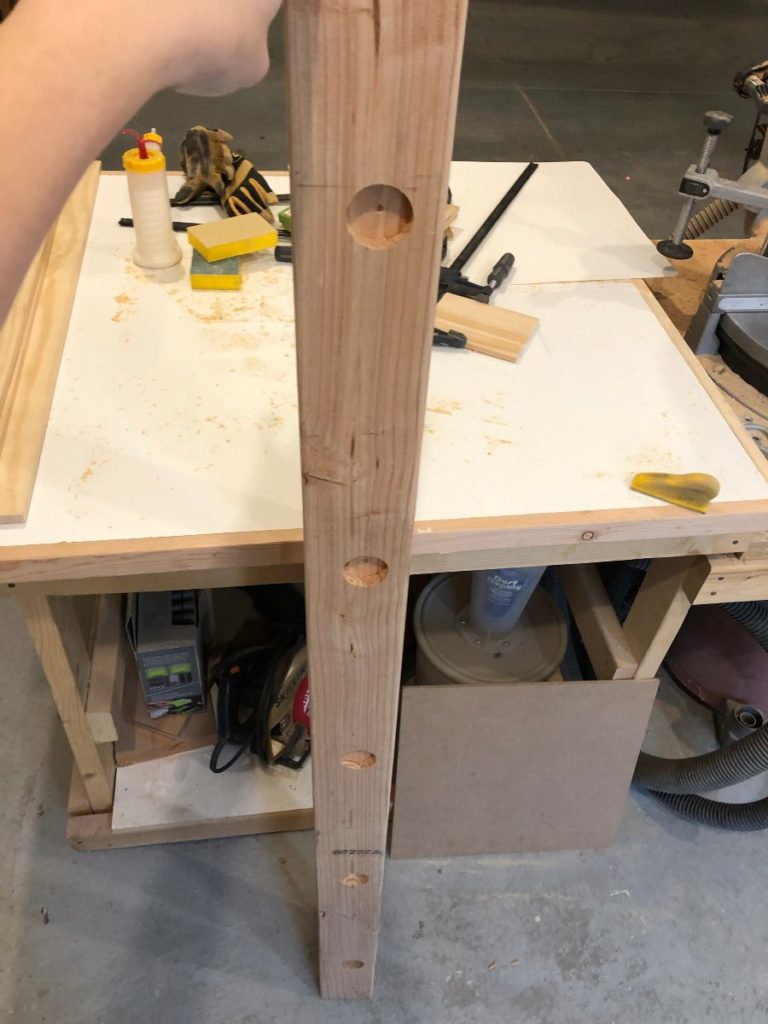
*Important* Before drilling the holes on the second 2×4, be sure that the angles on the bottom face the same way so that your holes are all on the “insides” of the ladder when it leans.
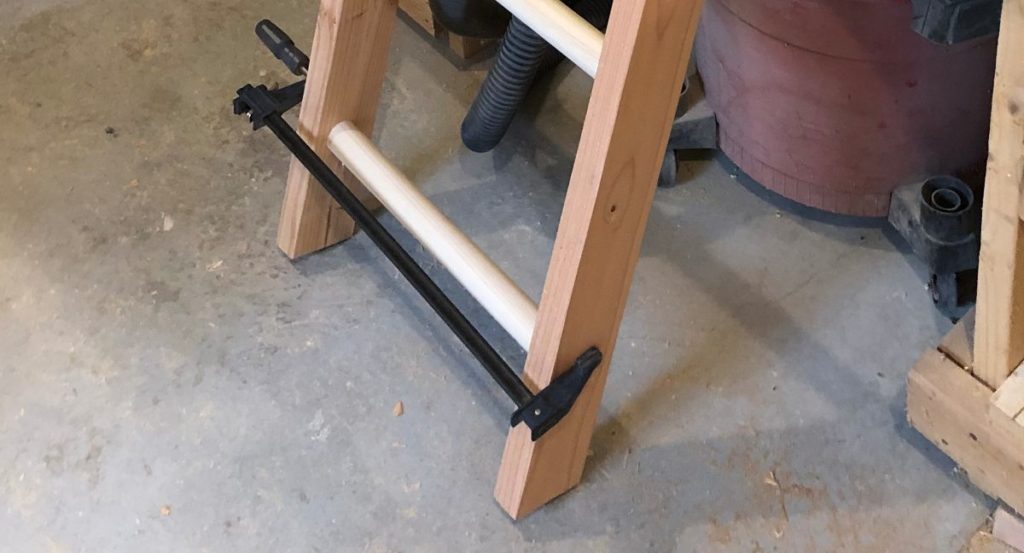
Step 3
Place glue in each of your holes, fit the dowels into them,
and clamp the entire ladder together.
At this point, I stopped for lunch, allowing
the glue ample time to stiffen up a bit before
the next step.
*lunch is optional, but I recommend it.
Because, food. 🙂
Step 4
Drill countersink holes into the sides of the ladder where the rungs are.
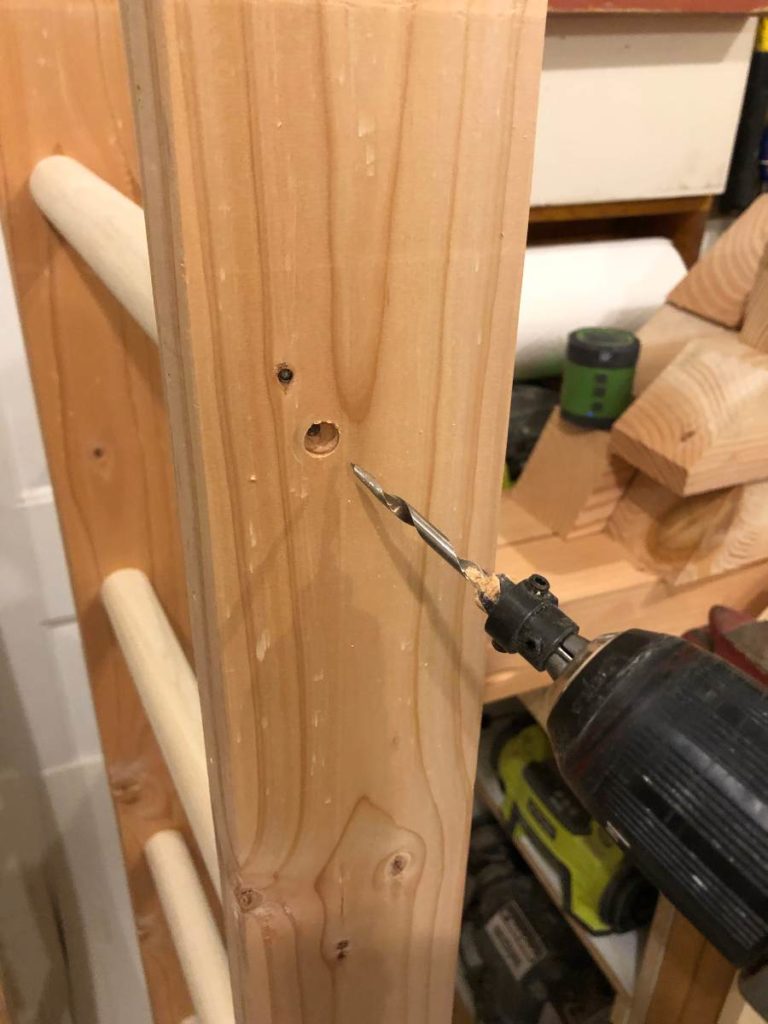
You’ll notice mine are off-center. That’s because all of my holes and rungs
were off center. Don’t make my mistake. 😉
Step 5
Drill 1/2″ screws into the holes, securing the rungs into place.
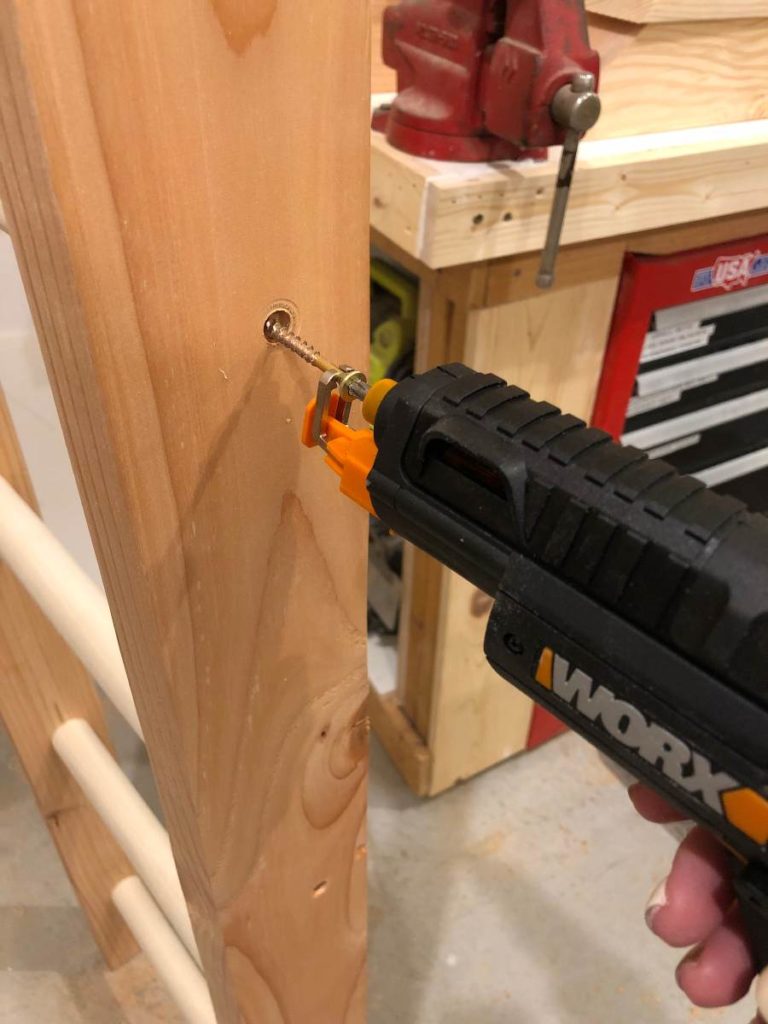
You’ll notice I’m using my WORX drill. This is literally my new favorite tool.
Santa slipped one into my stocking this year and having the little clamp
on the front to hold the screw into place is an absolute GAME CHANGER.
Step 6
Place a dab of glue into the holes and plug with little 3/8″ dowel plugs.
I cut mine using a bandsaw since they are such small pieces.
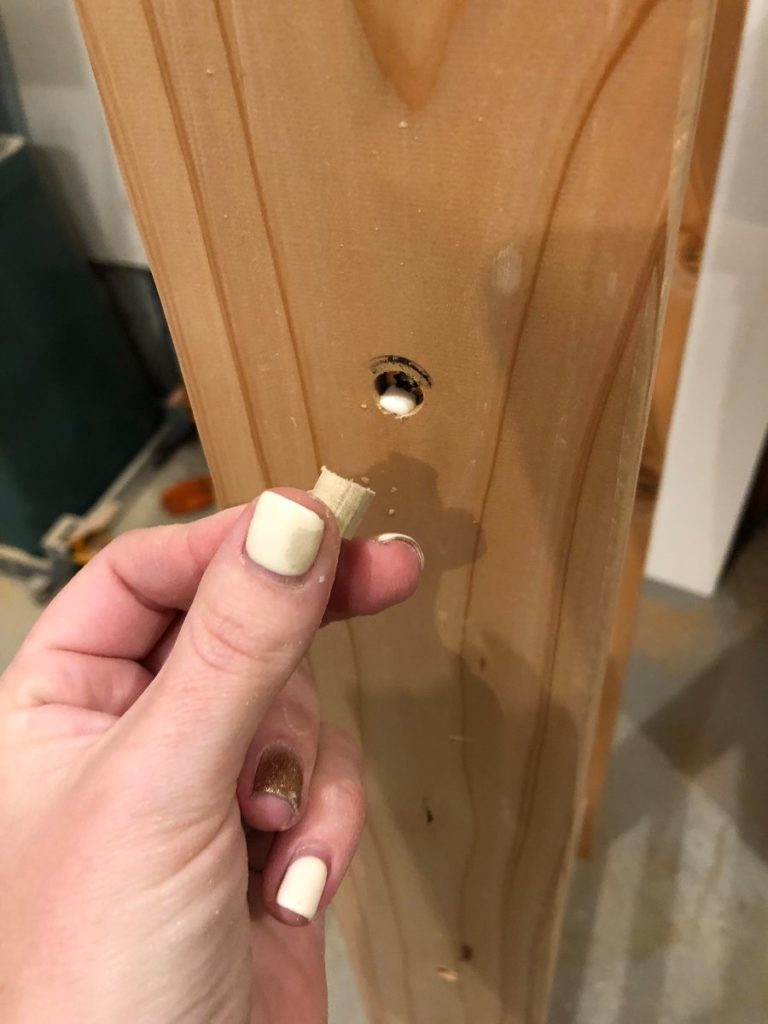
If the plugs are hanging out a lot, use a flush trim saw to cut off
the excess. Mine were barely sticking out so I was able to sand them flush.
Step 7
Sand and Finish!
I finished mine in Dark Walnut
and used Triple Thick Poly for the clear coat.
Thanks for following along!
As always, don’t forget to post your pics,
PIN this project, and tell your friends!
For more tips, tricks, and inspo follow Overalls & Power Saws
on Instagram and Pinterest!