Tutorials
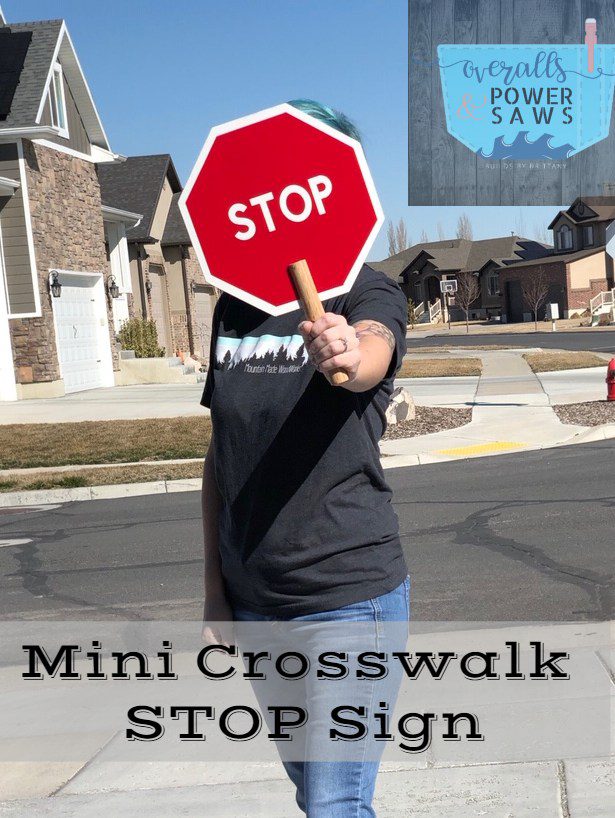
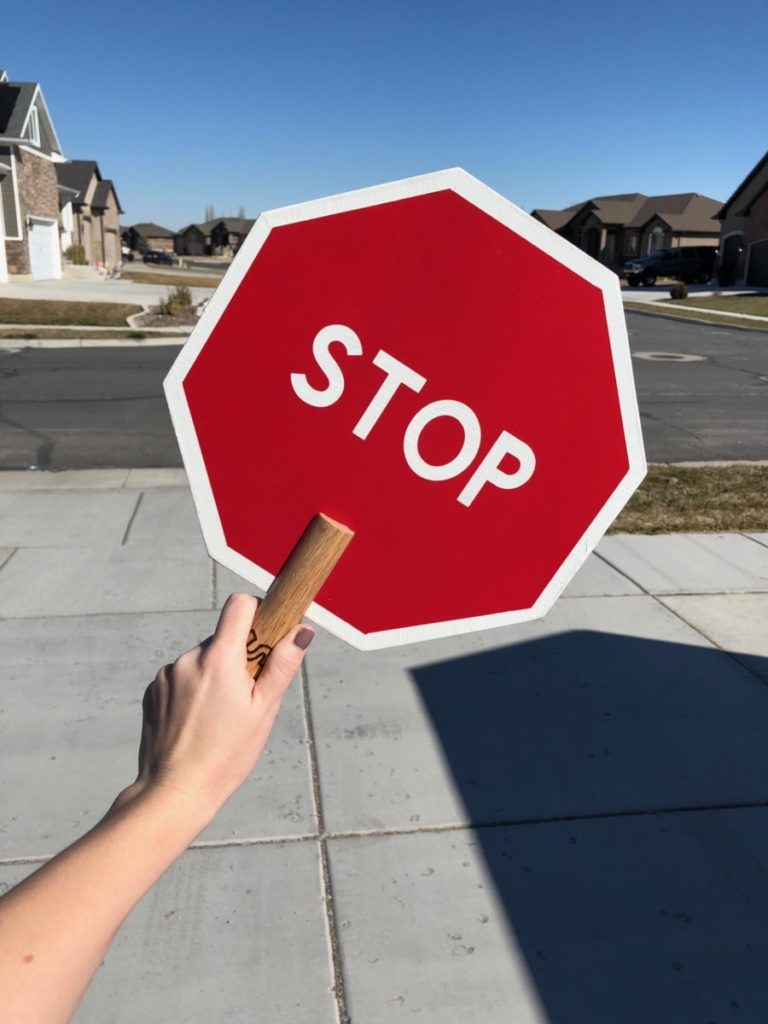
Mini Crosswalk Stop Sign
Happy SPRIIIIIIING everybody!!
We are officially at the point in the year where
it’s 30’s in the morning, but almost
60 by the afternoon and I am LOVING
this weather!
Where are my anti-winter people at??
I love snow the first time it snows, and then I’m
OVER it. So you better believe I’m feeling
super stoked about the little peeks of warm
weather we are getting now!
And it makes me even more excited, because I
can finally be OUTSIDE BUILDING THINGS.
Like, GOALS, people!
So to kick off this gorgeous season, I’m starting
with a cute little outdoorsy project…
a little handheld crosswalk STOP sign!
My kids are in elementary and attend a Charter school.
Part of their acceptance into the charter school
is a mandatory 30 hours of volunteer service per family for the
school. I’ve been trying more lately to
integrate woodworking into my volunteer hours.
You know, so they’re fun. 😉
There are 8 different crosswalk/carpool volunteers
at my kids’ school and each of them just hold up their
hand to stop the cars.
…until now!
I thought it would be super fun
and really cute to make a batch of these little
stop signs to hand out to them…
and get a few volunteer hours in the process!
So it’s a pretty simple process, not too difficult,
and I’ll show you how I cut an octagon without a table saw!
Mini Crosswalk Stop Sign
Dimensions: 10″x10″ sign with an 8″ handle
Materials:
- 2×2 sheet of 3/8″ plywood
- 1″ oak dowel
- Poster Board
- 3/4″ Spax screws
- painters tape
- red paint
- white paint
- waterproof clear coat – I used water based polycrylic
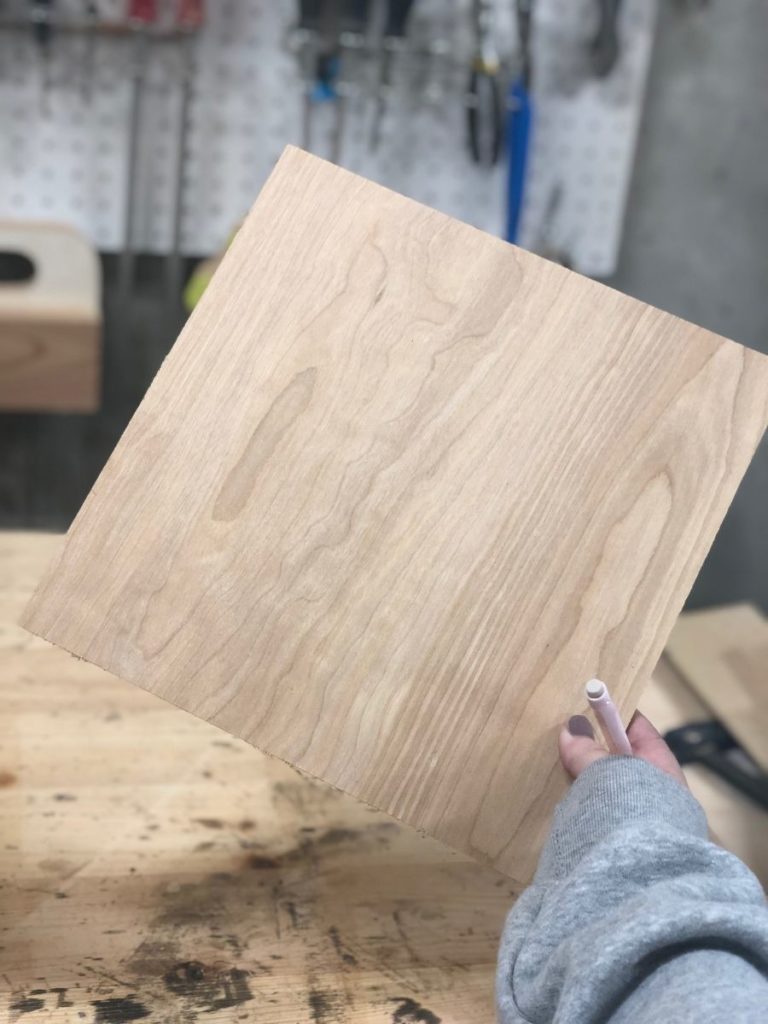
Step 1
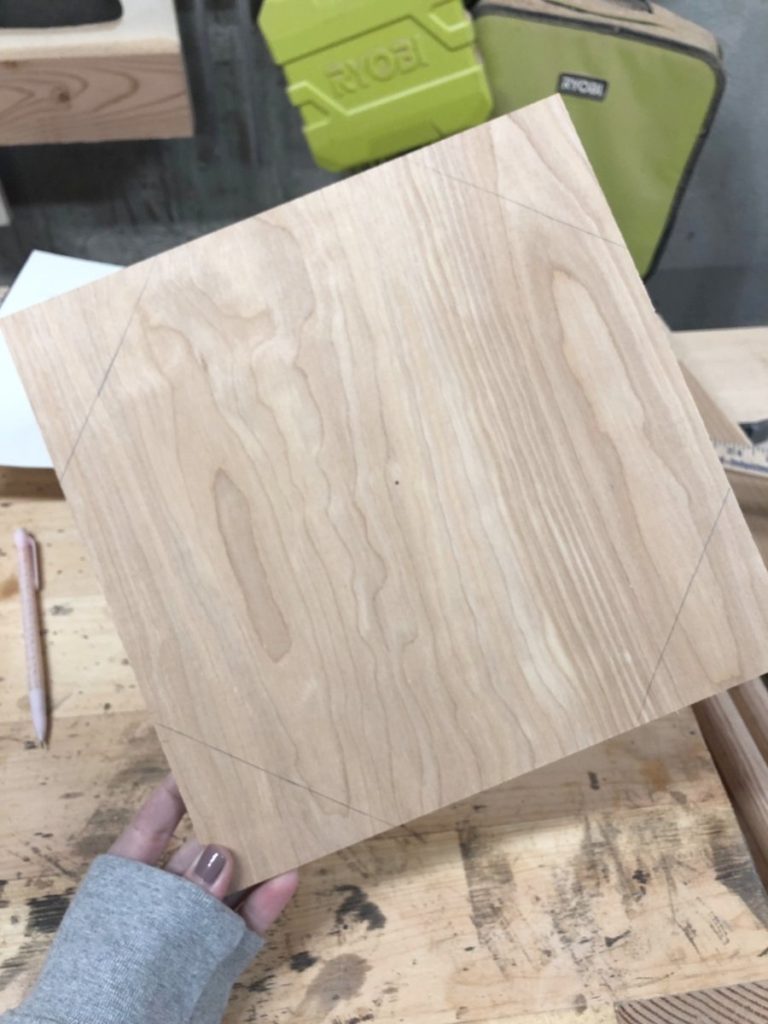
Cut your plywood down to a 10″ x 10″ square.
Step 2
Use the plywood to trace a square onto your poster board.
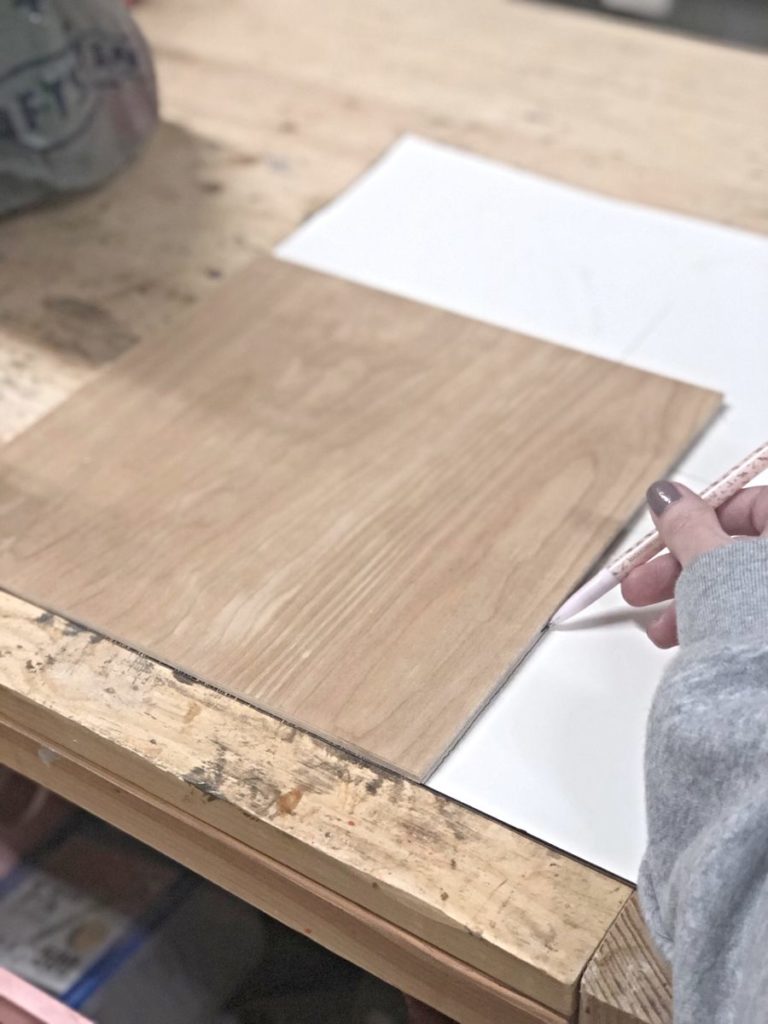
Cut out the square on the poster board and find the center.
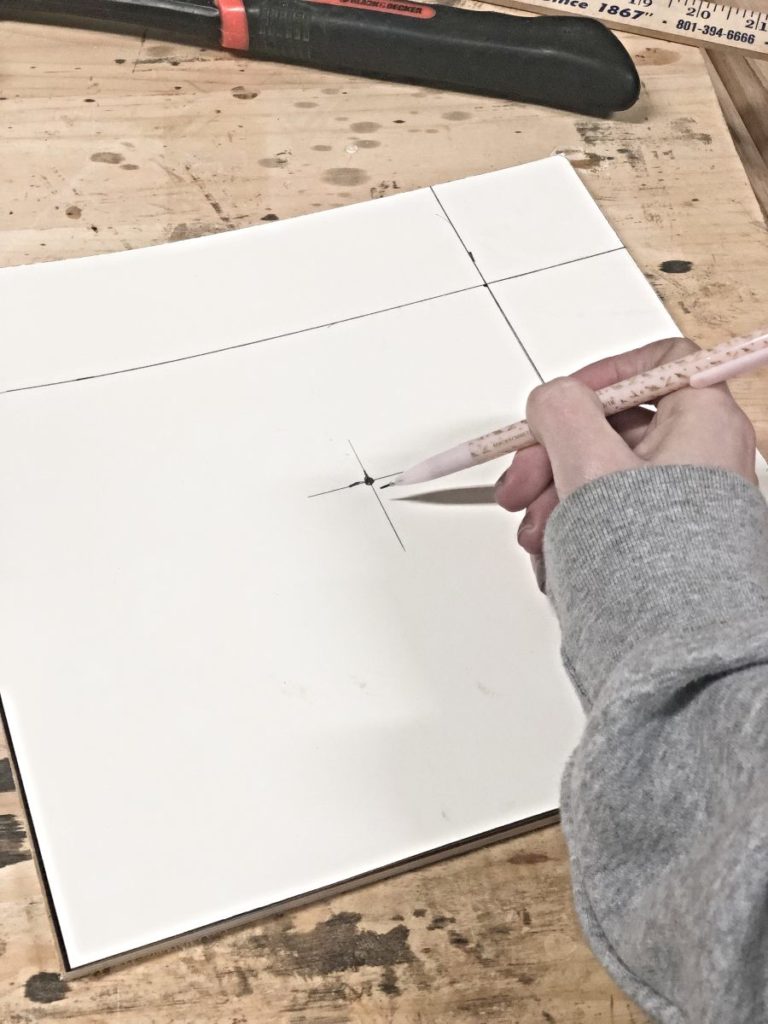
Lay the poster directly on top of the plywood and
drive a nail into the center.
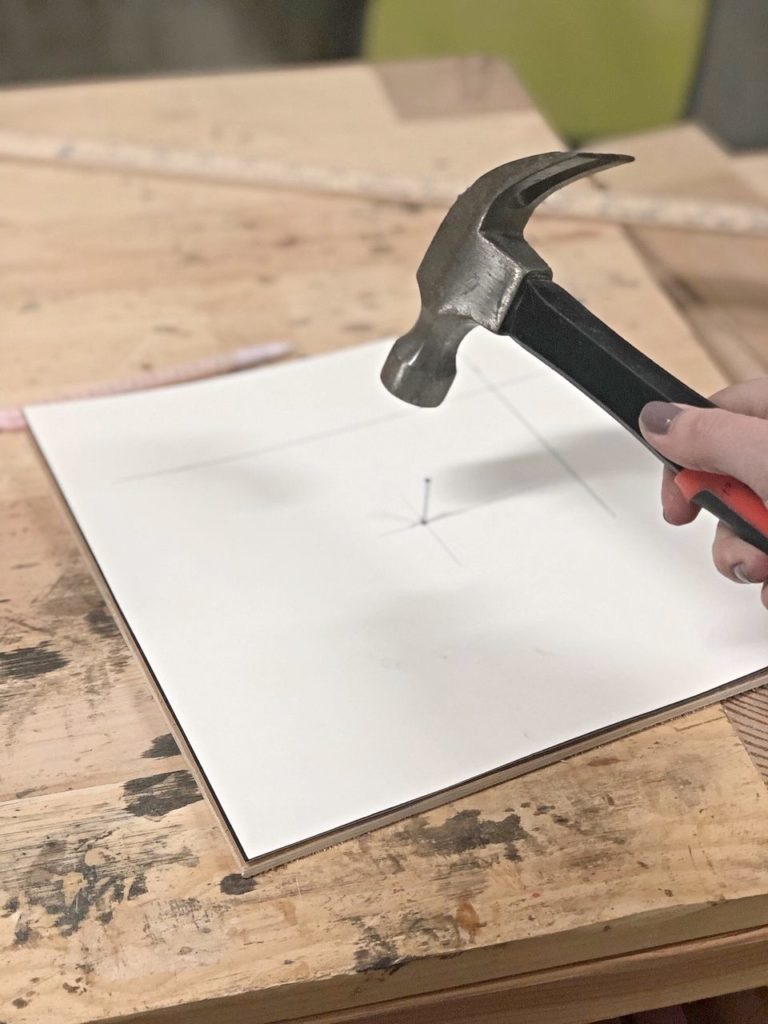
Turn the poster board 45 degrees, and line it up
using a square.
Trace along the edges to form your octagon.
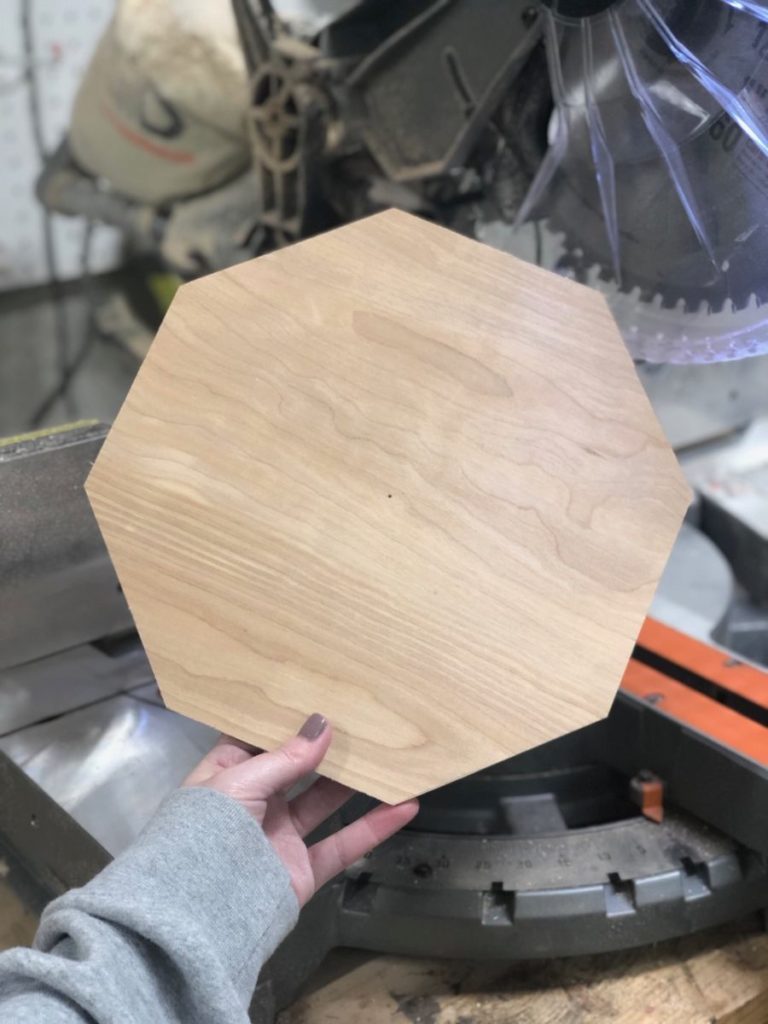
Step 3
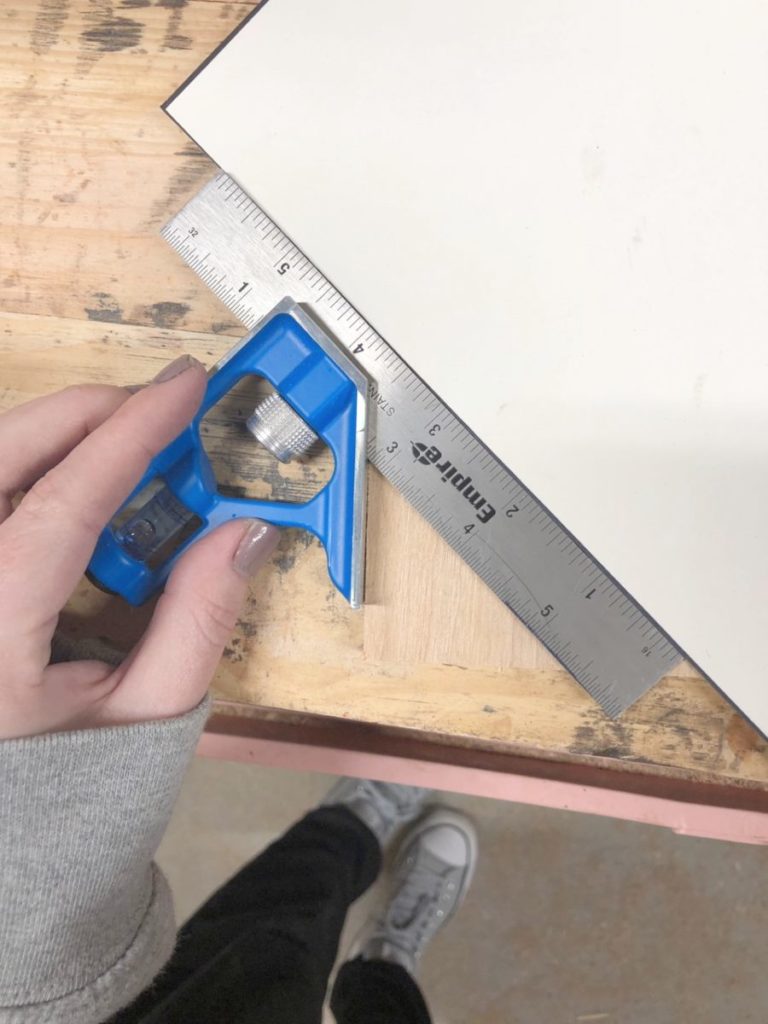
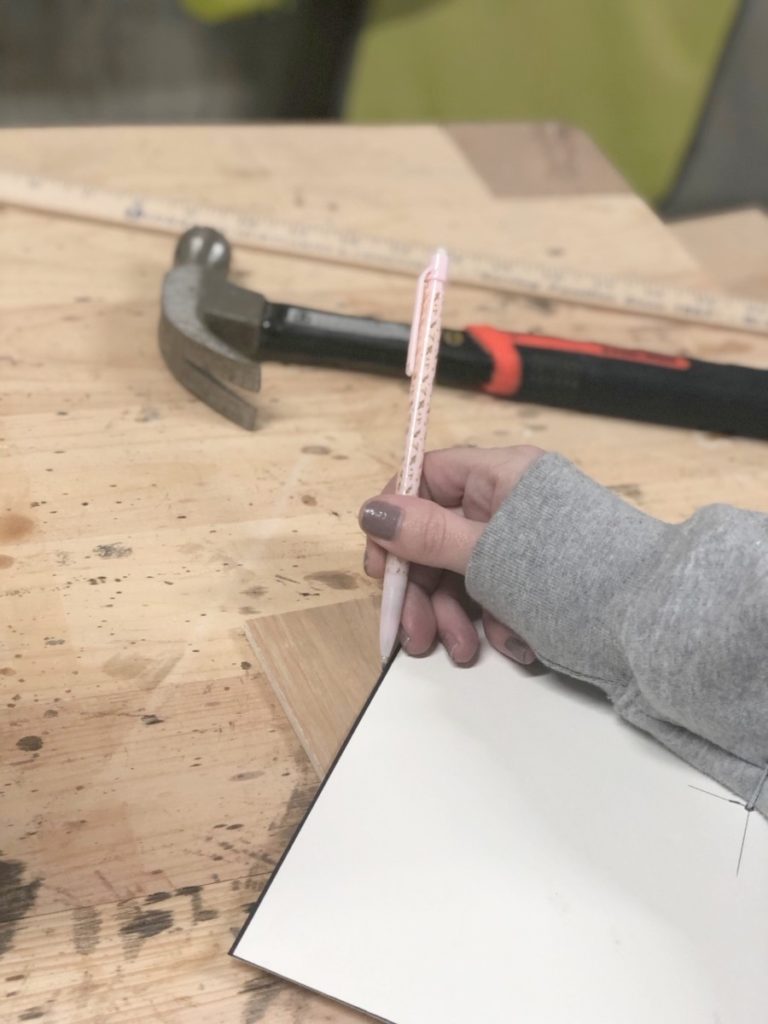
Line up one edge on the miter saw and make the cut.
This looks sketchier than it is. I promise.
I’ve propped up a few scrap boards under
the side that hangs off the miter saw so the whole
thing is stable and I was able to hold it steady.
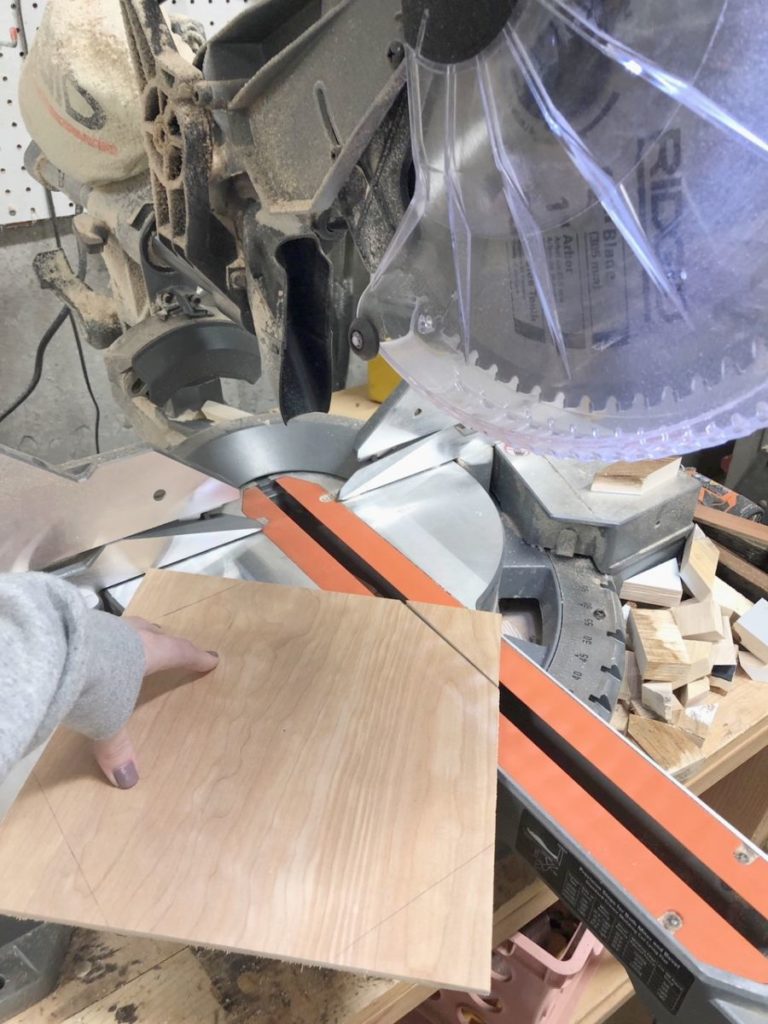
Then you’ll turn it to where the flush side is against the
fence of the saw and then cut the remainder of the corners off.
Step 4
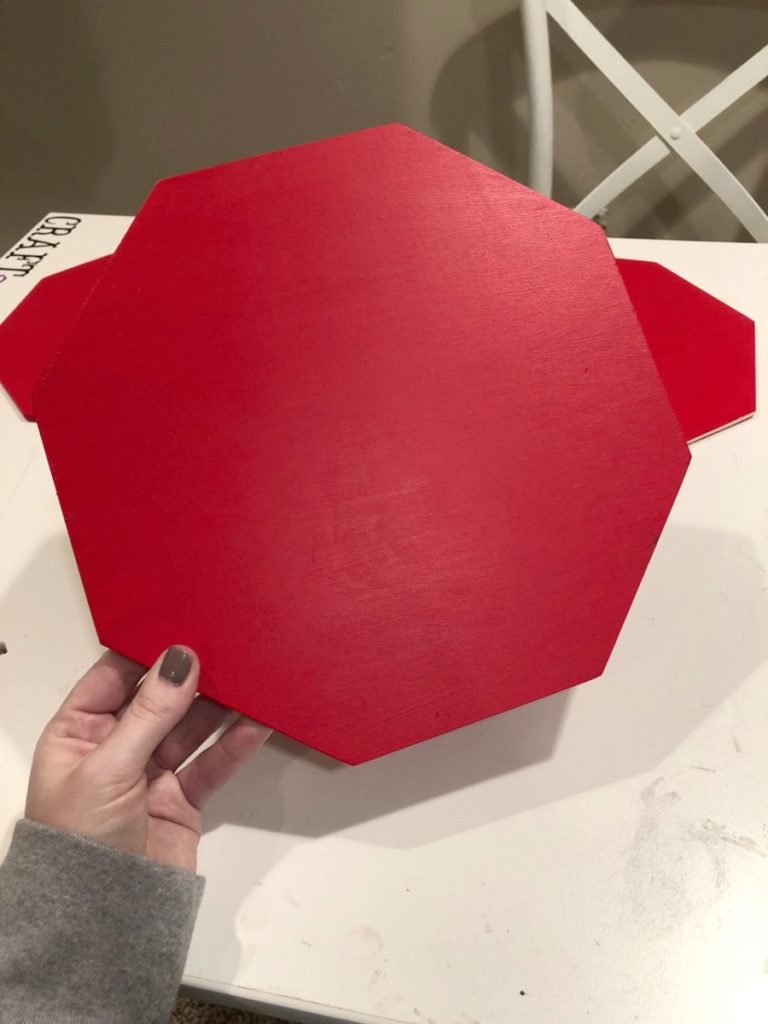
Paint both sides red. It will take a couple of coats for good coverage.
Tape around the edges of the sign. I don’t have an exact science to this.
I just eyeballed it and put the tape where I thought it looked good.
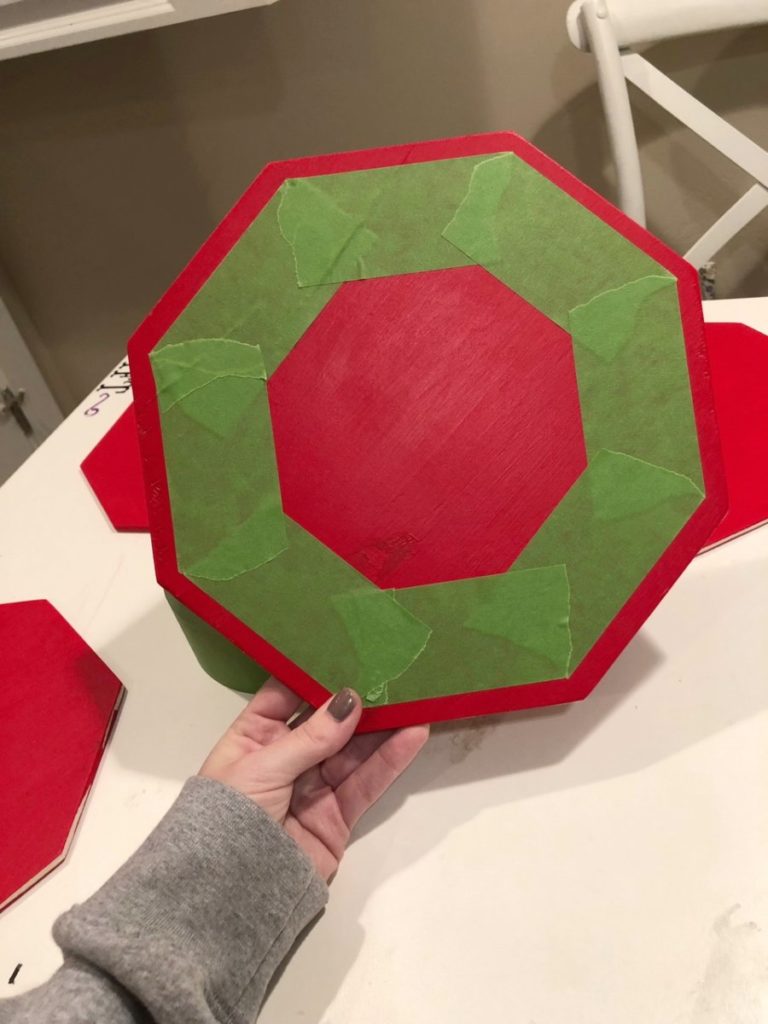
Paint the edges white. This will definitely take more than one coat.
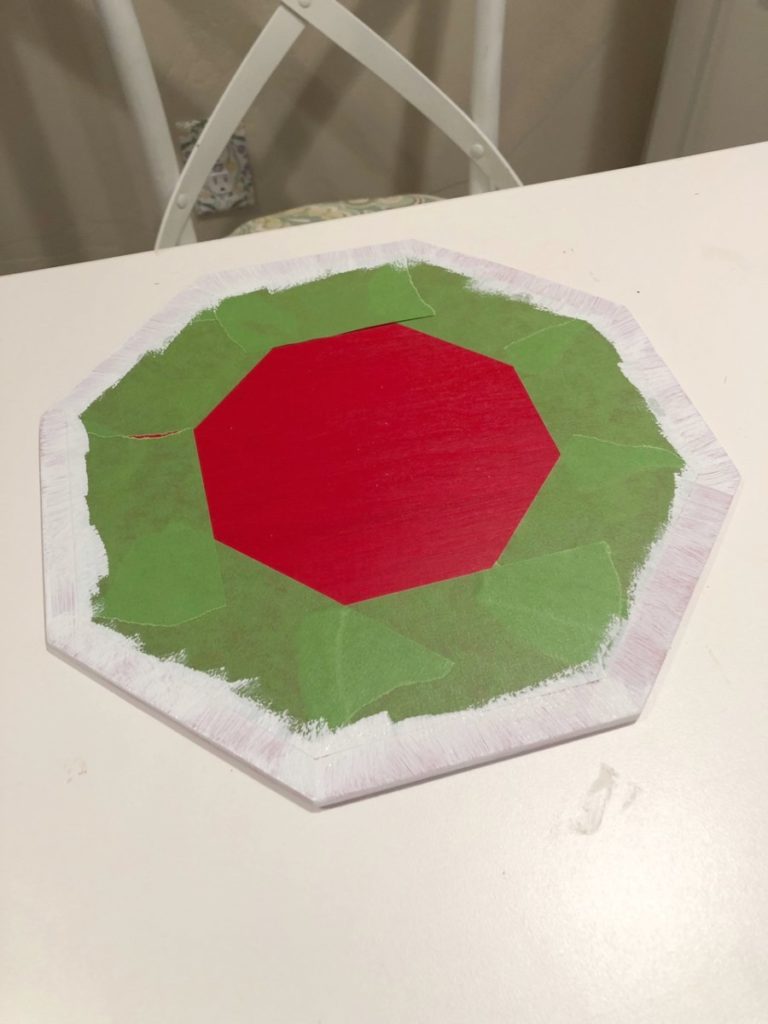
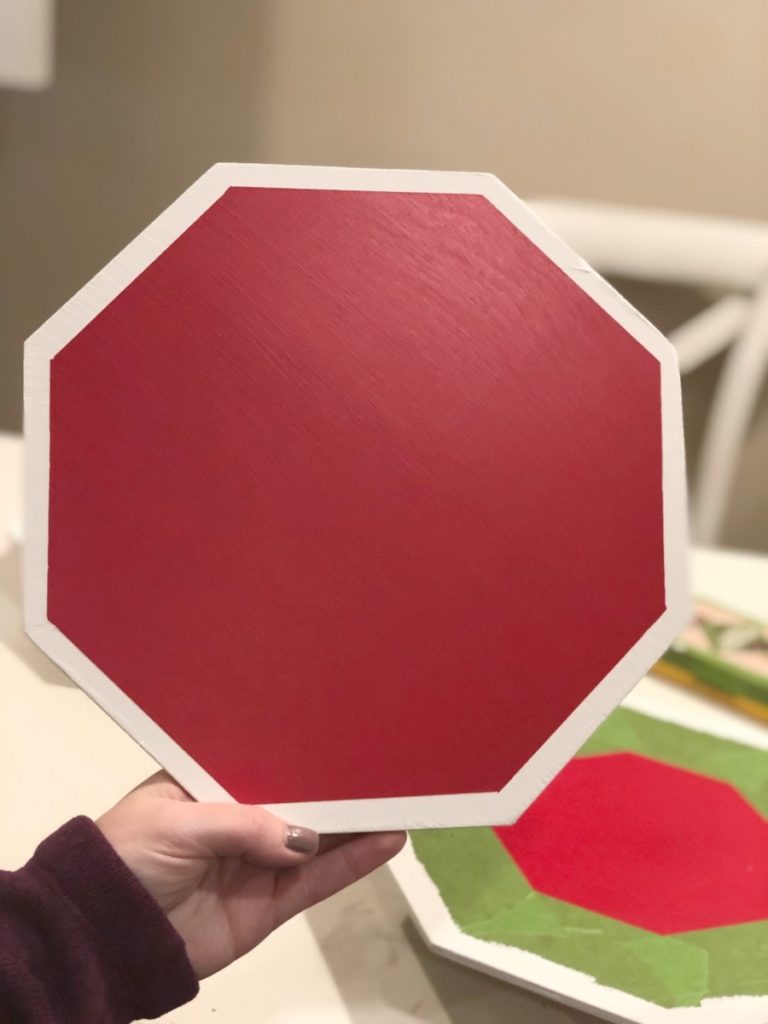
Peel the tape and admire the crisp beautiful lines 🙂
Step 5
Cut the dowel down to 8″. Take middle of the end of the dowel
and line it up on the edge of stop sign to measure the width.
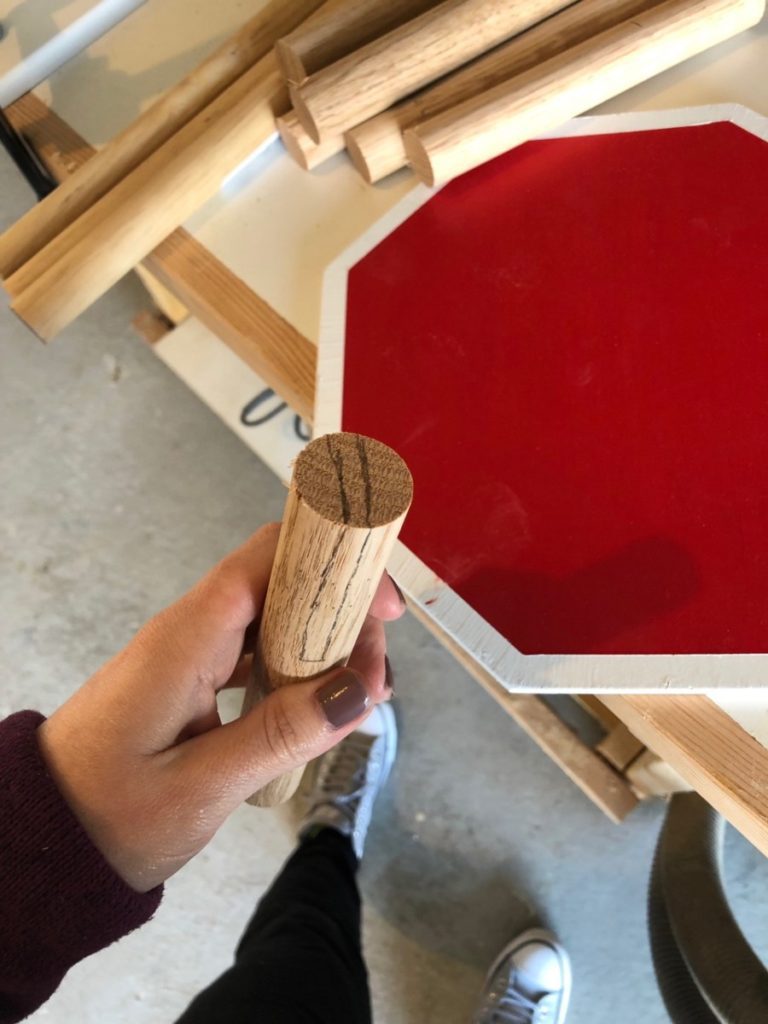
Then hold the dowel up onto the sign and mark a line however
far down you want it to go. I put mine 3″ onto the sign so that
5″ would hang off.
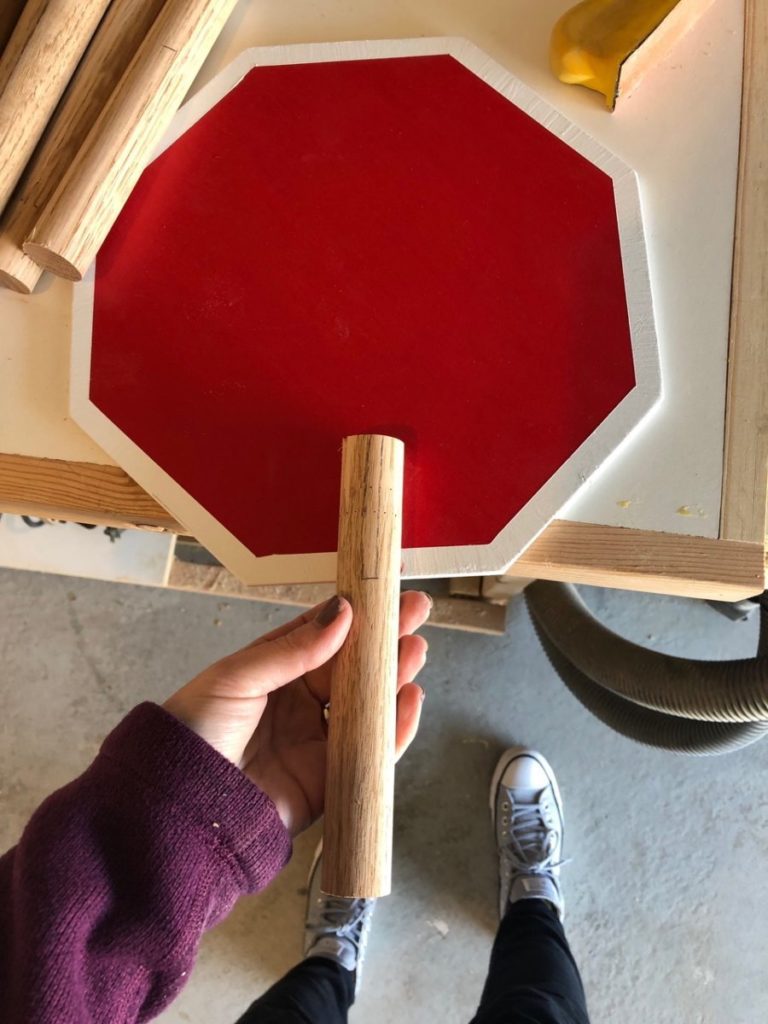
Use a band saw to cut along the lines.

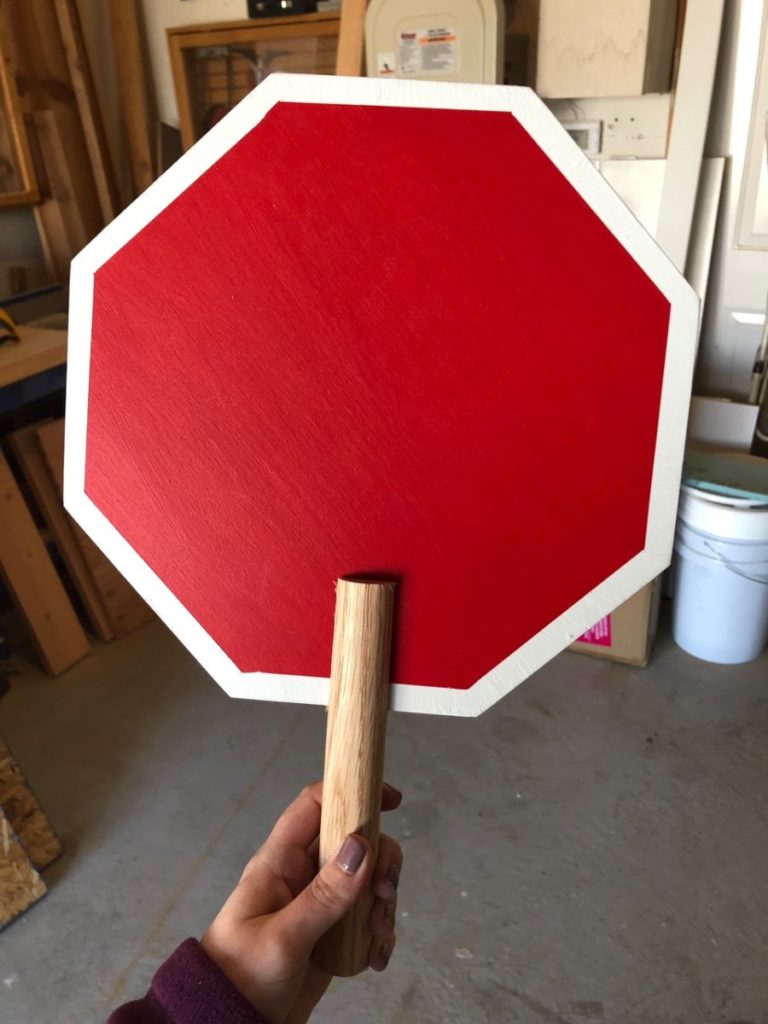
Test fit the handle to the sign and make any adjustments if needed.
Step 6
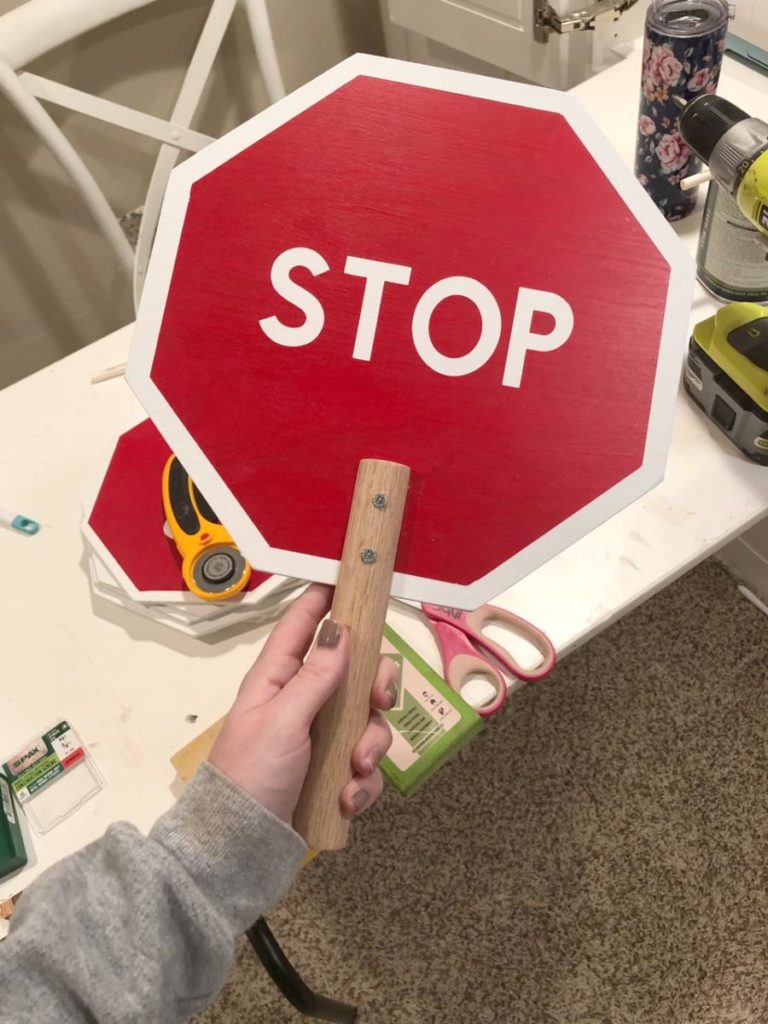
I used my Cricut to cut out the STOP letters on vinyl to use as a stencil.
I made them 7″ wide and 3″ tall.

Paint STOP on both sides.
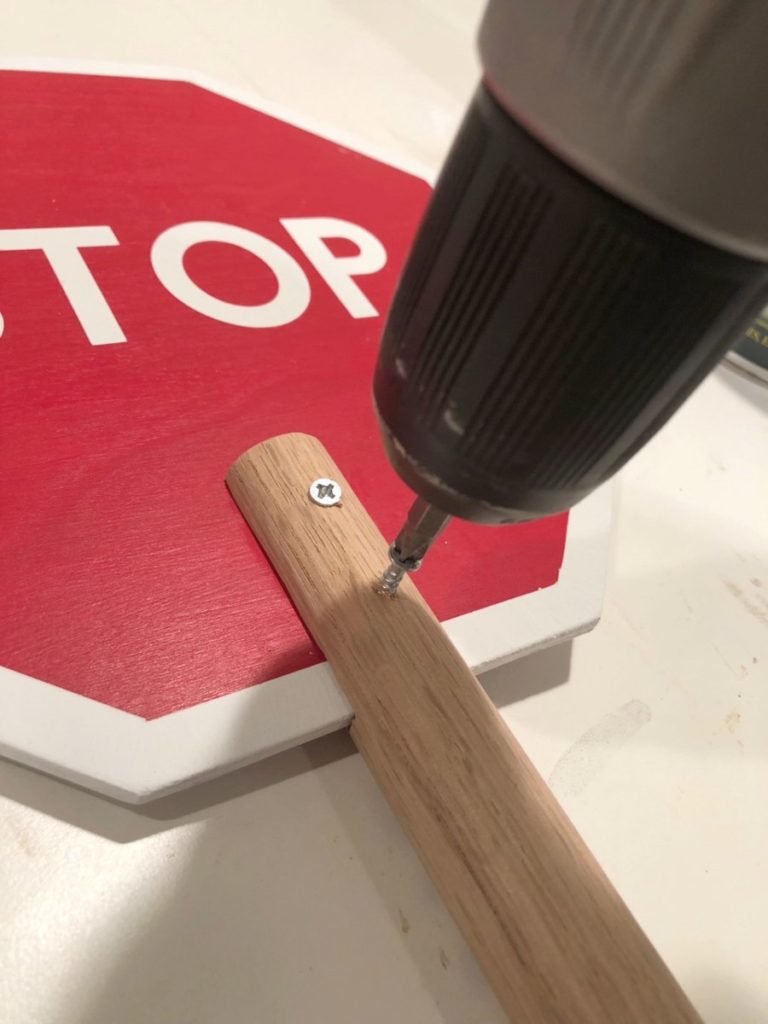
Step 7
Put a little glue where the handle is going to go and slide
it into place. Predrill two holes vertically in the handle.
Use the 3/4″ screws to secure it into place.
Be sure to coat the whole thing with a few coats of
lacquer or water based polycrilic. This is something that
will be outside in the elements so it needs a clear protective coat!
This is such a fun little project,
and my kids love it too!
They have commandeered the one I
made for myself and like to play
“crosswalk” on the sidewalk with their scooters! 🙂
Thanks for following along, and as always, don’t forget to post
your pics, PIN this project, and tell your friends!