Home Decor, Tutorials
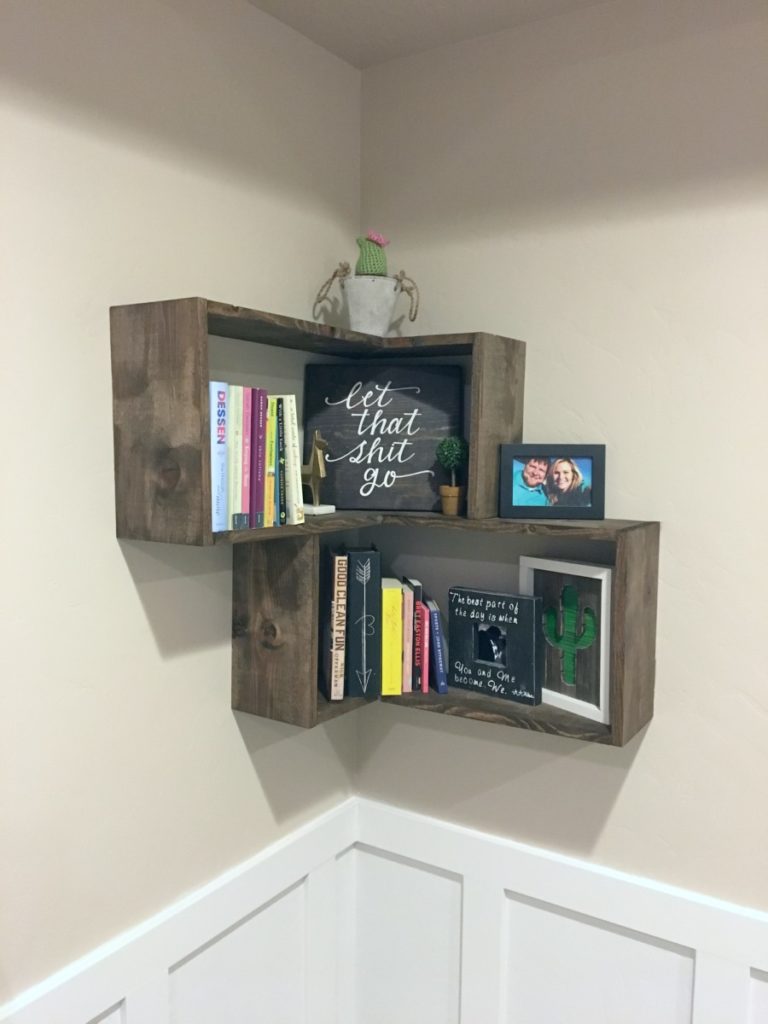
DIY Floating Corner Shelves
Hi Friends!! I’ve got a fun new tutorial for you today.
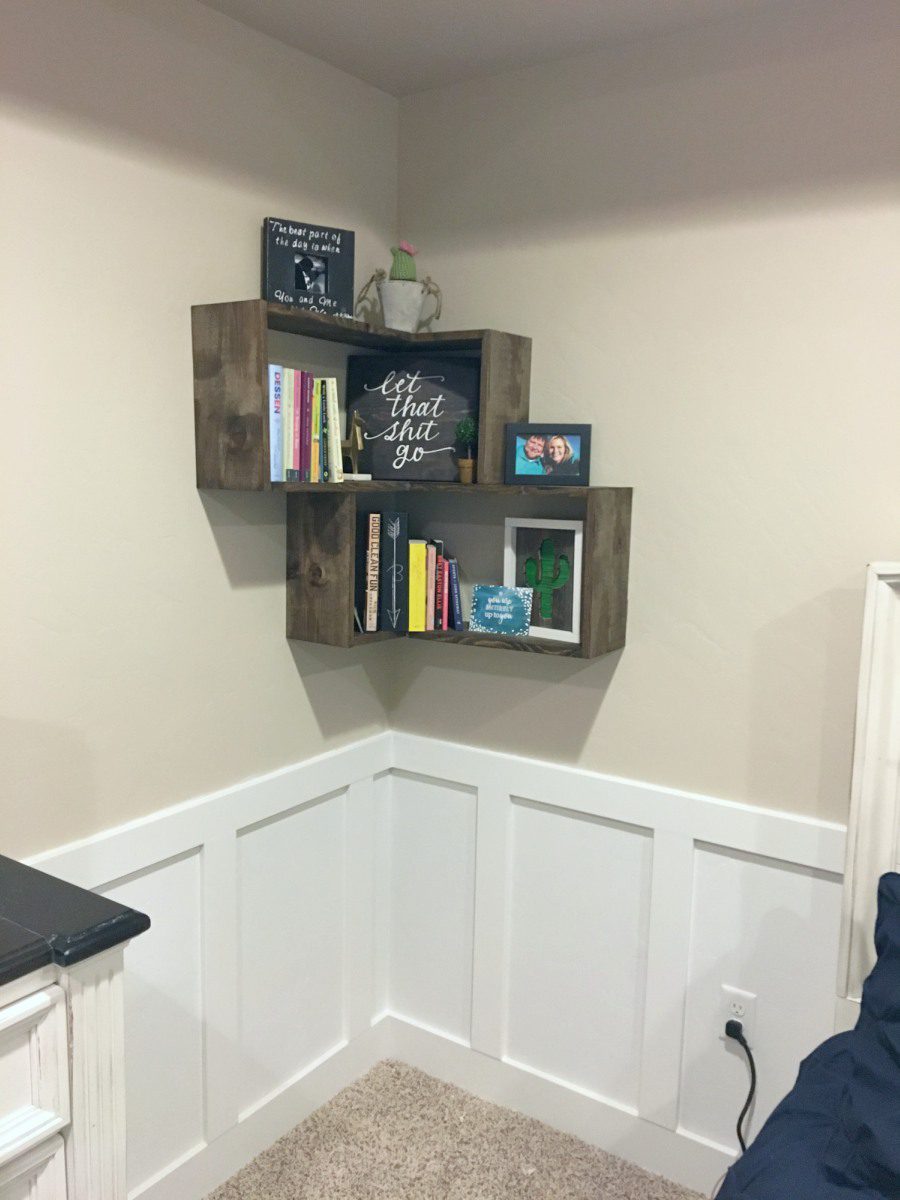
This is my second set of these box shelves I’ve made and they fit the corner of my room beautifully.
Follow along below to see how to make these super fun floating shelves!
Don’t forget to stay updated by following Overalls & Power Saws on Instagram and Pinterest!
DIY Floating Corner Box Shelves
Materials:
- 1x8x8 – 2
- Keyhole Hangers – 10
- Drywall Anchors
- 1 1/2″ Spax Screws
- Router with trim bit
- Brad nailer and 1 1/2″ brad nails
- Wood Glue
- Drill
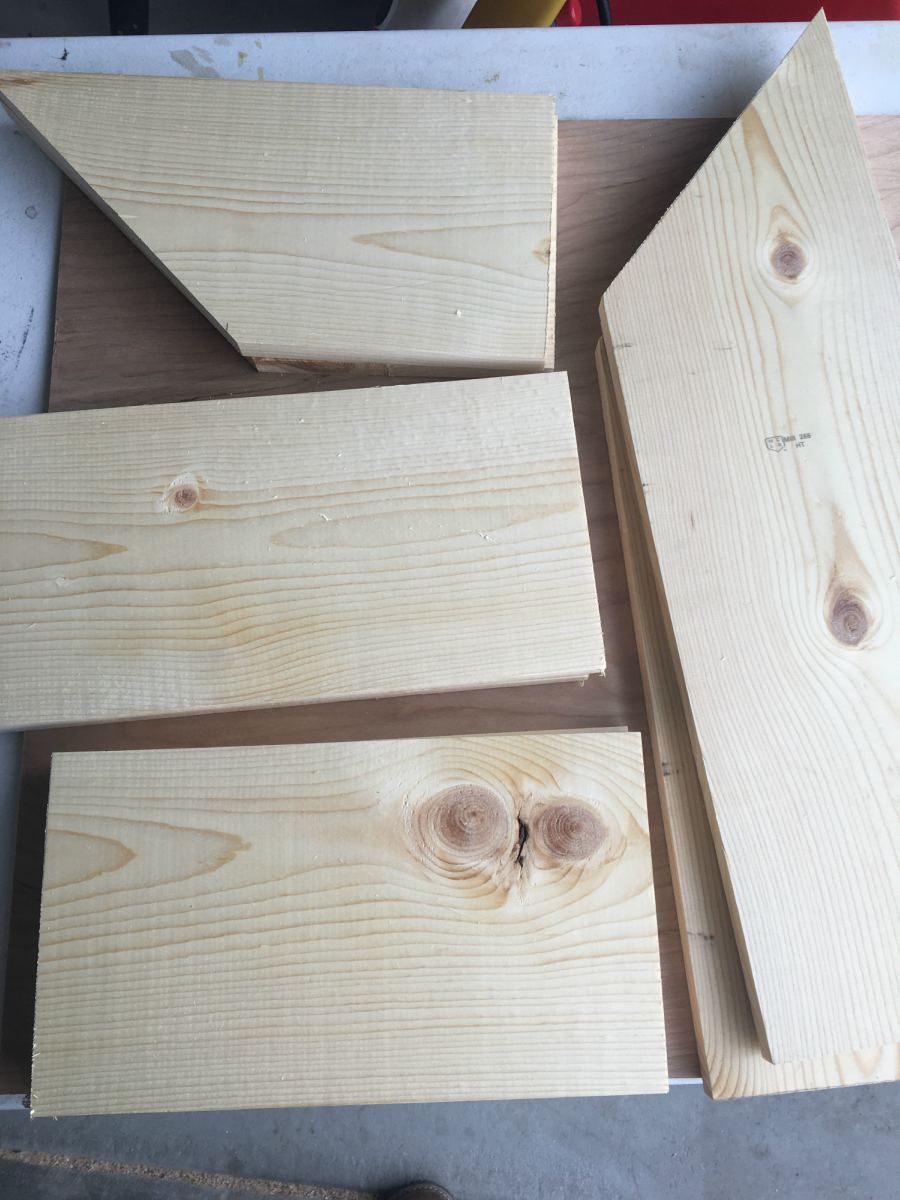
Cut List:
- 24 3/4″ – 4 – cut one end at 45 degree miter
- 14 1/2″ – 2 – cut one end at 45 degree miter
- 13 3/4″ – 2
- 12 3/4″ – 2
Step 1
Make your cuts.
Step 2
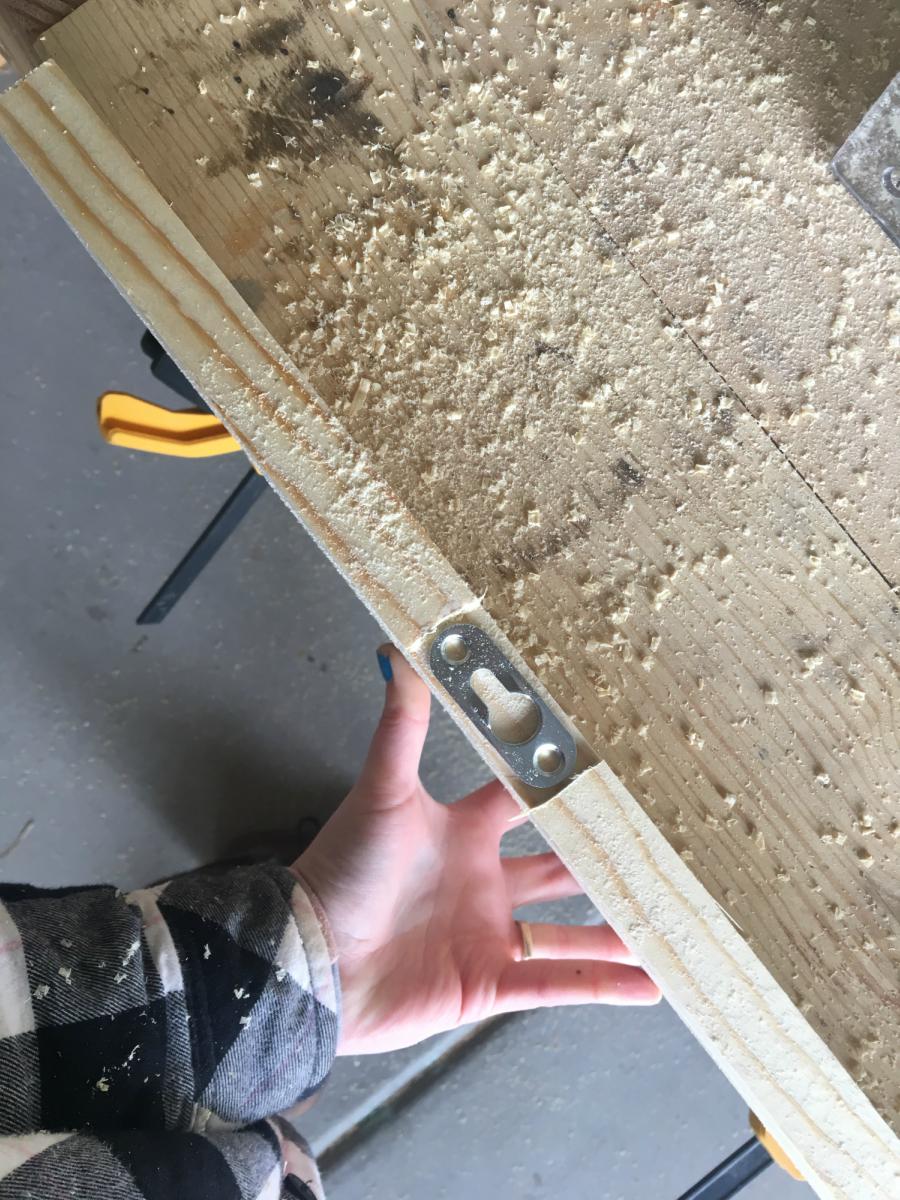
Take all of your mitered pieces and trace the width of the keyhole hanger onto the long end of the board.
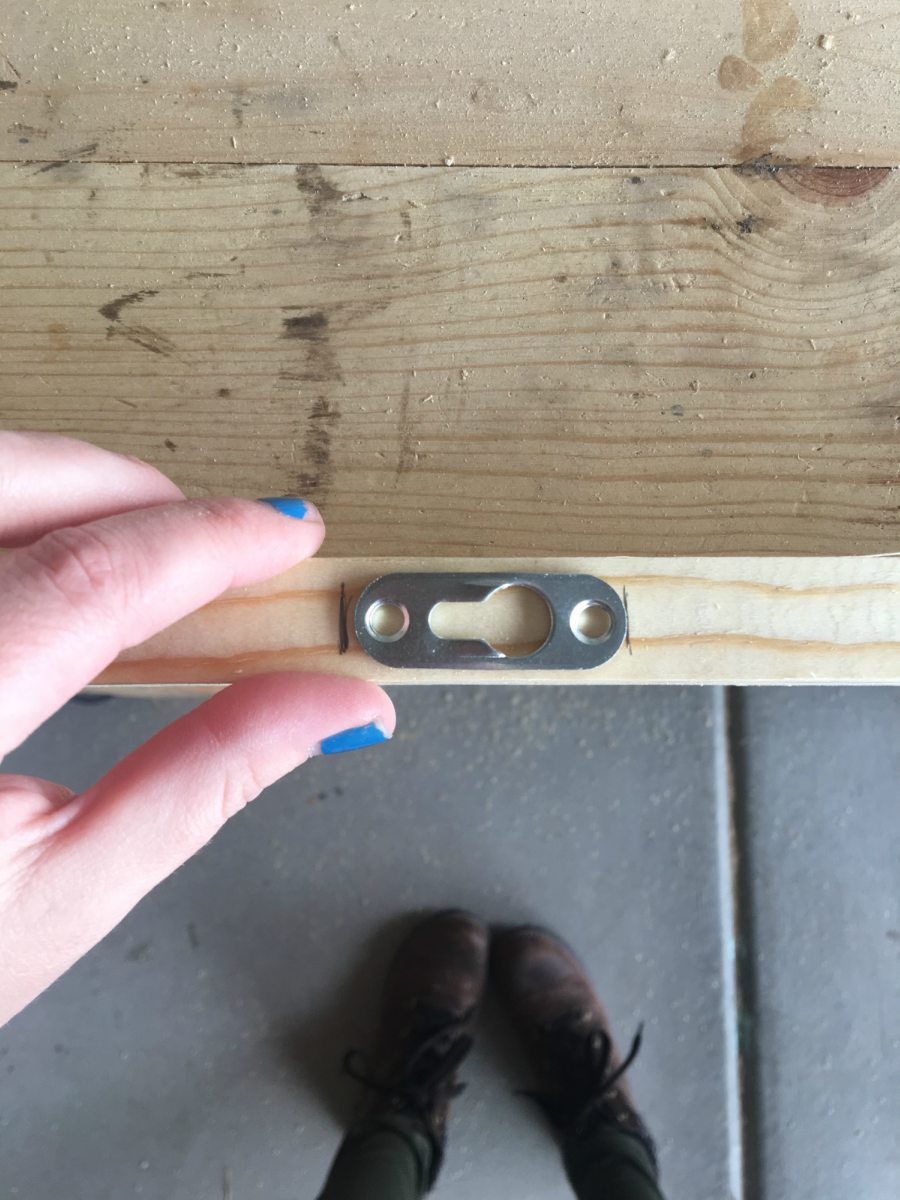
Step 3
Take your palm router with the trim bit attached and set to 1/4″ and cut out the width you marked. Cut two on the four longer boards, and one on the two shorter boards.

Just a quick little example of said palm router with trim bit attached.
Step 4
(Not pictured) Stain all of your boards.
Step 5
Attach keyhole hangers to their designated spaces, making sure they are facing the right direction. You can do this as you hang each board so you can be sure you’re putting them on correctly.
I had to change a few. Which means I had to redrill some holes.
Don’t do what I did.
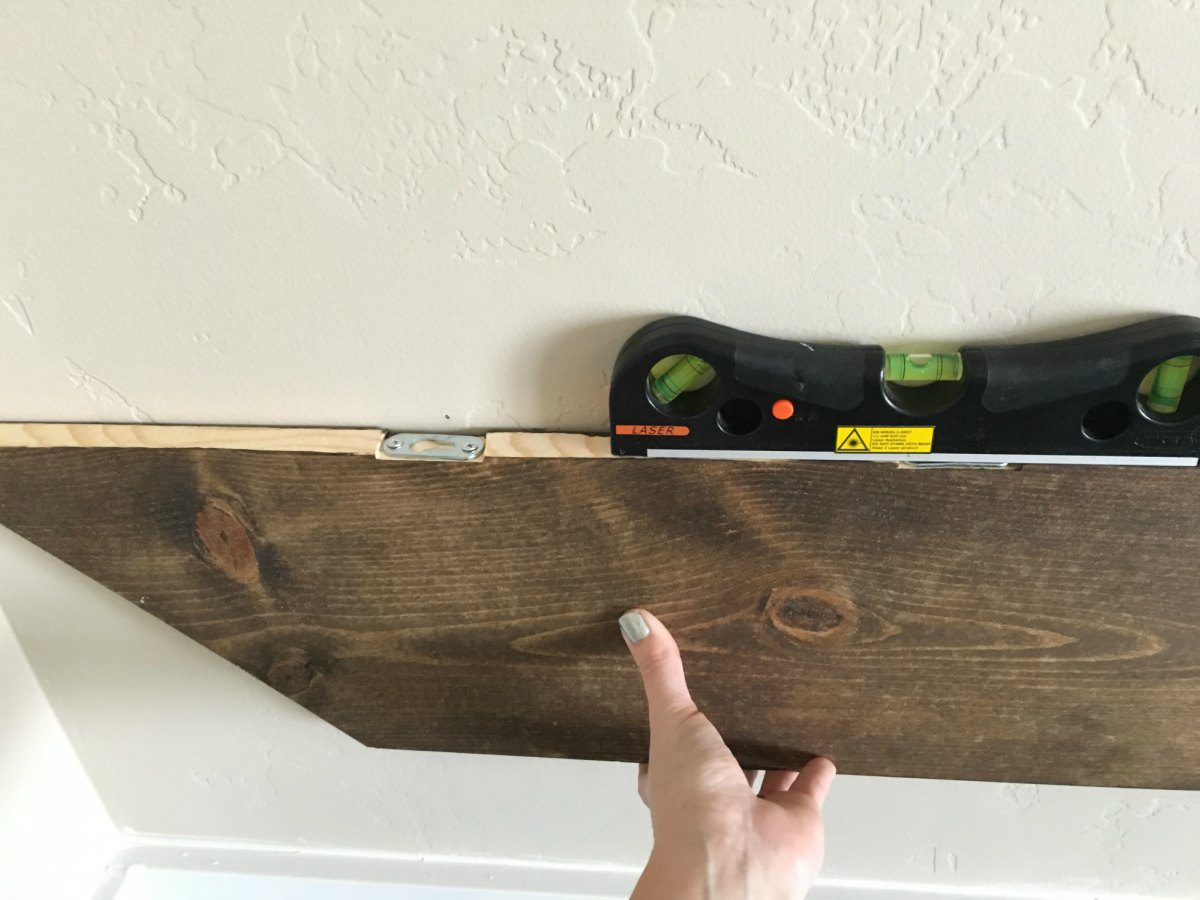
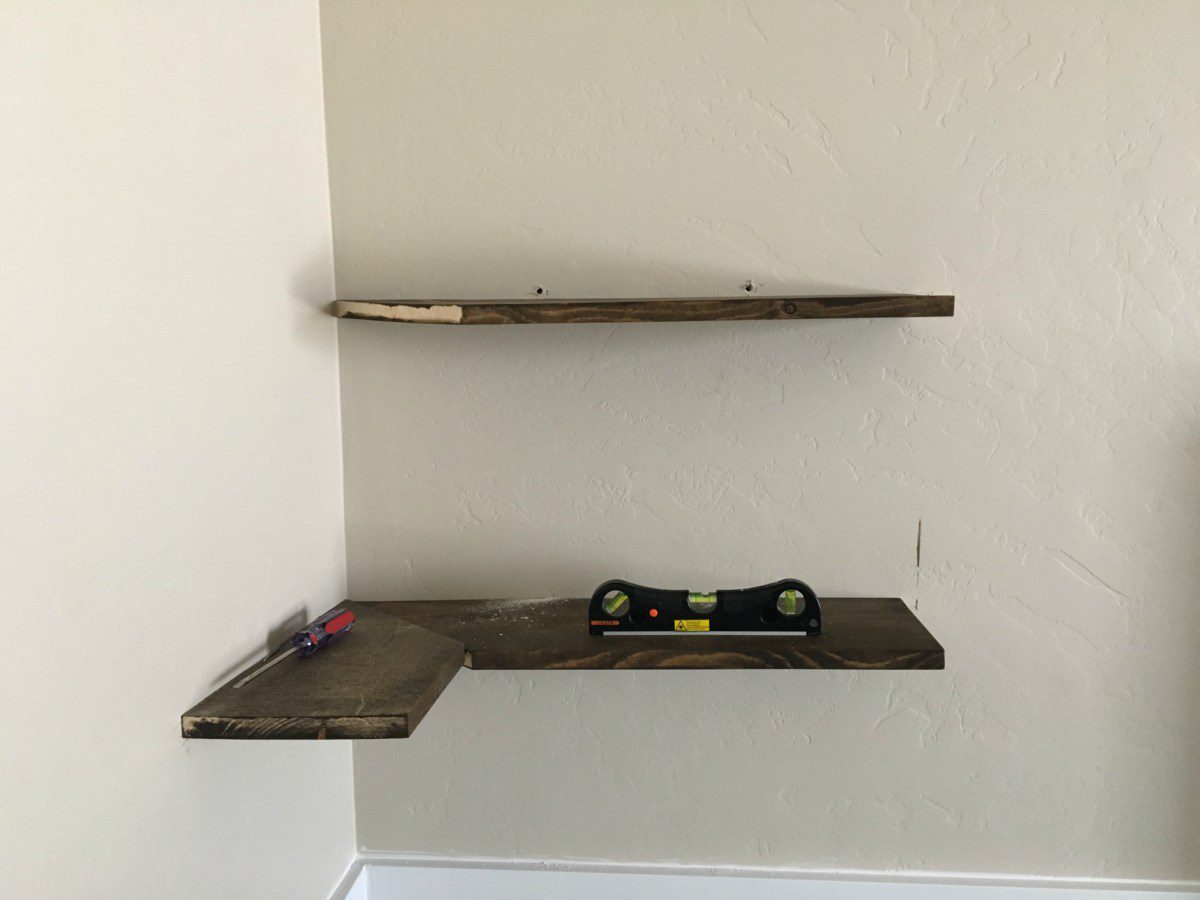
Once you’ve attached the keyhole hangers, measure the height you would like the bottom of the box shelves to hang. Use the board itself as a guide to mark where your pilot holes will be drilled. Make sure you mark where the screw will be after you put the board on and slide it into place. Use your level! You want it to hang straight!
Step 6
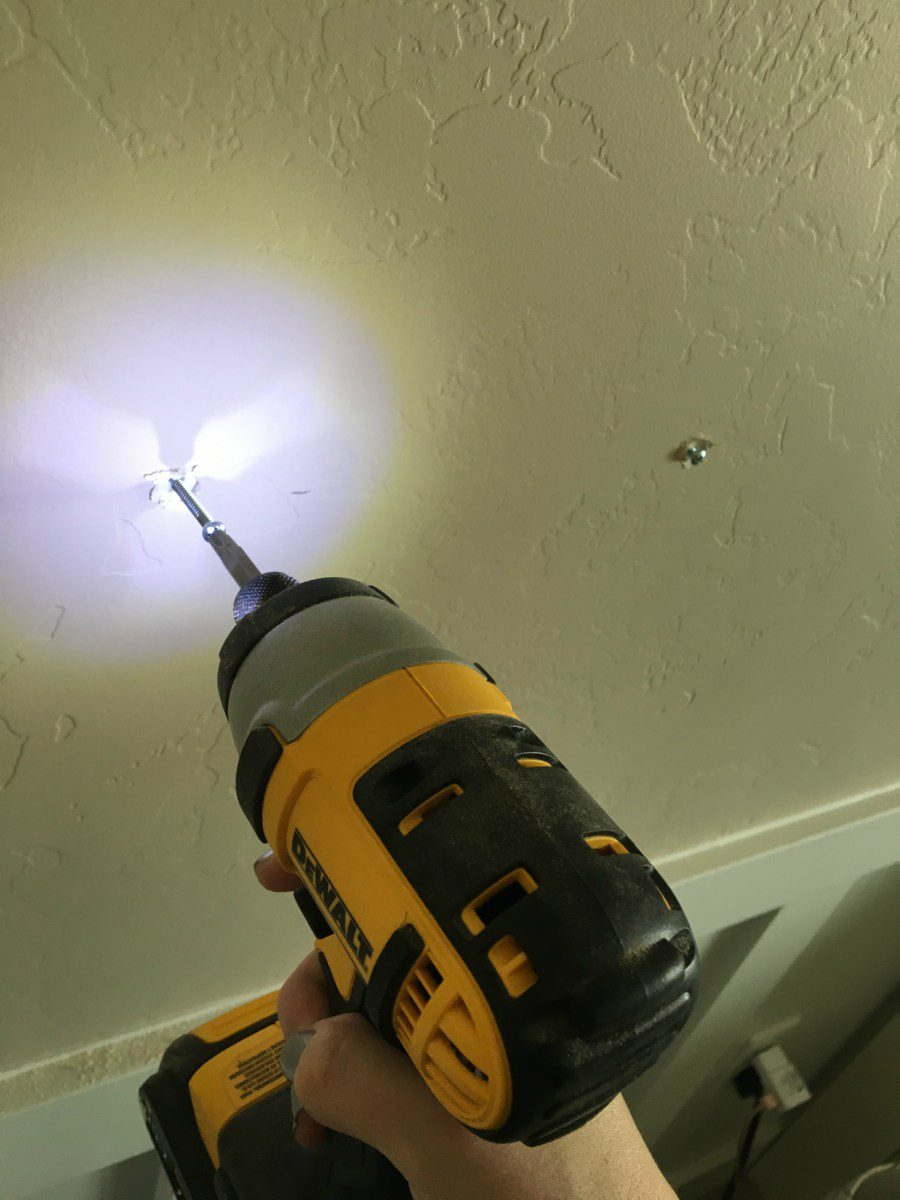
Drill your pilot holes!

Use a screwdriver to screw your anchors into your pilot holes by hand.
Then drill your Spax screws most of the way in. You want to leave a little gap so there is room for the keyhole hangers.
Step 7
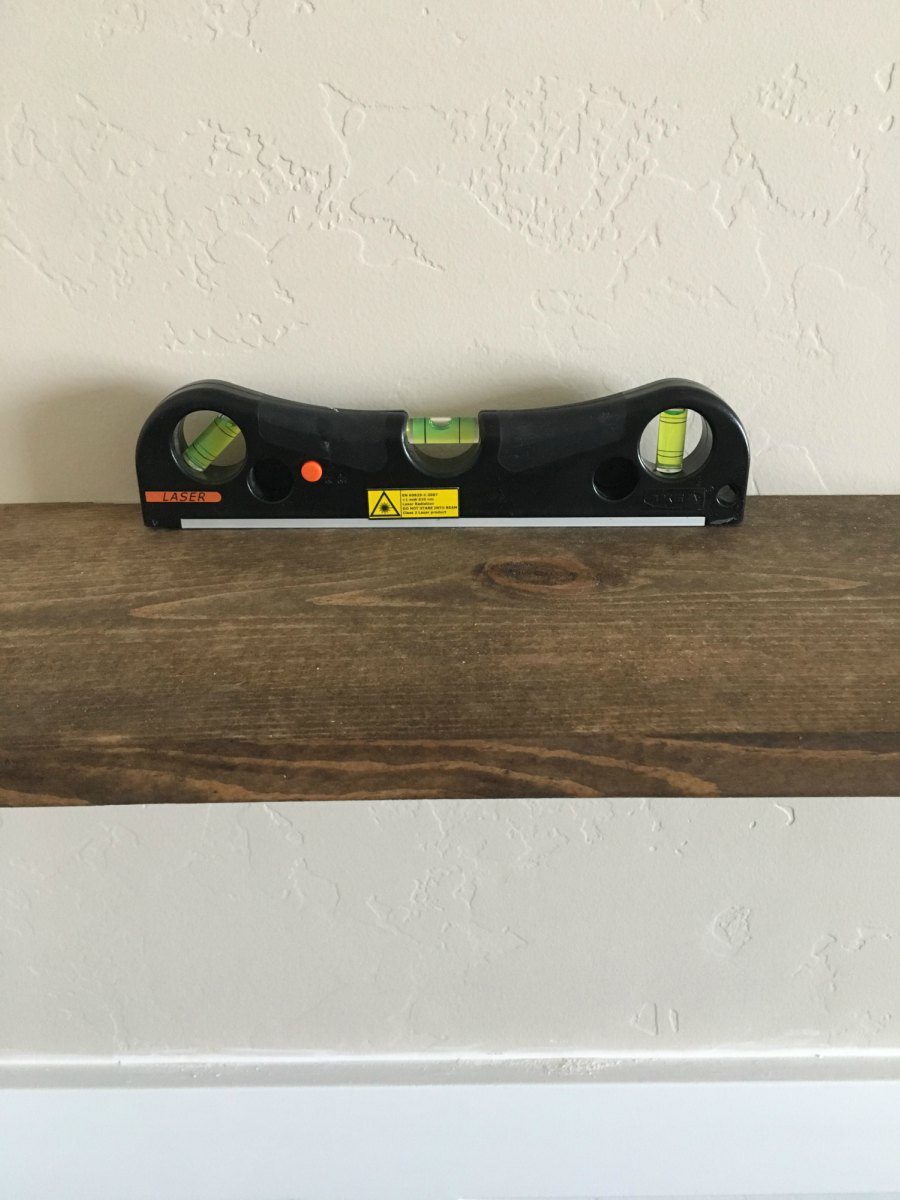
Slide your board onto the screws and make sure you’re level!
Repeat Steps 5-7 for one of your short boards, to form your first corner.
Also, if you wait until your stain dries, you won’t get those neat little stain stripes 😀
Use one of your 13 3/4 boards to measure the height of the second tier. Hang the next mitered long board. Use your brad nailer to attach the outside board. I also used glue at this point. I’m planning on my selves being permanent but you can leave glue out of this step if you’d like.
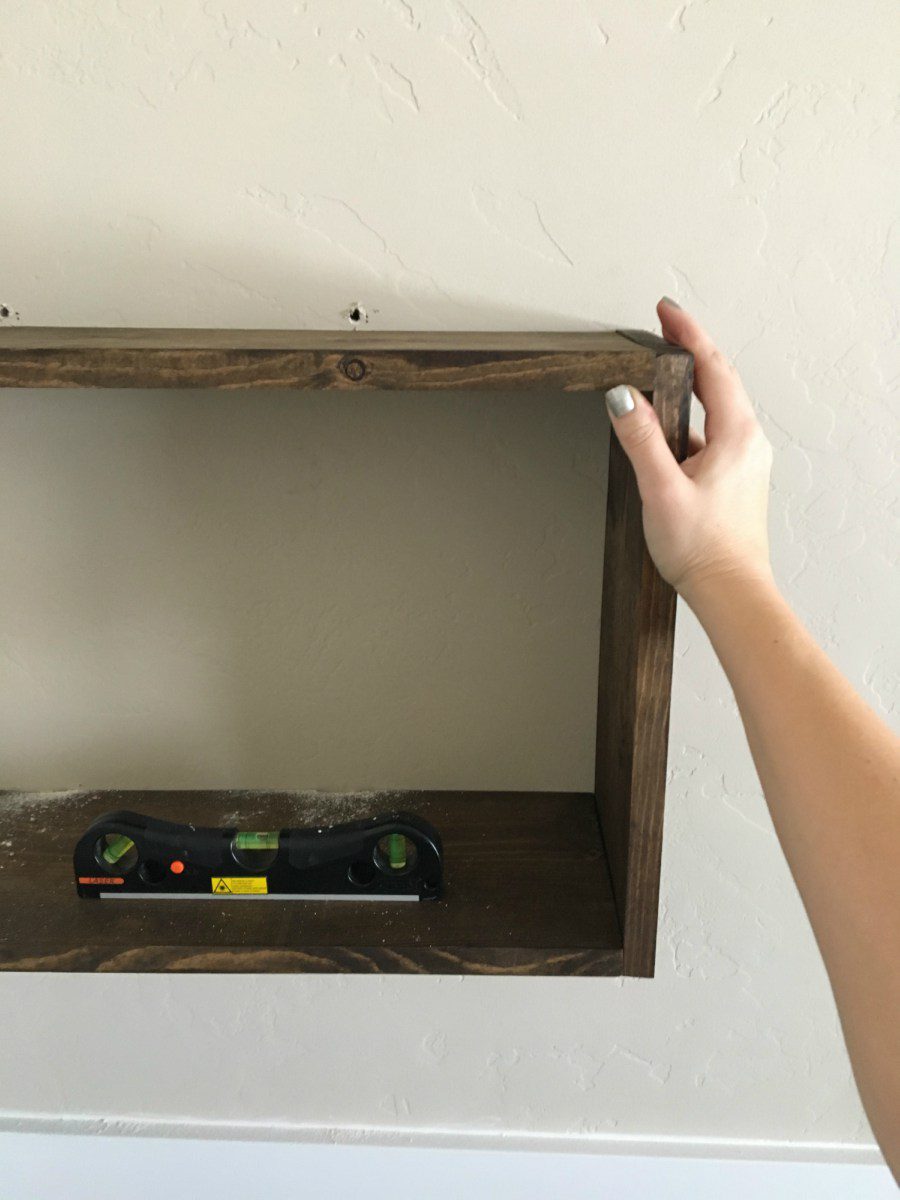
Repeat steps 5-7 for the remainder of the boards. It’s kind of like a jigsaw puzzle
and as long as you’re working your way from the bottom up, you should have no problems!
From bottom to top the short board and long board form a corner, then two long boards form a corner, and then the last long board and short board form the top corner.

Once all of your corners come together, you get to decorate them!! Mine are filled with books I don’t read, and signs from other makers I love! The big sign in the middle was my “win” from The Sweet Stash auction. If you haven’t heard of The Sweet Stash, it’s a maker-backed initiative to help those in need by donating items for auction! You can check it out here.
The other sign I love love love is the cactus sign! It was sent to me from my dear friend Sarah of Mountain Mama Designs! You can find her Etsy page here. Go check out her signs!!
Thanks for following along! As always, post pics of your process, PIN this project, and tell your friends!!
Beautiful work