How To's
How-To: Herringbone
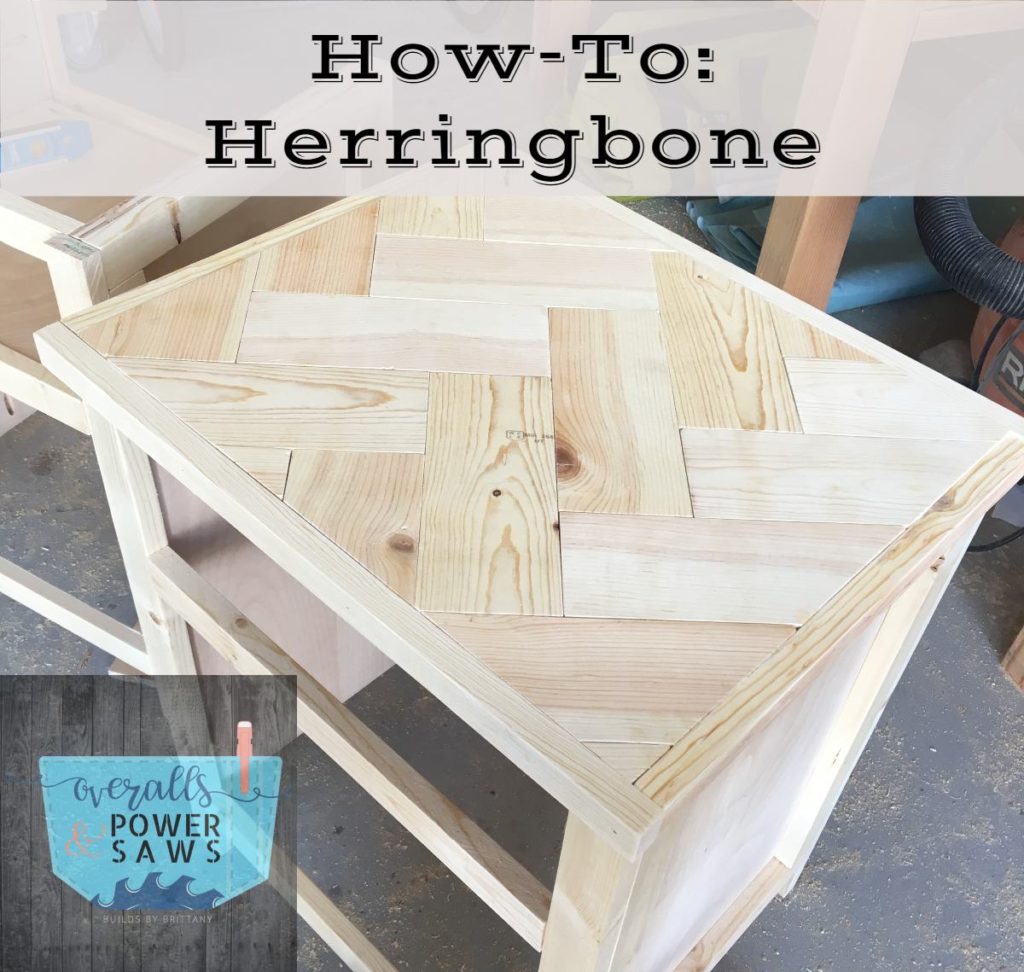
Let’s talk herringbone.
I loooooooove herringbone.
And now I herringbone ALL the things!
#crazyherringbonelady
I’m going to go over this fairly quickly.
For a more in depth tutorial on herringbone check out my Herringbone Video at the end of the post!
First things first. Create a stop block at the length you want your herringbone pieces cut to.
This ensures they are all the exact same length.
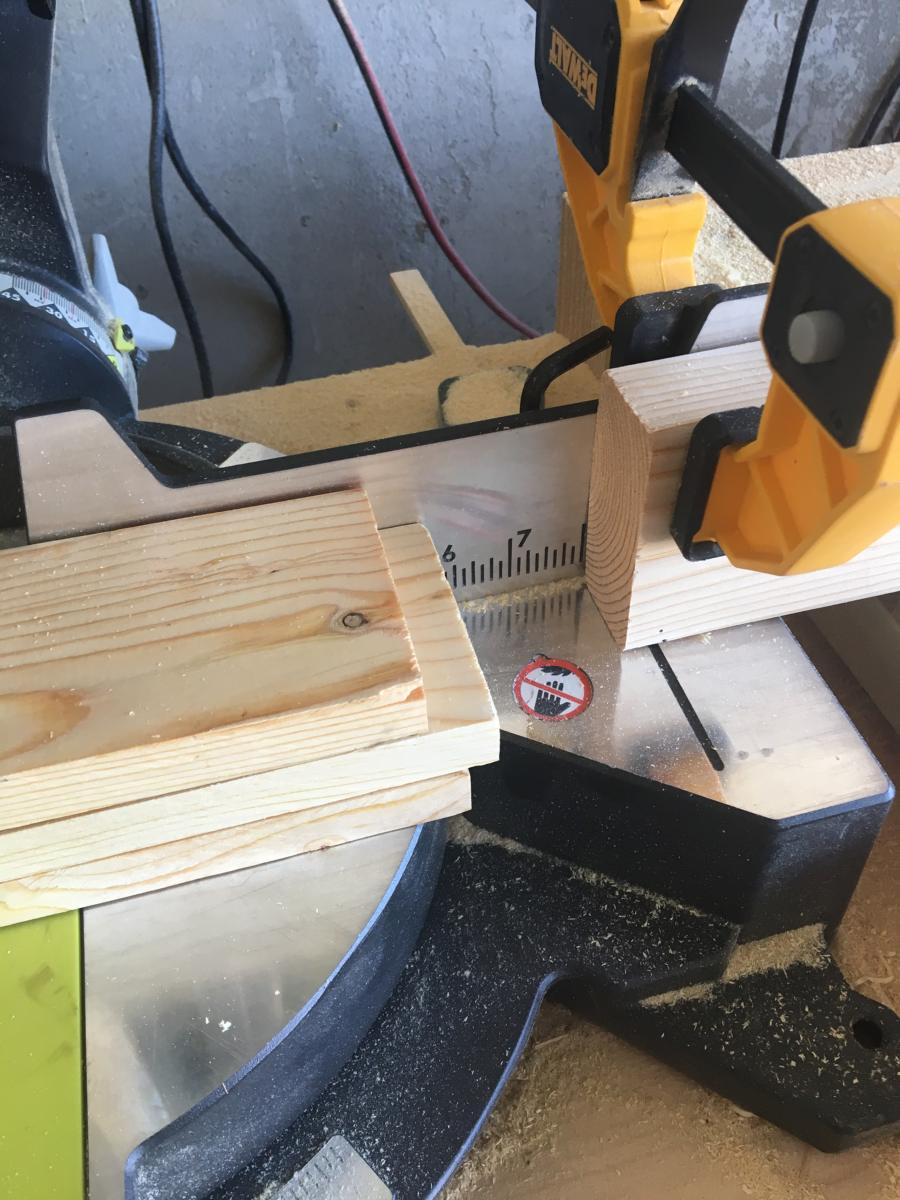
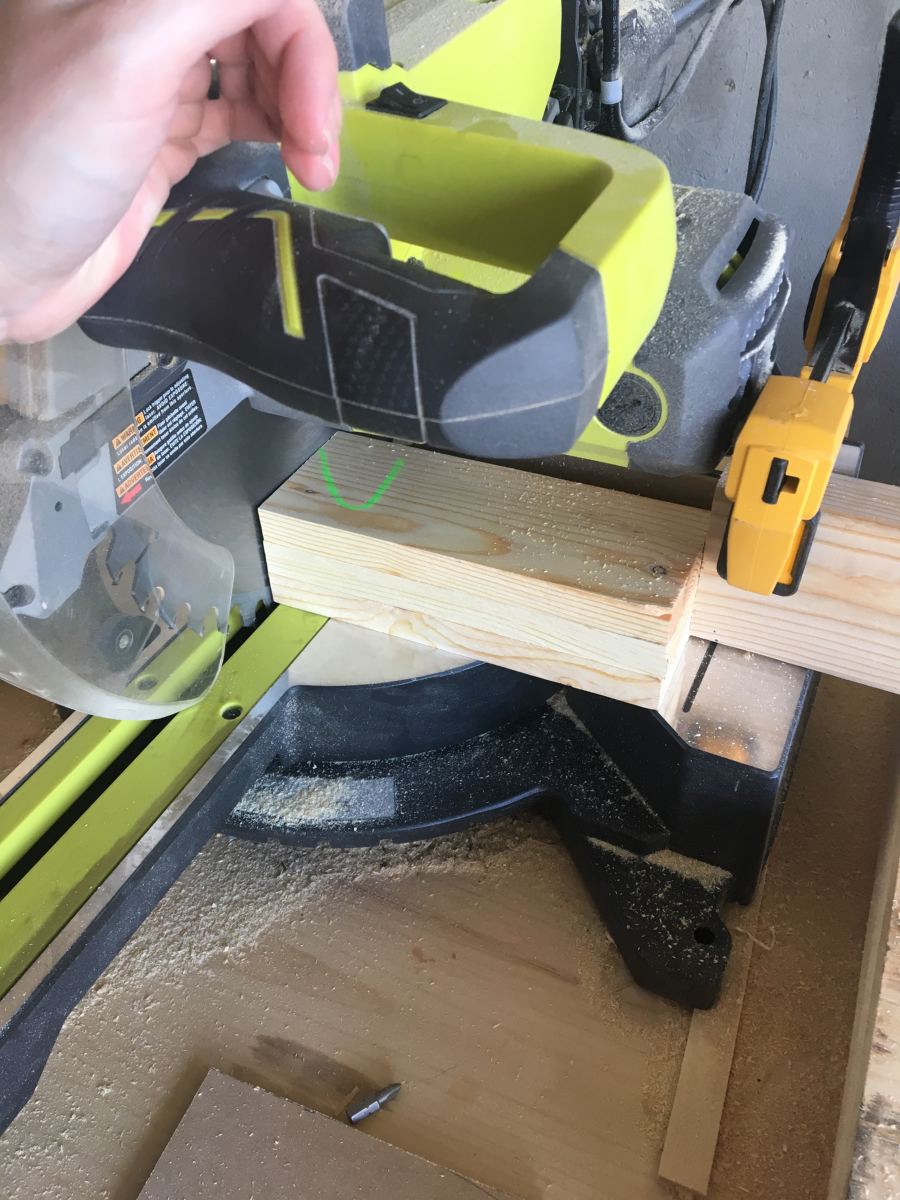
Line up your pieces and make the cut.
WAIT for the blade to come to a complete stop before removing the pieces and THEN release the blade.
That’s important.
Otherwise you get kickback and pieces flying at you.
Nobody needs that in their life.
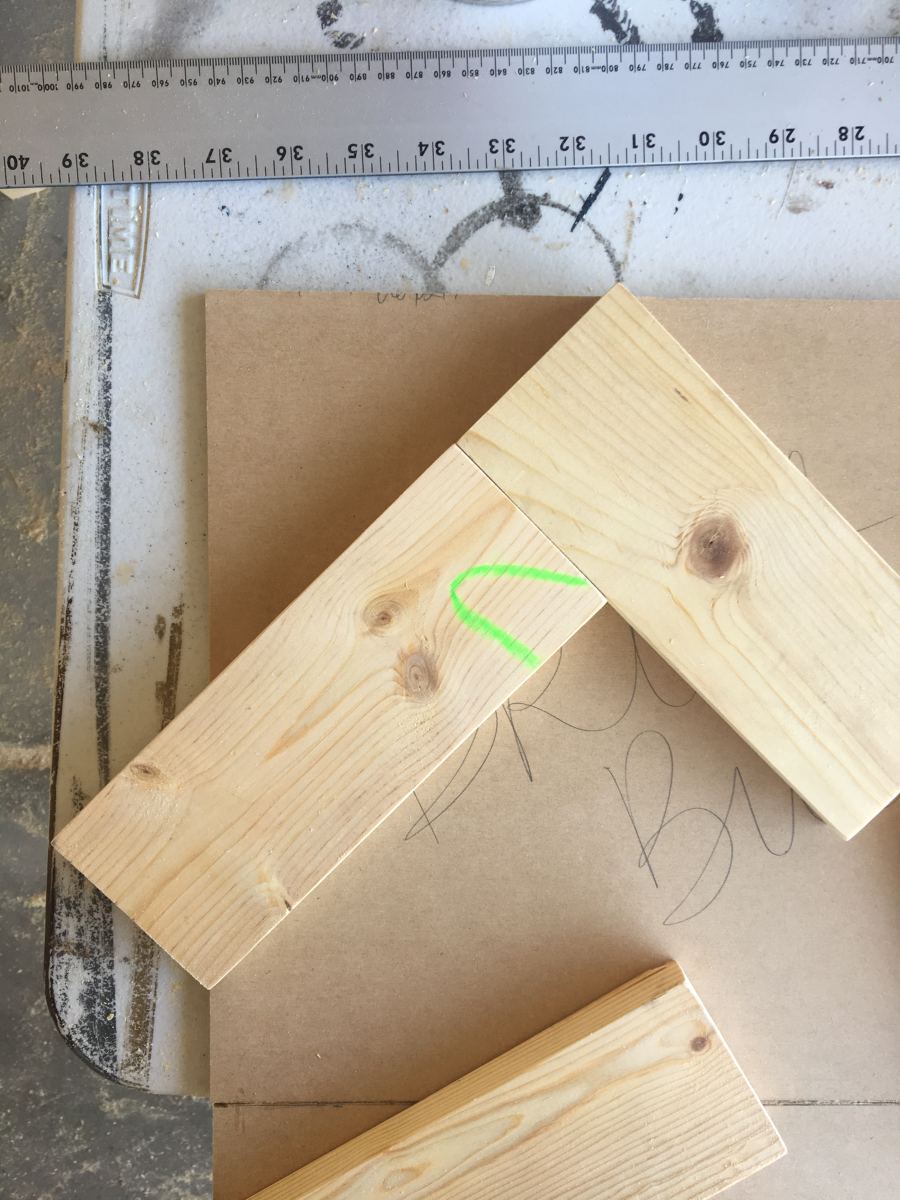
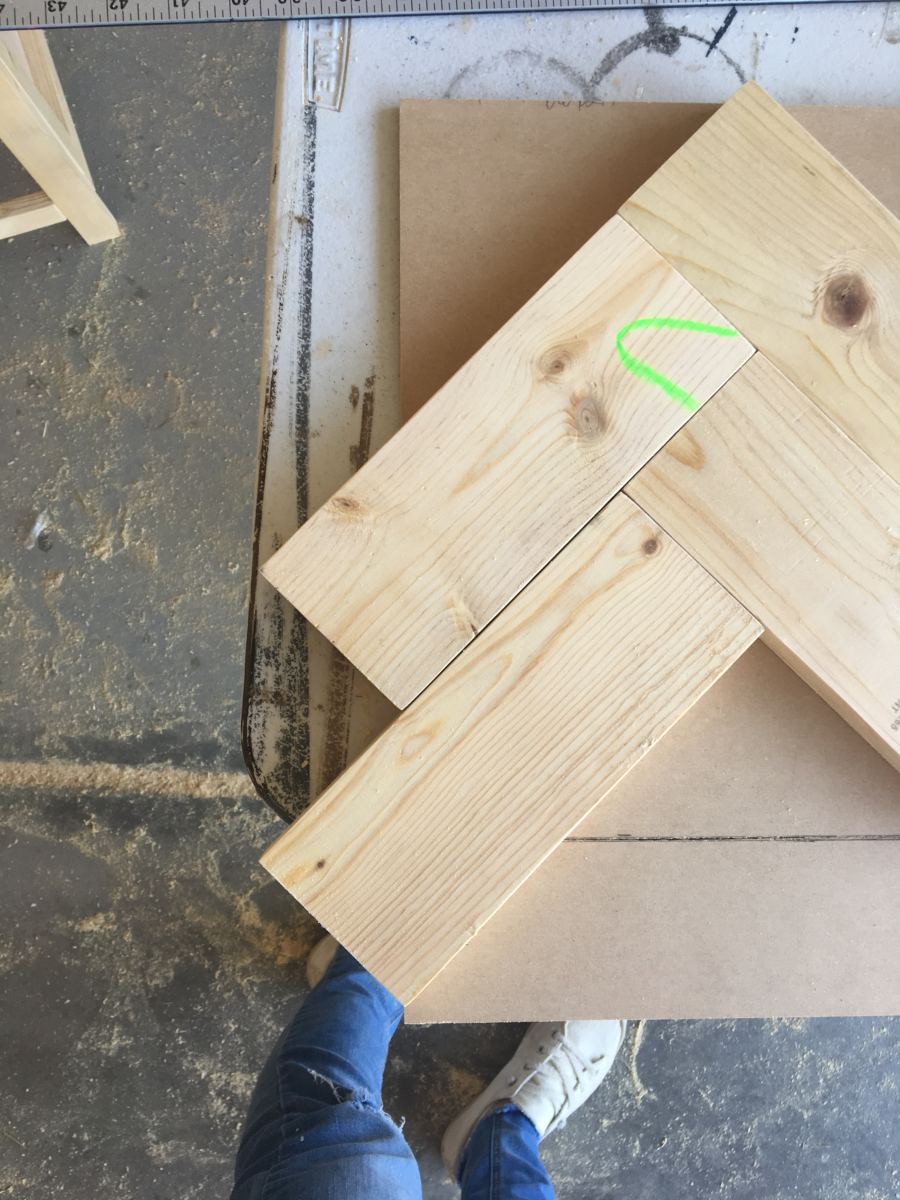
Grab your MDF panel. It will be the base of the herringbone top.
Line up your two starter pieces and make sure the left corner and top corner are flush with the sides of the MDF.
The script under the boards totally says “Britt Built”.
Anyone else “mark their territory” on pieces that won’t be seen?? 😉
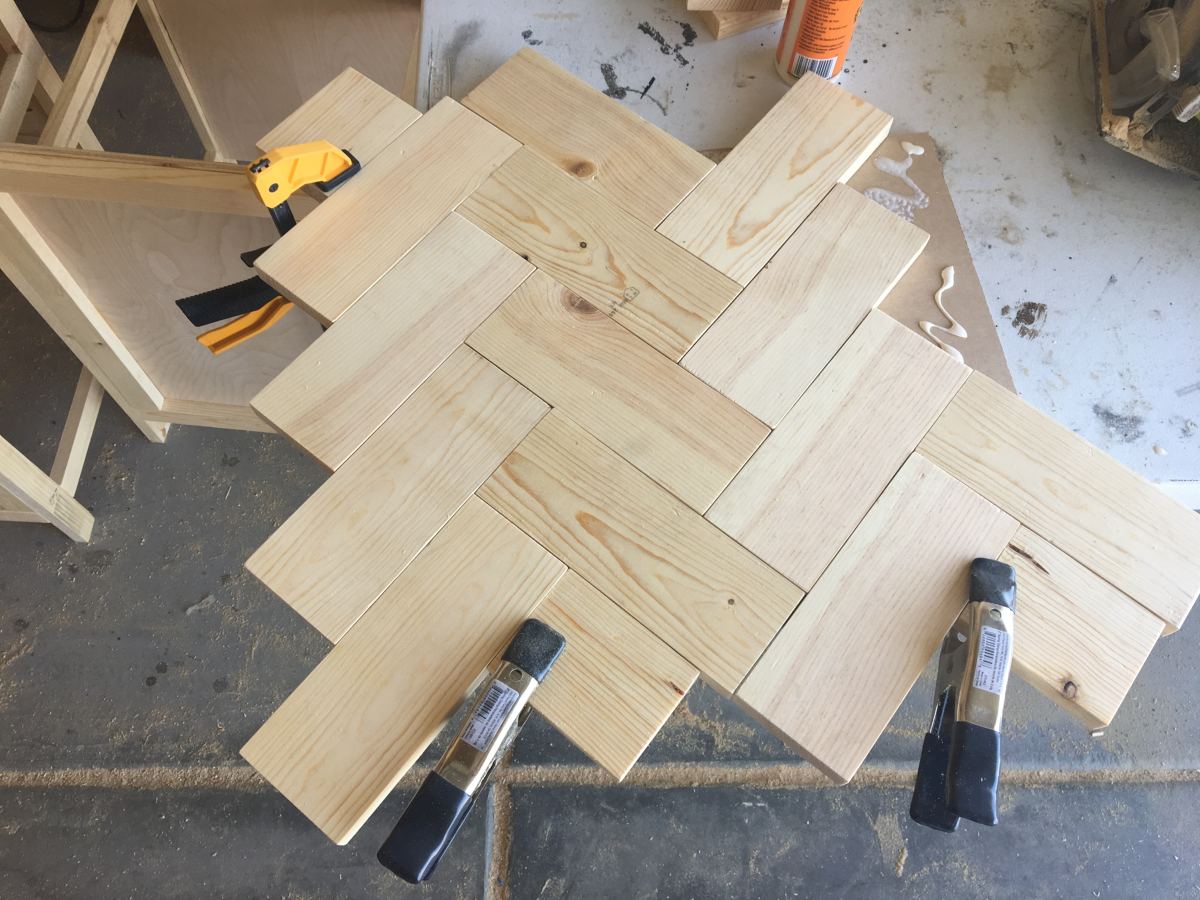
Lay out the next couple of rows to make sure they follow suit
with the corners lining up flush on the sides of the panel.
When you know they’re totally straight, glue down your first two pieces and wait a good 20 minutes for them to be solid.
This way they won’t move and the rest of your pattern can fall into place!
I like to use these little dollar clamps you can find at Home Depot or Harbor Freight to hold the smaller edge pieces into place.
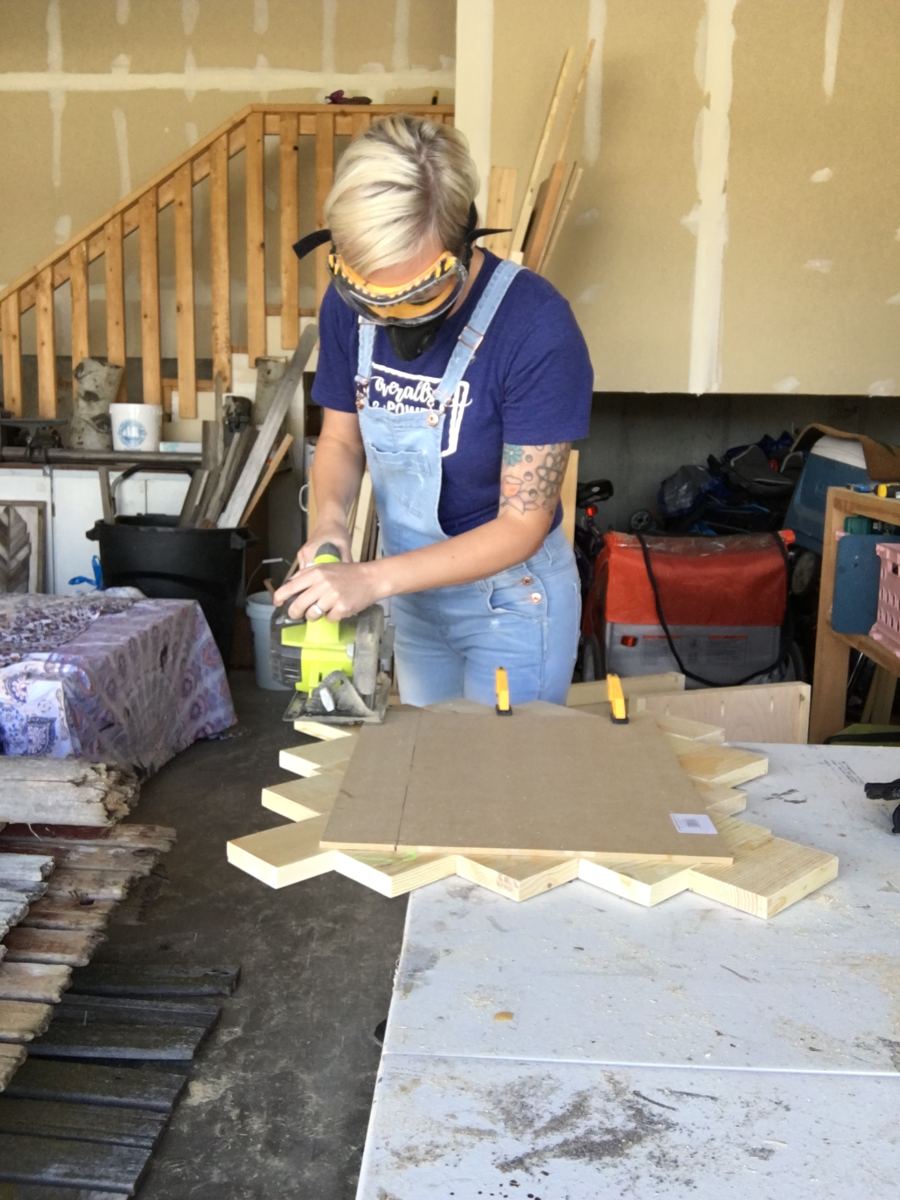
Once all of your pieces are glued into place and dry,
flip the board over and trim all the excess.
That’s it! Depending on the project and the use it will get, I will use brad
nails to secure the herringbone pieces to the board.
I also recommend framing out the piece, as it will show the mdf
from the sides.
If you have ANY questions feel free to ask!
Don’t forget to follow along with Overalls & Power Saws on Instagram
and Pinterest, and PIN this post!